People who insist on using the correct terminology for everything will probably not approve of the subtitle I’ve chosen. They would prefer something more proper like, “Achieving Repair Unit Vulcanization.” Many of them might admit that both titles send the same message, but they just can’t bring themselves to say the words “patch” and “stick” when discussing tire repair.
In some ways, they are entirely correct. Vulcanization involves cross-linking different rubber compounds to change the physical properties in order to create a bond on a molecular level. The result is that a properly installed repair unit actually becomes part of the tire once the process is complete.
Using duct tape or glue to stick a patch on the inside of the tire may appear to work in the short term, but at some point in time it’s going to fail after the tire is returned to service.
The biggest challenge facing all types of tire repairs is the constant heating, cooling and flexing that occurs during a tire’s operation. When you think about it, an air leak can be a most difficult problem to solve because it cannot always be seen with the naked eye or felt on the skin. Dunk tanks and soapy water generally reveal bubbles at the spot where air escapes, but sometimes the leak doesn’t occur until after the tire is loaded.
If the method for restoring the integrity of the air chamber does not take all of these factors into account, the repair method cannot endure the harsh environment of a pneumatic tire.
Getting The Right Start
By removing the damage, filling the void with a suitable material and vulcanizing a repair unit and rubber stem into place, the tire is, by definition, “restored to the original condition.”
There’s nothing temporary about cross-linked rubber compounds that are molecularly bonded. But in order to achieve ultimate repair unit vulcanization, there are a number of conditions that must be met.
The first and probably most important/overlooked step, is to remove any contaminants from the inside of the tire. Many tire manufacturers use silicone mold-release lubricants to keep the bladder from sticking to the innerliner during curing. If these lubricants are not removed, they can be buffed into the rubber, which will result in a significant loss of repair unit adhesion.
Other foreign materials such as bead lube, tire sealant and air tool oil can also lead to repair unit failure. By simply applying an approved rubber cleaner to the inside of the tire and scraping the area to be buffed, technicians can remove potential barriers to the vulcanization process.
Once the inside of the tire has been properly cleaned, it should be texturized in order to create the appropriate adhesion platform for the repair unit. Tubeless tires have an innerliner made of butyl rubber at least 2/32-inch thick that should be buffed smooth to eliminate any mold marks. If the pattern on the innerliner is not completely removed, the potential for a loss in repair unit adhesion increases.
On the other hand, if the technician buffs through the innerliner and reaches the rubber-encased body cords, the tire must be referred to a full-service tire repair facility for a section repair. In the field, attempting to repair exposed body cords by covering them with a repair unit is not advisable simply because even the smallest pocket of trapped air can result in an innerliner separation and eventual tire failure.
Trick For Tube-Types
Preparing the inside of a tube-type tire can be more challenging primarily because the thickness of the “innerliner” rubber is minimal at best. A standard buffing wheel will remove the mold marks, but it often leaves exposed fabric. While section repair materials and heat-cured repair units can vulcanize with the remaining rubber present, a typical in-the-field repair that relies on chemical vulcanization will generally fail to reach sufficient adhesion if too much rubber is removed.
The trick is to make sure the inside of the tire is cleaned and texturized without removing any rubber. A simple addition to the tire repair tool inventory will permanently solve that problem.
A soft wire brush mounted on a low-speed buffer with a tool speed of no more than 5,000 RPM allows technicians to prepare the inside surface of bias tube-type tires.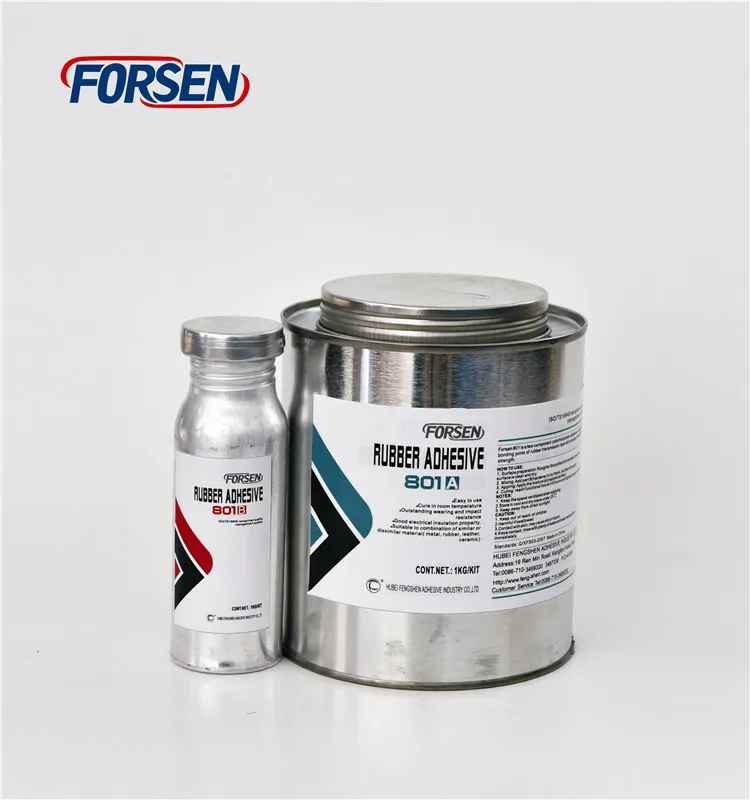 After removing any contaminants with an approved rubber cleaner, the area is “buffed” with the wire brush instead of the standard buffing rasp.
The thin layer of rubber between the innertube and the nylon body cords remains intact and can be effectively cemented with the appropriate vulcanizing cement. Once the cement is dry, the repair unit can be installed and the area covered with tire talc to prevent the cushion gum from sticking to the tube.
The same soft wire brush can also be used to clean the surface of tubeless tires after the injured area has been buffed. Excessive buffing dust will contaminate cement and result in a certain degree of adhesion loss. By starting on the right side of the buffed area and working to the left, the dust can be removed from the surface providing a noticeable difference in appearance. When installing one-piece repair units, small steel shavings and dust can be removed without affecting the texture of the previously buffed surface.
Keep in mind that a wire brush used on buffed surfaces should not be used to clean any other components such as rim parts, wheel studs and fasteners.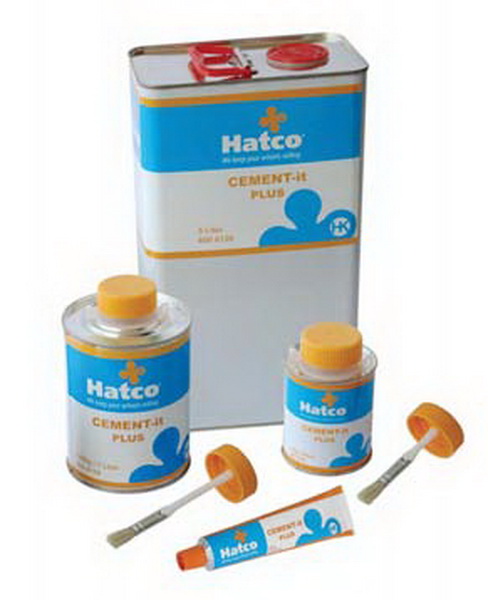
Other Cautions
Cushion gum on the repair unit and the rubber stem are sensitive to light, heat and contamination. All tire repair materials have a specific shelf life that is directly affected by temperature and humidity. Therefore, store repair units and vulcanizing cement in a cool and dry environment.
Technicians should never touch the cushion gum, or leave it exposed to sunlight or dust for more than a few seconds. Any foreign substance between the cemented surfaces of the tire and the repair unit will result in an adhesion loss.
Finally, the repair unit should be installed after the cement is completely dry and the beads are in a relaxed position. The unit should be stitched from the center to the outer edge, being careful not to trap any air. Air bubbles between the repair unit and the tire will expand as the tire generates heat during operation. Repair units closer to the shoulder will experience “bridging” if they are installed when the beads are spread apart.
It’s also important to remember that nail hole repairs can only be installed in the crown area of the tire. Injuries in the shoulder and sidewall areas require section repairs.
Getting the patch to stick is not rocket science as long as the proper procedures are followed. While the engineering behind chemical vulcanization does represent decades of research and development, technicians only have to take the necessary steps to ensure maximum repair unit adhesion. Strict adherence to the guidelines will create repairs that last through multiple retreads and thousands of service miles.
Failing to follow the rules or “customizing” accepted repair procedures generally results in flat tires and and increase in scrap casings. With the right instruction and support, it shouldn’t be difficult for technicians to achieve repair unit vulcanization.
Kevin Rohlwing is TIA’s director of training, and this article originally appeared in TIA’s Commercial Tire Service publication.
Fewer Repairs But More Critical
Tire repairs have been a basic component of a tire dealer’s business ever since the beginning of the tire industry. Car owners could count on making a tire repair on nearly every drive they took in the 1890s because tires weren’t sophisticated. In those days, the repairs were made by the car owner, for the most part.
Today, “flats” are virtually a thing of the past. Manufacturers make tires that are technologically advanced and can withstand most road hazards. The advent of the radial tire, a much sturdier design than the old bias ply tire, reduced the need for repairs and supplied more miles per tire. But these higher tech tires do receive injuries from road hazards such as nails, bolts and other sharp metal objects.
Because of their more sophisticated construction, however, when today’s tires are damaged and must be repaired, the repair can’t be done by the average driver. It can and should be done by a tire service technician who has been trained to do a complete, proper repair.
This article includes sequential photos that show the accepted industry standards of how a tire should be repaired. The repair procedures are for passenger and light truck tires, but are virtually the same for medium truck tires (except for Step 17, as noted). The photos also concentrate on a standard two-piece repair, with one photo showing a one-piece procedure – essentially the same as a two-piece with the one exception.
Getting Started
We recommend that all tires be properly repaired per guidelines by both the RMAand TIA, and demonstrated here. Repairs should be limited to puncture injuries of not more than ¼-inch (6mm). Don’t make repairs where the injury damage extends into the shoulder/belt edge area or where the injury extends at an angle into the shoulder area. If the injury does extend into the shoulder/belt edge, scrap the tire.
Proper tools and repair materials must be used; we have included a list of the basic tools in this article.
Improperly repaired tires can fail while in service, including tread-belt separations and/or detachments. These occurrences may cause an accident resulting in serious personal injury or death.
Remember that not all tires can be repaired. Specific repair limits should be based on recommendations or the repair policy of the tire manufacturer and/or type of tire service – service description, run-flat technology or commercial service applications, for example.
For all tires, repair units can’t overlap. The number of repairs should be limited first by the tire manufacturer’s recommendations and repair policy, then by the application and the tire’s condition as determined by the inspection process.
Some run-flat technology tires can’t be repaired. Technicians should consult tire manufacturers for their repair policies and, if applicable, for their recommended repair procedures.
Industry recommended repair methods include:
1. Two-piece plug and patch repair components.
2. One-piece patch/stem combination repair units.
For punctures angled greater than 25 degrees, RMA recommends two-piece plug and patch repair components.
Never Means Never
An old phrase states, “Never say never,” but “never” is alright when repairing tires, according to RMA.
• Never repair tires with a tread puncture larger than ¼-inch (6mm).
• Never repair tires worn to the tire’s treadwear indicators or to 2/32-inch remaining tread depth in any area of the tread.
• Never perform a tire repair without removing the tire from the rim/wheel assembly and completing an internal inspection. Do not perform an outside-in tire repair or on-the-wheel repair; these types of products are not considered full, permanent repairs and should be restricted to temporary use only. It is essential that only a specially-trained person remove any tire from the wheel when it has been damaged or is losing air. A thorough inspection for any internal damage can then be made.
• Never use only a plug (stem) and never use only a patch to repair a puncture. The injury must be completely filled with a suitable vulcanizing material or a rubber plug/stem and a patch must be applied to the innerliner to prevent air loss.
• Never repair a tire that has an existing, improper (non-RMA) repair. The tire must be scrapped.
• Never substitute an inner tube for a proper repair or to remedy an improper repair.
• Never invert radial tires – and avoid excessive spreading of the tire or tire beads.
• Never buff the innerliner too deep, exposing the tire casing body (ply) cords. If this type of damage occurs during buffing, the tire must be scrapped.
For Safety’s Sake
Technicians should be aware of a few warnings communicated by RMA. As pointed out, tires must always be properly repaired as shown in the accompanying section with sequential photos. If improperly repaired, tires may fail in service.
When repairing a tire, adequate eye protection (goggles or face shields) should always be worn to prevent serious eye injuries. Ear protection should also be worn.
Permanent tire damage due to underinflation and/or overloading can’t always be detected. Ply cords damaged by underinflation or overloading may break and cause a “zipper” in the upper sidewall with instantaneous air loss and explosive force. These damaged tires should be inflated only when using a restraining device or safety cage that complies with OSHA regulations and an air line with a clip-on air chuck.
Products from different repair material manufacturers should not be mixed.
Step-by-Step Tire Puncture Repair Procedures
The following “how to” photos and captions show and explain accepted industry procedures for repairing tire puncture injuries. Additional information is available on RMA’s website – rma.org – and by requesting its Puncture Repair Procedures information, or by requesting information about TIA’s Basic Automotive Tire Service training series, which includes a module dedicated to puncture repair.
1. Consult information about repairability of tires.
2. Locate the injury and circle with a tire crayon. DO NOT INVERT RADIAL TIRES.
3. Remove the foreign puncturing object and probe the injury with an awl to determine the angle of penetration.
4. Clean the area around the injury with cleaner fluid and a scraper.
5. Using a low speed drill (max. 500-700 rpm) and a 3/16-inch tapered carbide cutter, ream the injury following the angle of penetration from the inside of the tire. Use proper eye protection.
6. Remove the poly from the plug stem. Hook the stem into the wire puller. Coat the entire plug with self-vulcanizing cement. NOTE: With one-piece repair units the patch section must be coated, as well.
7. While the cement is still wet, push the wire puller through the injury from the inside of the tire. Grasping the wire, use a steady pull until ½-inch of the gray rubber on the plug is exposed outside the tire.
7a. FOR ONE-PIECE REPAIRS: While the cement is still wet, insert the guide wire through the injury from the inside. Using pliers, grasp the stem behind the wire and pull until the patch is seated against the innerliner. Do not over-pull and cause the patch to dimple.
8. Using a flexible knife, cut the plug on the inside of the tire 1/8-inch above the innerliner. Be careful not to stretch the plug when cutting.
9. Making sure the bead arrows of the repair unit are pointing to the beads, center the proper size repair unit over the injury. Use a tire crayon and outline an area ½-inch larger than the repair unit.
10. Use a low-speed buffer (max. 5,000 rpm) and a buffing rasp to buff the plug and the outlined innerliner area. BE CAREFUL NOT TO BUFF THROUGH THE INNERLINER.
11. Use a vacuum to completely remove the buffing dust.
12. Apply a light coat of cleaner fluid to the buffed area, scrape clean and allow to dry.
13. Apply an even coat of self-vulcanizing cement to the entire buffed area. Allow cement to dry until tacky. Never use blow dryers, compressed air or heat lamps to facilitate drying.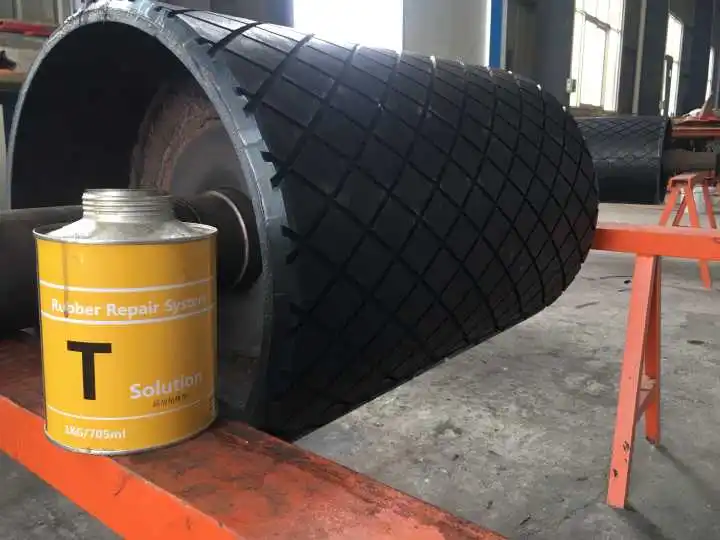 Drying time is affected by temperature and humidity.
14. When cement is dry, partially remove the poly backing from the repair unit, leaving just enough to hold the unit. Press the unit into place while removing the rest of the backing.
15. Stitch the repair unit vigorously from the center working outwardly. Use as much hand pressure as possible. Remove top cover film.
16. Apply repair sealer on the overbuff area, and over the edge of the repair unit.
17. Apply bead sealer to the bead of the tire before inflation to help prevent air loss around the bead. (NOT NECESSARYFORTRUCK TIRES.)
18. After inflating, cut the plug stem flush with the outside tread area. The tire is now ready to be returned to service.
Click on these links to download a full poster version of this illustrated two-piece tire puncture repair guide, as well as one that details single-piece tire puncture repair procedures.
After downloading, take the PDF file to a local office supply store (OfficeMax, Staples)or FedEx Kinkos location, where you can print out a full-color, 18×24-inch poster to hang in your tire service area and/or customer waiting area.
List of Basic Repair Tools:
Awl
White paintstick (truck tire)
Tire Crayon
Scraper
Safety Glasses/Shield
Low-Speed Buffer/Skiver
3/16-inch Carbide Cutter
3/16-inch Adapter
5/16-inch Adapter (truck tire)
Pulling Wires
Knife
Black Contour Cup – 60 Grit
Adapter with Spacer
Stitcher
When Not to Repair a Tire
• There is 2/32-inch or less of tread on any two adjacent tread grooves. The tire is not legal on U.S. highways.
• The tire cord or steel belt is exposed, there are flex breaks or severe sidewall abrasions.
• There is any evidence of a separation in the tread area or the sidewall of the tire.
• There is any evidence to indicate the tire has been run flat. Do not inflate, since inflation could result in serious injury. Demount the tire and inspect for innerliner damage.
• There are punctures or damage in the shoulder or sidewall areas.
• Never use any wheel with a rim that is bent, pitted from corrosion, cracked or worn. Remove rust, dirt and foreign materials from wheel/rim parts.
When ‘Always’ is right
• Inflate the tire to maximum allowed pressure. Do not overinflate.
• Check the surface and the valve for the source of the leak(s) by using water, soap solution or leak detector.
• Locate the injury and circle with a crayon.
• Remove the valve core to deflate the tire.
• Demount and inspect the inside of the tire on a well-lighted spreader for innerliner cracks, open splices, exposed tire cord or steel belts, broken beads or bead wires, bulges or blisters, or other interior damage. If any damage other than a ¼-inch maximum puncture injury in the tread is present, do not repair.
Final Inspection
The final inspection is your last chance to make sure a tire puncture repair job was done properly and within industry standards. A proper repair must completely fill the injury with a suitable vulcanizing material or rubber plug/stem and a patch must be applied to the innerliner to prevent air loss.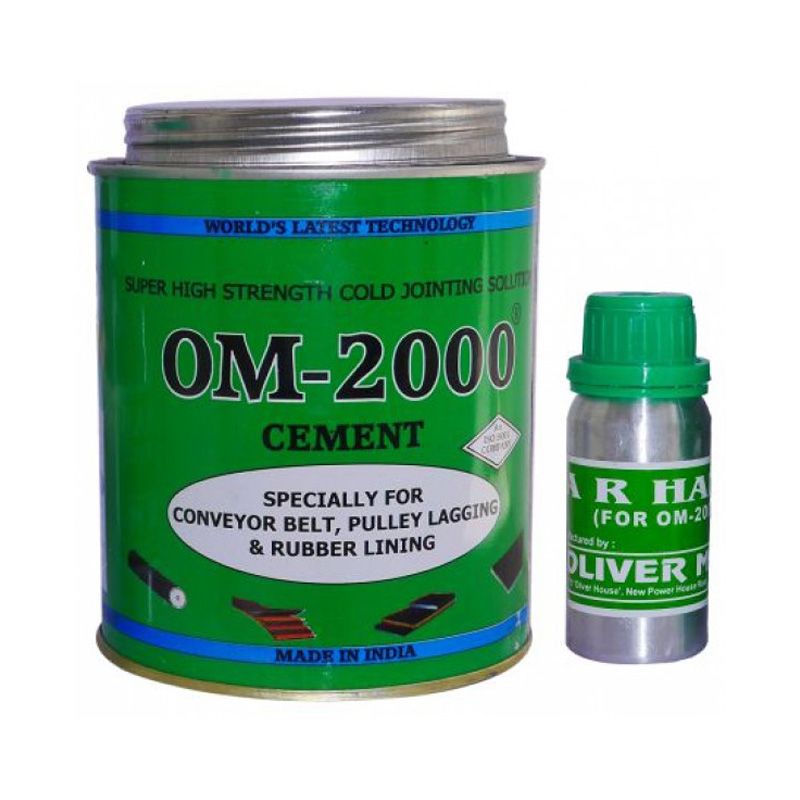
Inspect all of your repairs and rework, if necessary. After removing and inflating the tire/wheel assembly, inspect the assembly (tire/wheel/valve) for damage or leakage. Pay particular attention to the location of the repair, the beads and the valve. If the tire continues to lose air, it must be removed again from the wheel for a complete re-inspection.
Radial Section Repair
The procedures for repairing a more serious injury on a radial medium truck tire are notably different than when repairing a minor puncture. Section repairs may require special tools and repair materials, including strip gum rubber, an extruder, a spot curing press, specially designed repair units and more.
The process described here is very basic; special training is required to properly perform section repairs.
While the steps for probing an injury angle and buffing are the same, a grinding (skiving)step must be added to remove all damaged wires and the length and width of the damaged area must be measured to assist in selecting the proper repair unit.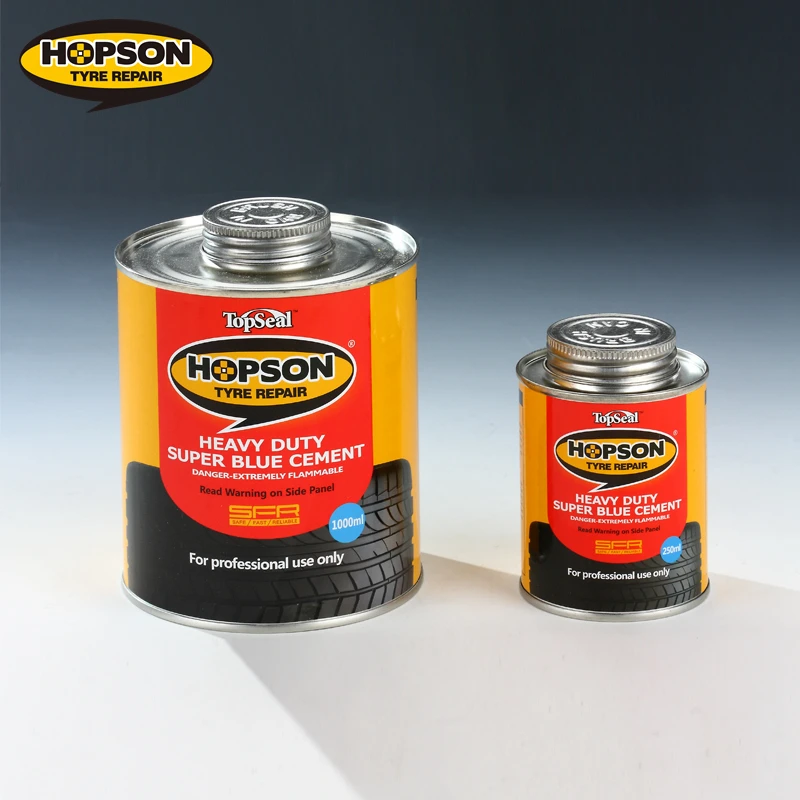
For crown repairs, skives should be a cupped “Y” type with a 90-degree skive through the wire belts and ply. Stitching should be done as in a regular repair prior to curing the repair and allowing it to cool.
Next, a cleaner fluid should be applied and the innerliner should be scraped clean. When placing the repair unit over the injury, center it with the bead arrows pointing directly to the beads. Using a tire crayon, outline an area one-inch larger than the repair unit.
Perform the buffing step, vacuum the dust and use a light coat of rubber cleaner fluid and a scraper to clean the buffed area. Apply an even coat of self-vulcanizing cement to the entire buffed area and allow to dry until tacky.
Make sure the tire is in a relaxed position. Partially remove the backing from the repair unit, leaving enough to hold without touching the back. Apply the patch and press down.Then stitch the unit, working out from the center. Use as much hand pressure as possible. As a final step, apply repair sealer to the over buff area and over the edges of the repair unit.
Disclaimer
Repairing a tire is serious business. The preceding article was researched and written using existing industry-approved procedures and material from both the RMA and TIA, and is NOTintended to be used as a substitute for proper tire repair training. The photos and additional information were supplied by Myers Tire Supply/Patch Rubber Co. The process shown here is consistent with those used by other major repair product makers, but consult their specific instructions before using. This information represents a consensus of tire industry experts. This article is meant for educational purposes and those who use the methods recommended are solely responsible for any injuries, deaths or losses resulting from their application.
Auto service and garage equipment We have everything in our warehouse
+7 -863-525-78-79
+7 -918-510-73-92
 Heat press rubber
 Self-vulcanizing rubber for doubling/laying radial and diagonal TIP-TOP patches. When working with SV bonding rubber, use only BL special cement or TIP-TOP special OTR cement.0005
PRICE
Buy in 1 click
Ask a question about this product
SV Blue Bonding Rubber, A+B Curing Compound, T2 Dry Compound
Self-vulcanizing rubber for doubling/laying TIP-TOP radial and diagonal patches. When working with SV bonding rubber, use only BL special cement or TIP-TOP special OTR cement. Downtime before operation at 18°C is 48 hours.0005
| Name | Size mm | Packaging |
| Blue SV bond rubber, | 0.8 x 170 | 2 kg |
| Blue SV bond rubber, | 0.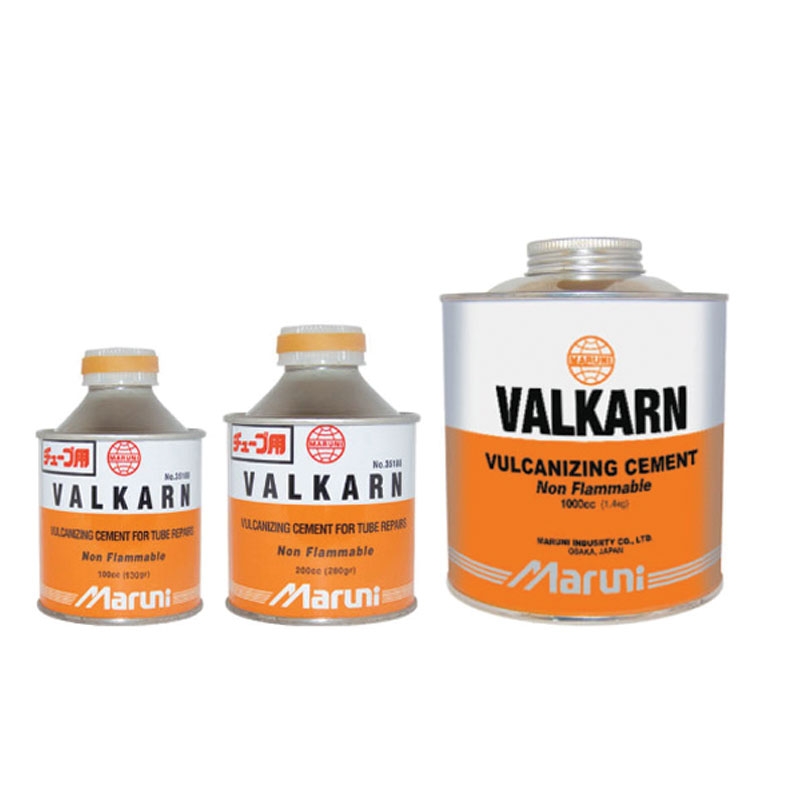 8 x 500 8 x 500 | 5 kg |
A+B Dry Cure Resin, AP Free, Fragrance Free
To achieve vulcanization, components A and B of this compound must be mixed in a 1:1 ratio. The compound is used to repair damage to the rubber of all types of wheels, as well as to fill the channel of tractor tires. The vulcanizing mass is cold vulcanized with the rubber of the wheel. Used in conjunction with special cement BL
Dry Compound T2
This compound is used to repair damaged tires and conveyor belts without the use of heating devices. Consisting of two components, the compound is mixed with a TIP-TOP extruder and fed at a temperature of 60°C to the area to be repaired, previously treated with T2 solution. The T2 compound is characterized by high initial elasticity, fast vulcanization, stable technical characteristics, as well as good resistance. MTR heat press rubber can be used to clean the extruder.
T2 Dry Compound
This compound is used to repair damaged tires and conveyor belts without the use of heating devices. Consisting of two components, the compound is mixed with a TIP-TOP extruder and fed at a temperature of 60°C to the area to be repaired, previously treated with T2 solution. The T2 compound is characterized by high initial elasticity, fast vulcanization, stable technical characteristics, as well as good resistance. MTR heat press rubber can be used to clean the extruder.
There are no reviews for this product yet.
TIP-TOP curing compound
PRICE
Delivery
Guarantees
Quality
Description
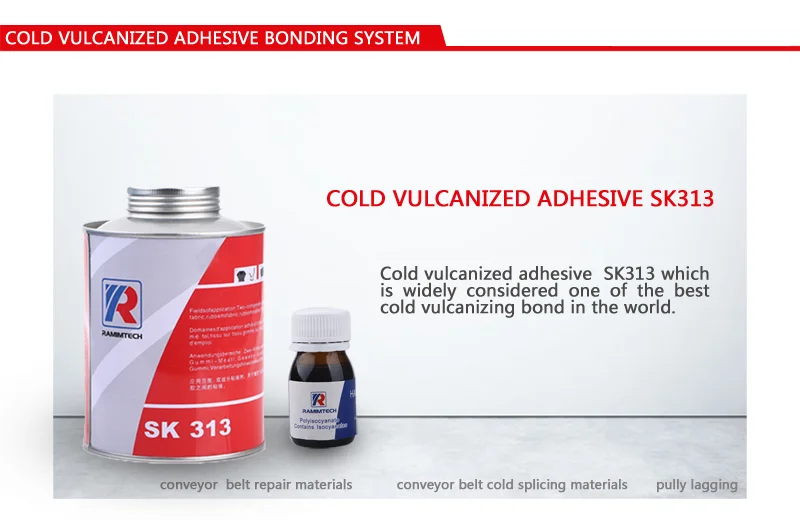
MARUNI SUPER VALKARN G is a cold vulcanizing cement. It is used for repair of radial and diagonal tires and tubes of bicycles, motorcycles, cars and trucks, passenger and special vehicles.
Glue is intended for repair with patches, plasters, plaits, fungi using the method of "cold" vulcanization (without the use of a vulcanizer). It is not only an adhesive, but also a vulcanizing agent that provides high-quality repairs and vulcanization of the repair material with a tube or tire.
The lid of the can is equipped with a brush for easy application and storage. High quality and adhesion of the vulcanizing composition.
Application
Apply the adhesive to the cleaned and degreased surface. After 3-5 minutes, apply the patch with a glue layer and roll it out with a roller. When repairing with a tourniquet, apply adhesive to the deburring tool and the tool to install the tourniquet.
Description
A product's rating is based on an analysis of its popularity, demand, performance and customer feedback. Your opinion will certainly be taken into account in this assessment, so we will be very grateful for it. This will help other buyers make the right choice, we - to offer only the best products, and manufacturers - to achieve excellence
Antispam field. It needs to be hidden via css
Your name
Contact information
Message subject
Rating
Please rate on a 5 point scale
Your message
Similar items
Art. A024
568 ₽
Related products
Art.