
Anyone who has been riding bikes for a while can tell you that sooner or later, you’re going to get a flat. Even with tube sealant that prevents flat tires for up to two years, it’s just an unavoidable occurrence. When flats occur, the best thing you can do is be educated and prepared to patch the tube so that you can quickly get back on the road. Let's get started:
Materials NeededConsider these different flat tire scenarios: The at-home repair scenario where you're walking your bike into the garage and notice that the back wheel is sagging a little bit—you have a flat. Or, the on-the-trail repair scenario where 20 miles into a 50 mile ride, you go down hard on a rock and get a nasty pinch flat.
We’re going to walk you through some of the materials you’ll need for either situation, and then how to use them for both. Here’s a list of some things you will need to repair your tube.
Follow these 4 easy steps to patch your bicycle tube and repair your flat.
Step 1. Remove Your Tire
Take your tire lever and hook it around the outer edge of the tire (the bead) to get it off of the rim. Once you have the tire lever under the tire rubber, hook the other end of your tire lever around one of your spokes to keep the tire elevated. With a second tire lever, work your way around the rim, taking the tire out of the bead until one side has been completely removed from the rim.
Step 2. Find the Leak
If the puncture or gash in your tube is not easily apparent, you’re going to need to fill the tube back up to locate where the air is escaping from. There are a couple of different ways to find the leak. The layman’s way would just be to run your hand along the tube and try to feel it out.
The bucket of water method that we mentioned earlier, however, is a more accurate way. If you’re at home, fill your sink or a large bucket full of water and submerge each end of the tube. Watch for air bubbles escaping from your tire to locate your problem area.
Make sure you submerge each side, as there may be more than one puncture. Be sure to check the inside of the tire to make sure that the puncture-causing object has been removed. Once located, mark that spot with your tire marking chalk.
Step 3. Patch the Hole
When patching the hole in your bicycle tube, make sure that the area around the puncture is clean so that the patch will stick. Using the scuffer from your patch kit (sand paper or emery paper will also do the trick), rough up the area around the puncture so that your adhesives have something to grip.
If your patches don’t require glue, simply press them firmly over the hole. For patches that do need glue, add a layer of glue and spread it evenly around the area. Wait for the glue to get a little tacky, and then press on your patch.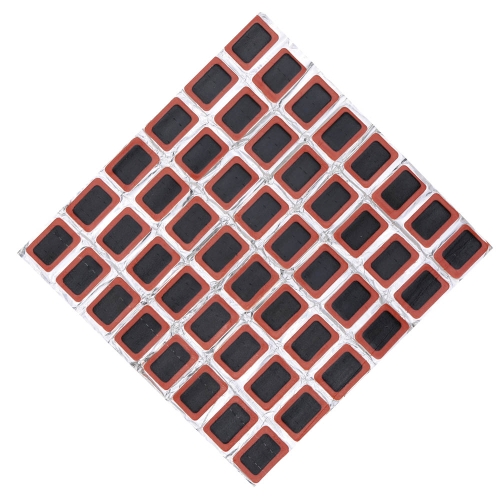 If you have the materials available to you at home, some cyclists will sprinkle talcum powder on top of the patch so that that patch/adhesive doesn’t stick to the inside of the tire.
Step 4. Put It All Back Together
Put a little air into your tube and then put it back in the tire, making sure, again, that there are no foreign objects remaining in the tire. Be sure to insert the tube and tire back into the rim using only your hands, as the tire levers may pinch the tube and cause another flat (we certainly don’t want that after all your hard work).
Once you’ve pushed the tire back in and the valve stem is securely inside the tire, inflate your tube back to maximum pressure, being sure to check the tire one more time to make sure that the bead is installed snugly. Ready to ride!
in: How To, Skills
Brett & Kate McKay • May 26, 2022
The bicycle is one of the greatest tools of self-reliance.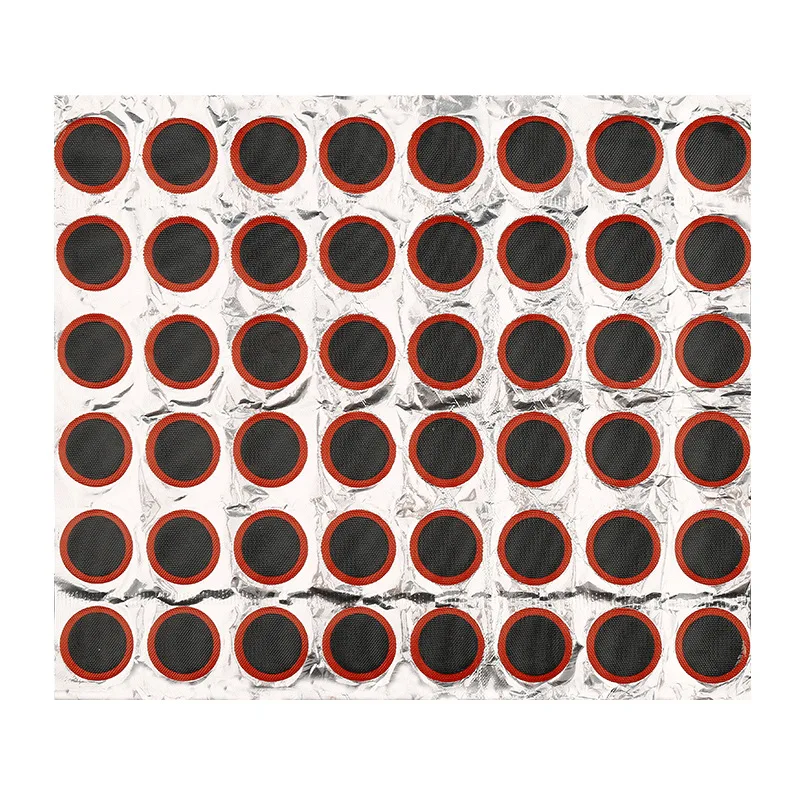
Without any need for electricity or gas, it can carry you far distances.
But bikes only work towards your self-sufficiency if you know how to maintain them. They may have fewer complications than an automobile, but they’re still machines that can break down and need to be repaired.
Several years ago Kate and I bought some bikes for ourselves (our kids already had them) so we could take family rides on Tulsa’s many pleasant bike paths. But I realized that I didn’t know beans about how to maintain our new purchases. If one of us got a flat tire, I wouldn’t know how to patch it. If my brakes were acting wonky, I’d be hosed.
So I set out to learn some basic bike maintenance and repair. It’s been fun. I thought I’d share what I’ve learned with you all in a new series: Bike Maintenance 101.
In today’s inaugural class, we’re kicking things off with how to patch a hole in your inner tube. I remember watching my dad patch a hole on one of my bike tires as a kid.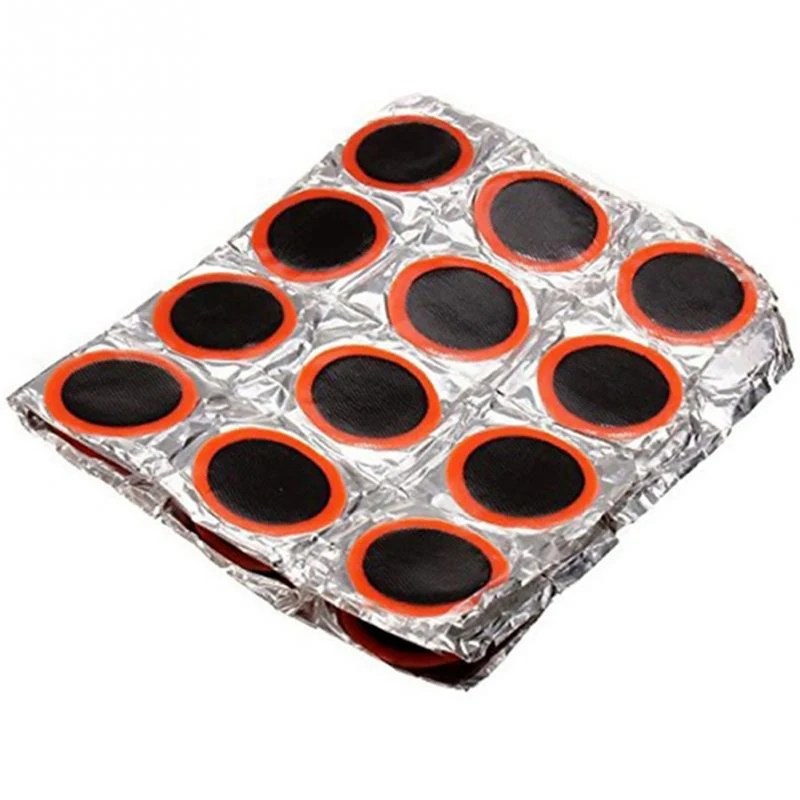 It looked like a huge pain in the butt. But I learned that it’s surprisingly easy. Here’s how to do it.
Let’s get that wheel off so we can get to our flat inner tube.
I like to flip my bike upside down. It makes it easier to work with your wheel. I don’t have one of those fancy bike holders you use to work on your bike.
Getting wheels off a bike is a breeze with today’s quick-release systems. It’s pretty much the same for all bikes. The only difference you’ll encounter is how you’ll disconnect your brakes. That will depend on what type of brakes you have on your bike. Here’s how I removed the wheel on my bike with v-brakes.
It’s really easy to disconnect a v-brake. You squeeze the two brake arms together and unlatch the cradle from the noodle (that’s the thing with the rubber tip on it).
Flip the quick-release lever open and unscrew it until you have enough space to remove the wheel.
You don’t have to take the quick-release rod out of the hub, but if you want to, that’s fine. I think it’s easier to work with the tire without the quick-release rod still in the hub, so I take it out.
Wheel removed!
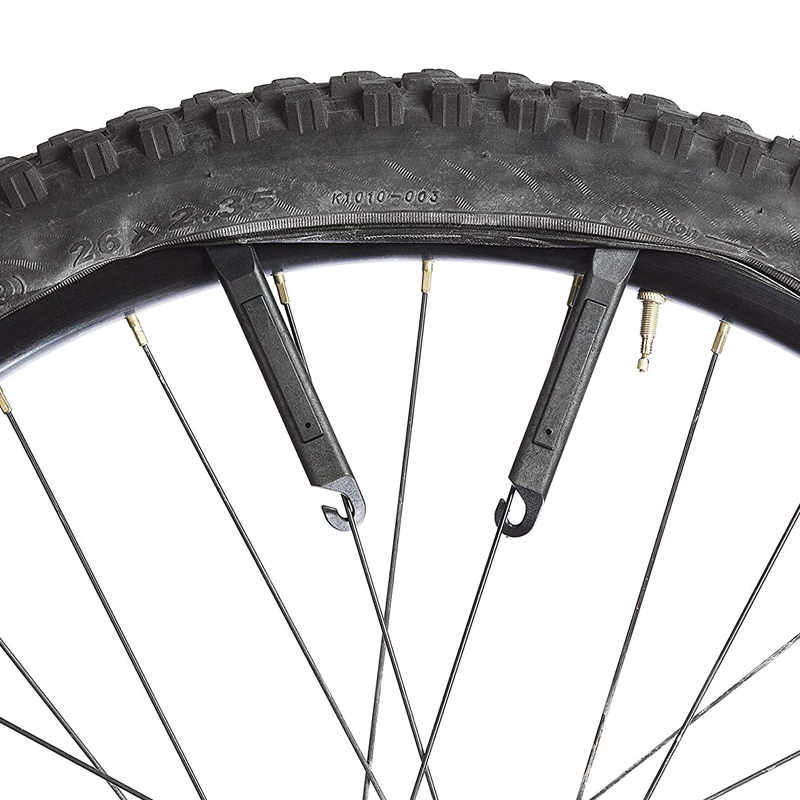
Time to get the tire off the wheel so we can get to the inner tube. Tire levers will make this job much easier. You can buy them on Amazon. They’re cheap.
Place your first tire lever between the wheel and the tire. You want to get the lever underneath the lip of the tire so you can pry it away from the wheel.
To keep the lip of the tire from going back into the wheel, hook the tire lever into one of the spokes. This will keep your tire and wheel separated, making it much easier to get the rest of the tire off of your wheel.
Place the second tire lever next to your first tire lever. Get it under the lip of the tire. You’ll slide this lever around your wheel to separate the rest of the tire from the wheel.
Here’s what your tire will start looking like as you slide that second tire lever around your wheel.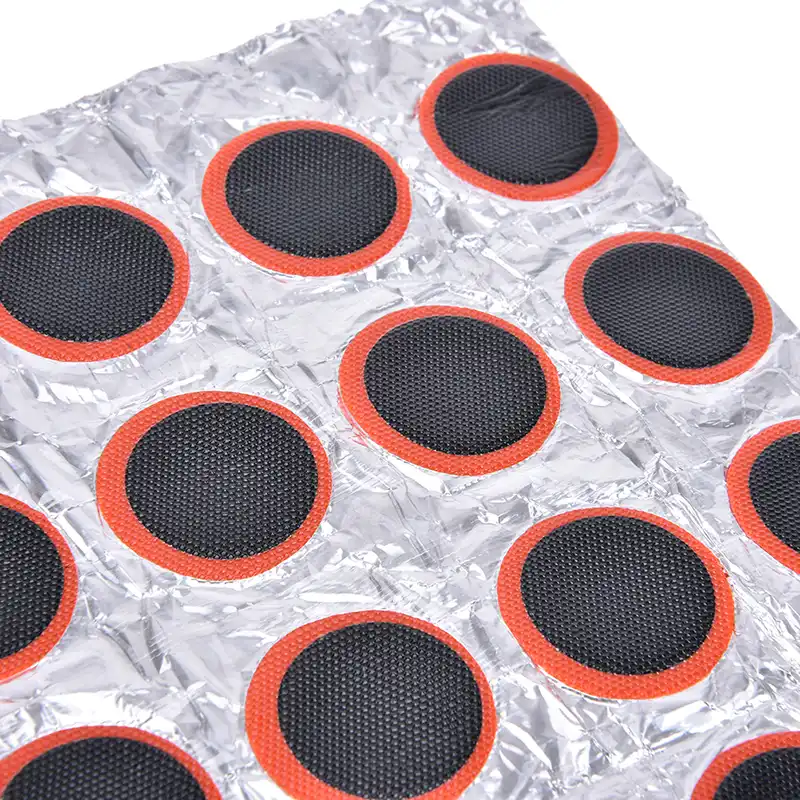 It’s hard at first, but gets easier as you progress. As you can see, more and more of the tire lip is over the rim of the wheel.
Tire successfully removed from wheel. Now it’s time to remove the inner tube from the tire.
Inner tube will be tucked inside your tire. Just pull it out.
There’s the hole.
Get your patch kit.
Inside my patch kit is a metal square that has a bunch of little bumps on it. It’s almost like a cheese grater. Use it to lightly scuff up the area on and around the hole. If you don’t have a little metal cheese grater in your patch kit, you can use sandpaper to prep your patch area. The scuffing will give greater adhesion to the patch.
Use a moderate amount of rubber cement. Spread it evenly around an area 1/2″ around your hole.
Pick an appropriate sized patch for your hole. Since mine is so small, I used the smallest patch. Remove the foil backing and stick patch onto the hole.
Peel away the plastic film on top of the patch. Press edges down firmly. Bam! Hole is patched.
Inner tube back in tire.
Tire back on wheel. Getting the tire back on the wheel can be a bit tricky. You may need to use your tire levers to help you get the lip of the tire inside the wheel’s rim. Just make sure you don’t pinch your inner tube between the tire and the wheel. You’ll risk creating a puncture in your inner tube. Once you get your tire back on the wheel, inflate your inner tube and then put your wheel back on your bike.
You can patch your inner tube a few times and not have a problem. If you have more than three patches, you might start noticing that your tire goes flat overnight and you have to pump it up if you want to use it. After your third patch, chuck your old inner tube and replace it with a new one.
Want to start taking action on the content you read on AoM?
Join the Strenuous Life
Learn More
Contents
A punctured bicycle wheel is perhaps the most common problem that a biker can face. This is due to two main Russian troubles: roads like "so that the enemy tank does not pass" and fools, thanks to which broken glass, bent nails and other sharp objects are on the ground.
Driving with a flat tire is not recommended, especially if the cyclist is heavier than a 40 kg phyton. And it's not just that the bike will become less manageable, and the ride is unsafe. The tire that has lost air cushioning will “fly” first after the chamber, and then the rim together with the spokes can deform from the load that is no longer compensated for.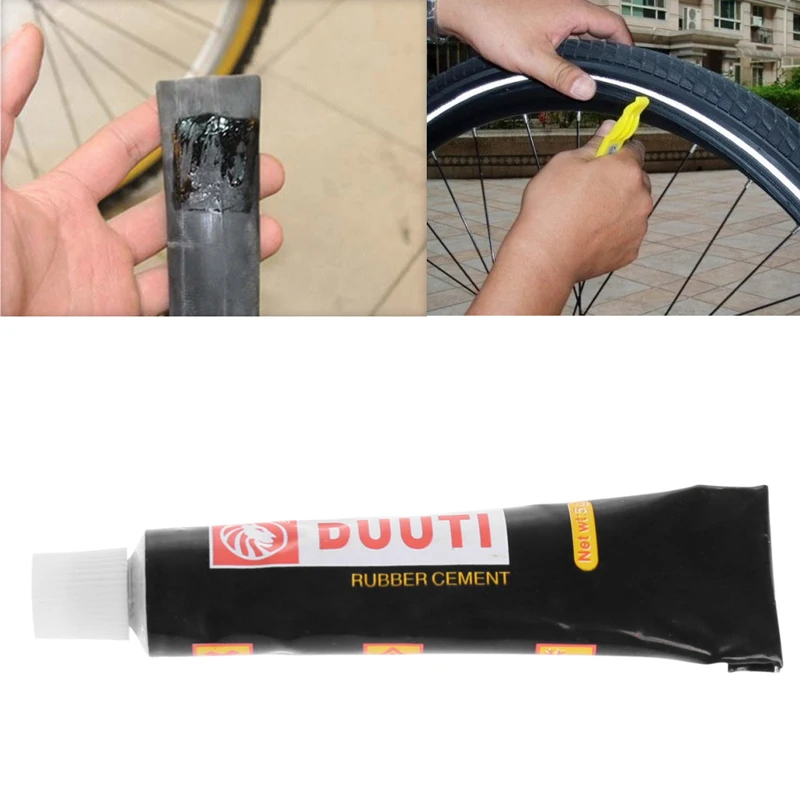 So, so that a small problem does not turn into a big one and it does not come to replacing the entire wheel, it remains either to lead the injured iron horse in a bridle, or to look for an opportunity for urgent repairs.
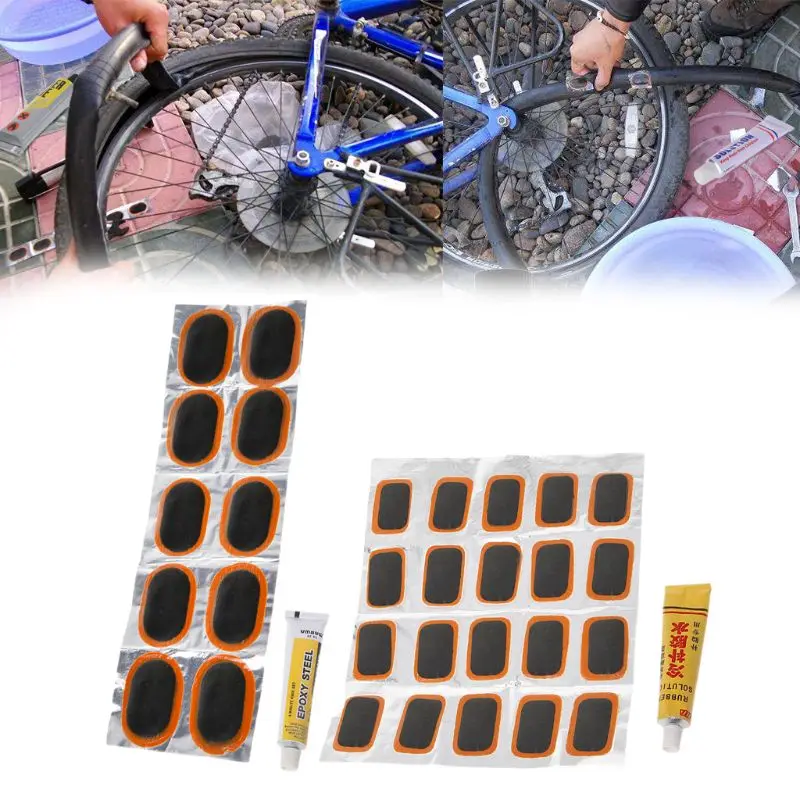
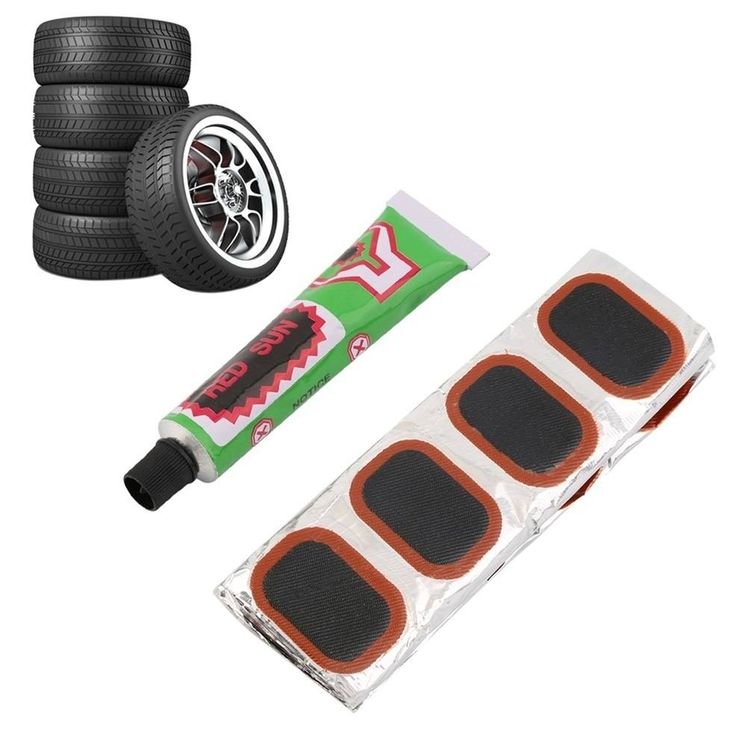
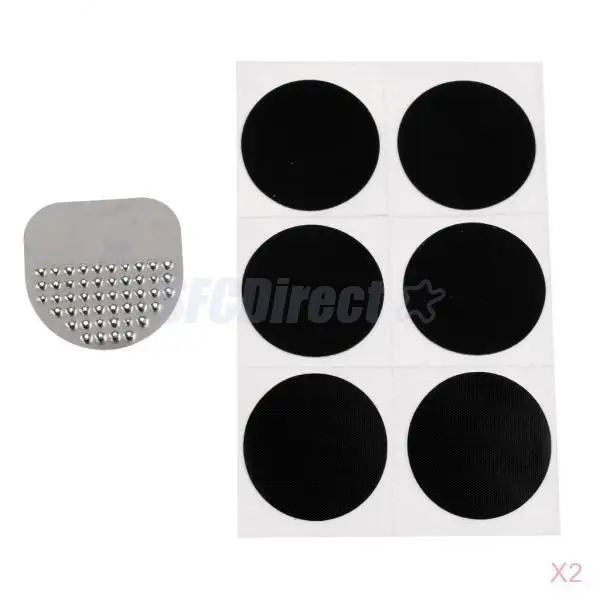
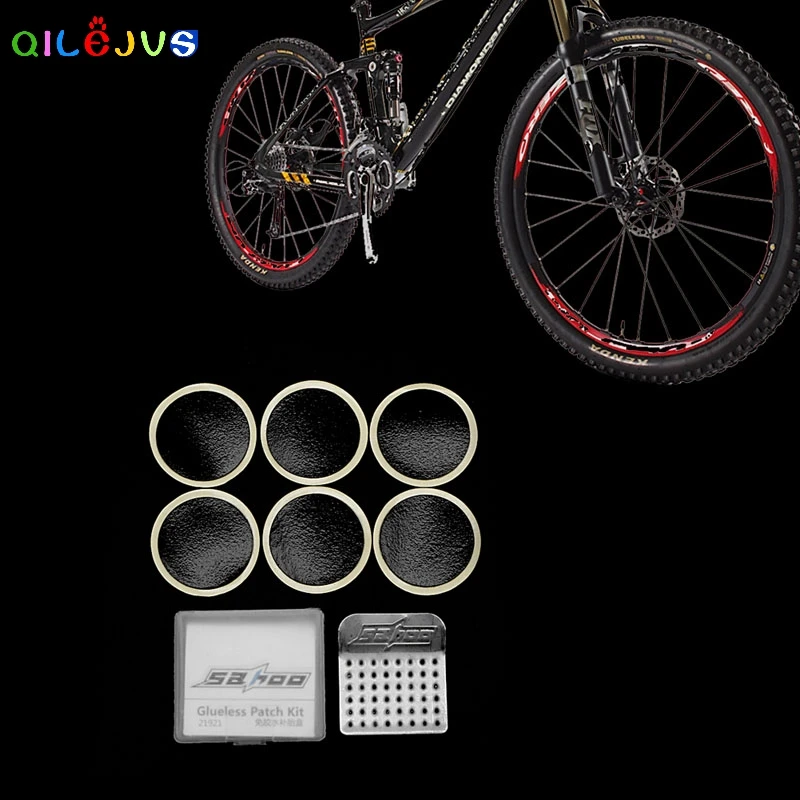
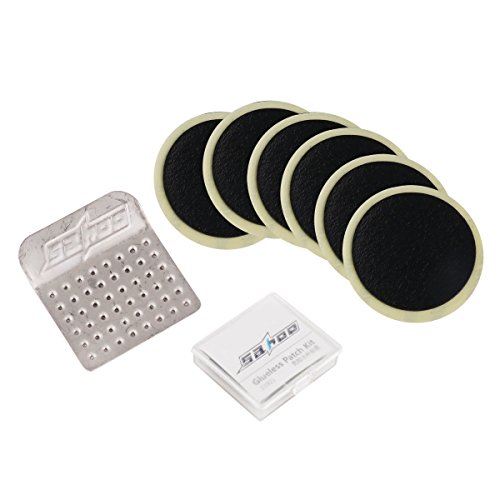
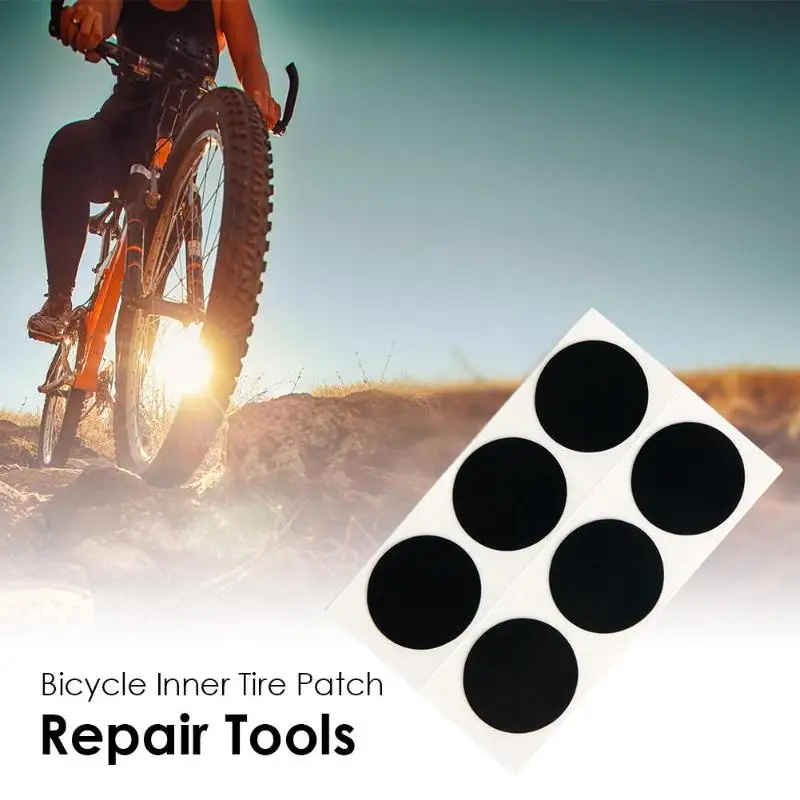
If your bike tire is flat in the middle of the city, you can take your bike to the nearest tire shop, where they will most likely help you for a small amount or even free of charge, especially if you are the same 40-kilogram fitonya. But trouble can easily overtake a cyclist somewhere far from civilization, so the best option is to carry everything with you and use it if necessary. Fortunately, a bicycle repair kit fits in a small box and weighs no more than a pack of cigarettes.
You can assemble a "first aid kit" for bicycle tires yourself, but it is much easier to buy a ready-made kit, especially since it is not a shortage at all. On the contrary, there are many varieties on sale for every taste, color and wallet.
Standard bike repair kit includes everything you need to quickly and securely seal a hole in the tube and keep going. The minimum funds required for this:
More advanced repair kits usually include a whole range of patches of various shapes and sizes, designed for different scales of damage - from small punctures to holes visible to the naked eye. In addition, plastic mounts are often additionally placed in such boxes, which make it easier to remove and put the tire back on the rim.
It goes without saying that in addition to any repair kit you will need a bicycle pump to pump up the sealed tube after repair.
Tube puncture is one of the simplest problems, that is, it does not require a completed engineering education, special tools, or even special skills to solve it. The procedure for repairing a punctured chamber is as follows:
1. Remove the damaged wheel from the frame, completely bleed the air before disassembling it, if this has not already happened spontaneously.
2. Carefully remove the tire from the wheel rim using pryers or tools.
3. Loosen the chamber, starting with the nipple, and look for the damaged area on it.
If the puncture is not visible to the naked eye, find a way to lower the inflated tube into the water at least in parts and determine where the air comes from by looking at the bubbles. For the same purpose, you can wipe the rubber with soapy water. An option for very field conditions is to hold a wet hand at a close distance from the surface of the chamber: in the place of the hole you will feel cool.
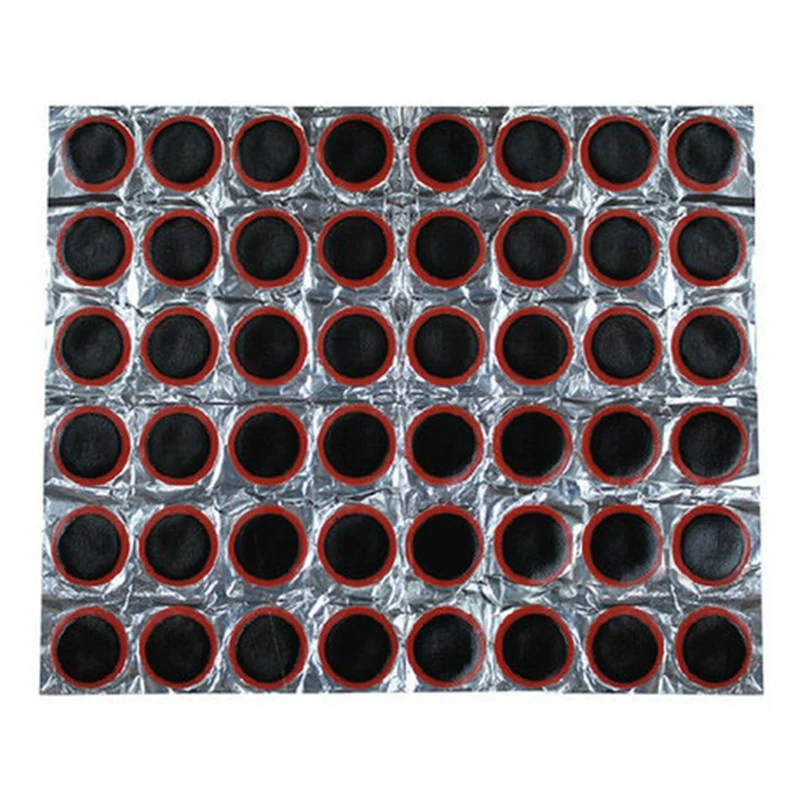
4. Select a patch from the repair kit according to the size and shape of the damage.
5. Thoroughly clean and dry the puncture site and its surroundings. Ideally, it is also desirable to degrease them if you have gasoline, acetone, etc.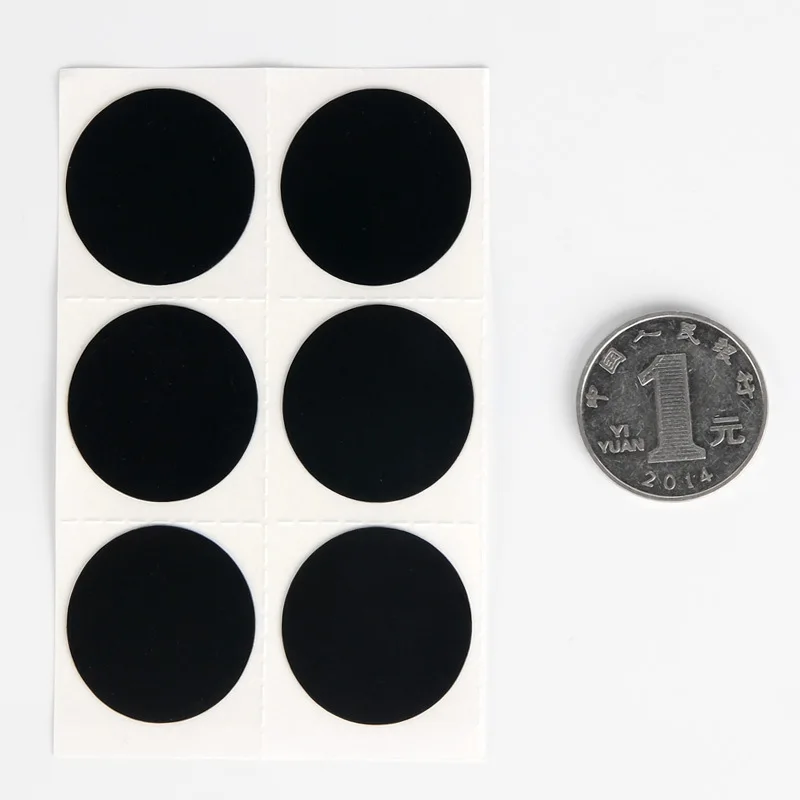 at your disposal.
6. Gently rub the chamber and patch with emery cloth to roughen the bonding surfaces for better bonding and better adhesion.
7. Apply adhesive to both surfaces, wait the time specified in the instructions for this particular compound and seal the hole.
8. Wait for the glue to dry, put the inner tube into the tire, put the tire on the rim and inflate the wheel with a pump to the required hardness.
There is no single answer to the question of what is better - a repair kit or a spare camera - there can only be a couple of tips.
It makes sense to put a spare tire in a backpack if the rides are short and the weight of the luggage is not particularly critical, but time is precious.
Yes, it's heavier and bulkier than the repair kit, but the above guide will be five points shorter in one fell swoop. No need to look for an annoying hole that seems to be hiding on purpose, no need to wait for the glue to dry - remove the old camera, put in a new one, and you can continue to pedal and devour kilometers.
But on long trips, especially off-road, a good repair kit is still preferable: firstly, the weight of a biker’s luggage tends to increase in sensations in direct proportion to the distance traveled, and secondly, on a long and difficult road it may not happen one puncture.
Sooner or later, every cyclist has such an unpleasant situation as a bicycle inner tube puncture. Finding a flat tire at home is one thing (although it also requires some knowledge of camera repair), but what if you blew it during a multi-kilometer ride, for example, somewhere in a field? How to determine the puncture site in such a situation, correctly change and seal the bicycle chamber, what kind of glue and patches are best suited for this purpose. In addition, in this article we will consider some of the nuances of repair and proper operation of bicycle chambers, for example, we will talk about what pressure they should have and much more. 9Ol000 Related video
During long trips, it is advisable to carry not only a bicycle tool, but also a spare tube, with which you can quickly replace the failed one and go further. After all, this is much faster than waiting for the glue to dry on a freshly sealed one. Therefore, in this section we will consider such a question as how to remove a bicycle tire and replace the camera when it is punctured.
 In most cases, the plant's nail or needle remains in the bike tire, and if left unremoved, it will pierce the new tube as soon as it is replaced.
 Be careful not to get a tube between the mount and the rim. This may lead to its rupture. If you do not have a magazine spatula, then you can use any non-sharp, preferably plastic object of a similar shape. It is not necessary to use wooden products for these purposes (they may be with burrs) or metal products that damage the paintwork of the bicycle rim. Sharp objects (screwdrivers, knives, etc.) are strictly not recommended for use. They can damage both the tube and the tire.
 At this stage, we have removed one side of the tire.
 It is important not to turn it over to the other side until we find the puncture site and find it on the tire (by attaching a tube to it).
 After that, we lower it completely through the nipple.
 The punctured chamber should then be repaired, for example after you have returned home from a bike ride or during a break.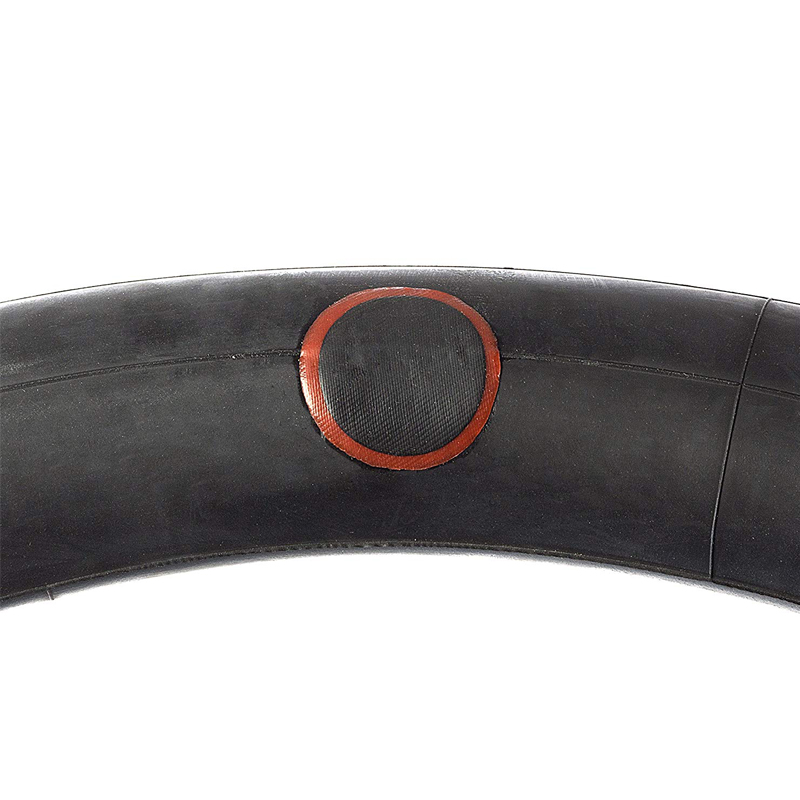
At first glance, a very simple procedure for identifying a puncture site can become much more complicated depending on where you find a flat tire (at home or during a trip). To simplify the search procedure, it should be taken into account that in 90% of cases it is located on the so-called "contact spot" of the wheel with the road, usually no higher than 2/3 of the chamber height. An exception may be damage from the rim (if the rim tape failed on the latter) or the iron threads of the tire cord that came out. Therefore, we will consider several options for how to find a hole in the bicycle chamber through which air is bled.
Not all adhesives and patches are suitable for repairing a punctured bicycle wheel. Therefore, it is worth dwelling in more detail on the topic of what is possible and what should not be sealed with a bike camera. There are several options, which we will discuss below.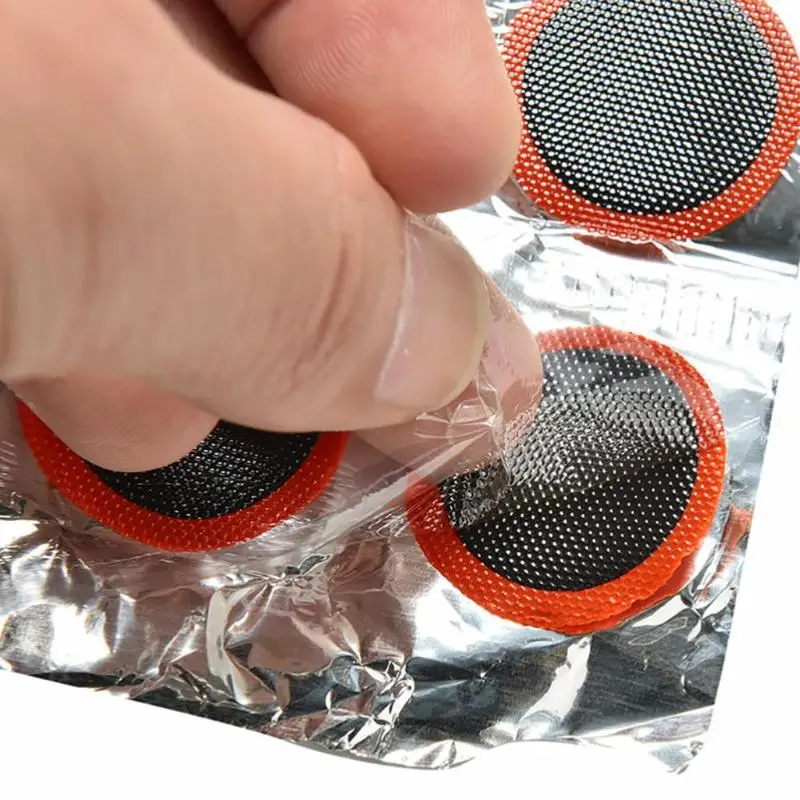
 They are quite common. For several years of use, none of the patches flew off and began to let air through. And the cost of this product is lower than that of famous brands. The disadvantages include that the set contains only glue and patches, and what is most offensive, there are disproportionately more patches than glue. Well, these are already trifles. In general, I advise everyone.
  It is quite difficult to do at home (and impossible in the field) and you can easily screw up the camera.
 After we have found and marked the place of the bicycle inner tube puncture, it is necessary to start its repair, namely, to seal this hole. To do this, you must perform the following operations.
 This information can be found on the adhesive tube. We also pay attention to the exposure time in air and the time of complete solidification indicated there (the last two points may not be indicated).
 If, after you have sealed a puncture on the bike tube, it still deflates over time, then you should check:
 To do this, the place with the patch should be lowered into the water and make sure there are no air bubbles. If they are, then you will have to tear off the old and glue a new patch.
 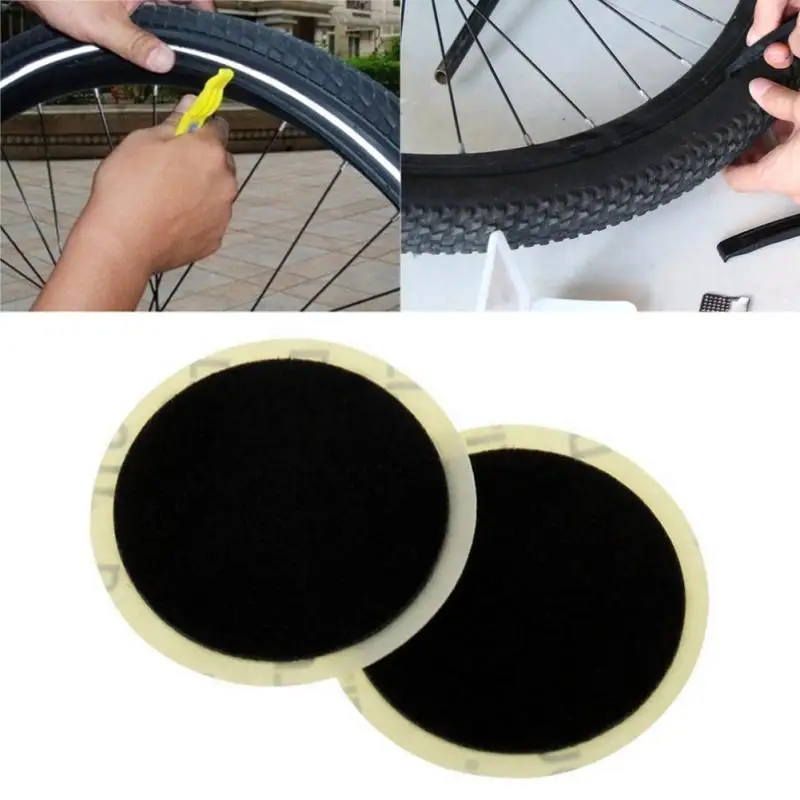 But I repeat that in this case, a tire replacement is required, because. this will be repeated regularly.
 If the tube is damaged at the base of the nipple (for example, it was rubbed by the rim), it is better to replace it immediately. As a rule, such defects cannot be repaired.
To reduce the chance of unexpected tire and tube damage while riding, there are a few simple rules to follow.
 Therefore, on cold days, the chamber should be inflated a little more (because as the temperature of the air in the closed volume decreases, its pressure decreases). Therefore, if you pump up to 3 bar in summer, then in winter you can increase the pressure by about 1 bar (but not higher than the maximum allowable).
 There are two more devices on the bike parts market that are designed to make life easier (at least they position themselves that way) when riding a bike. This is an anti-puncture tape and sealant, which is poured in a small amount into the chamber and is designed to “tighten” punctures while driving.
Anti-puncture tape is a strip of soft, rubberized plastic or, in more expensive products, Kevlar, that can be glued or simply inserted between the tire and the bicycle tube to protect against punctures. But there are pitfalls here. Cheap anti-puncture, firstly, does not always protect against punctures, and secondly, it can fall apart inside the tire and rub the chamber into dust with its fragments, thereby dooming the latter to ejection. Plus, it's extra weight. In general, after sitting on the forums, I agreed that they are more blamed than praised.
As far as the sealant is concerned, things are not so good either. As a temporary solution, when you don’t want to bother with replacing the camera, you can, of course, use it. But the sealant does not seal the puncture completely, but only reduces air leakage. Plus, there were complaints after use, when they wanted to stick a patch on the puncture site.
In general, according to the editors, it is better to use better quality bicycle tires with built-in puncture protection, carry a spare tube with you and not bother with the above accessories.
