“A tire only loses air if it’s punctured.” This is a common misconception that we have all had or heard and yet the reality is quite different. Indeed, a tire can lose air even without a puncture, as for example in the case of a crack in the valve that is used to inflate your tires. A punctured valve is difficult to detect, and not taking care of it in time can have real consequences for your tire, but also (and above all!) for your safety. Blackcircles Canada, your online tire specialist, offers below a complete guide to the causes and consequences of a punctured valve, and how to repair a leaking valve stem.
A valve is a pin located on the outside of the tire, through which the tire can be inflated/deflated. It has a mechanism consisting of a spring-mounted valve that closes tightly with the air pressure inside the tire. Over time, the stem valve may become brittle and cracked, which may increase the risk of air leaking through it.
When the stem valve leaks, the affected tire is no longer able to retain air. Depending on the extent of the damage, the air will leak out slowly or more quickly. In both cases, the valve must be replaced.
If the air leakage is slow, you will be subject to the problems encountered by drivers driving with underinflated tires. Internal damage that can shorten the service life of the tire by up to a quarter, increased fuel consumption due to higher rolling resistance: the tire will damage faster, and your energy-efficiency will be significantly lower. The tire will also have poorer traction and the stability of your car will be reduced when cornering, not to mention the more pronounced deformation of the tire that increases its internal temperature, which can cause it to burst. Finally, an under-inflated tire increases the risk of hydroplaning. Tire pressure is thus very important!
 Here’s how to do it!Step 1: Make sure it’s your valve stem that’s leaking.
First of all, make sure it is the tire valve stem that is leaking. To do so, there’s a very simple trick! Apply a mixture of water and dishwashing soap to the valve with the cap removed. If bubbles start to appear, your valve is leaking. If this is not the case, and there is a definite air leak, it will be located elsewhere on the tire.
Step 2: Gather the right tools before you start!Before you begin, make sure you have all the necessary equipment to complete the replacement of the faulty valve stem.
For this, you will need the following:
You are now ready to start the process!
Step 3: Loosen the nuts on the wheel you are going to work on.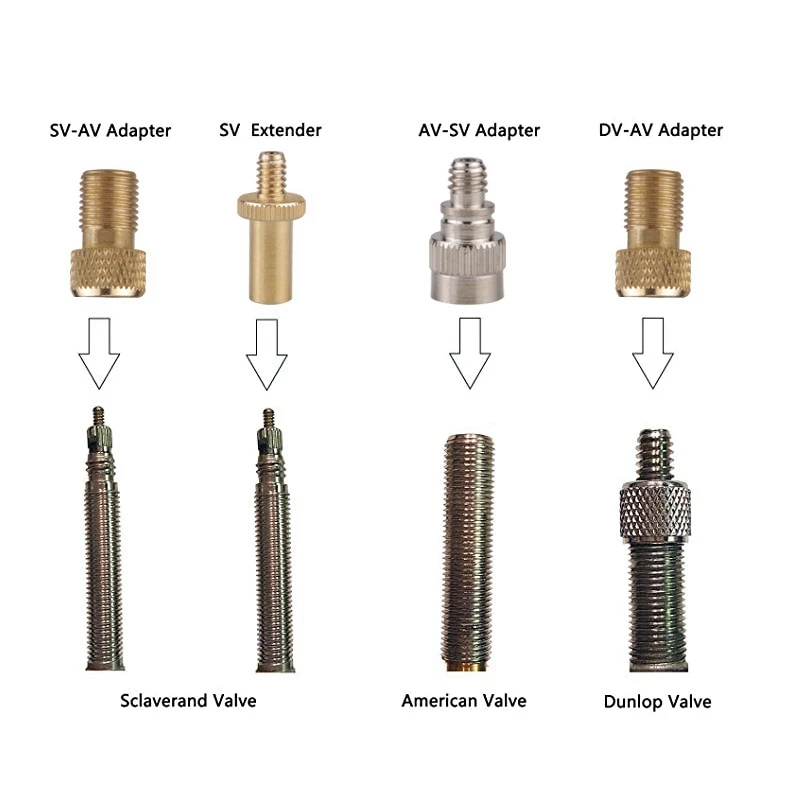
To do so, use the wrench mentioned in the previous step to loosen each of the lug nuts holding your wheel in place. Do this while the car is still on the ground.
However, for certain models of vehicles, it is possible that the wheel nuts have an anti-theft ring. If this is the case, you’ll have to use the appropriate special key to remove the locking nut(s).
Step 4: Raise your vehicle with the jack and then remove the wheel.First and foremost, make sure the handbrake is applied so that your vehicle is completely immobilized. Then, use your jack to lift your car. Be sure to position it on the right part of the chassis so that the car is properly supported. This will prevent any damage to the car and any bodily injury. Once your car is lifted, secure it on jack stands. Unscrew the wheel bolts completely, then remove the wheel. Finally, place the wheel on the ground flat, with the outside of the wheel facing up.
Step 5: Remove the valve stem core with the removal tool and let the tire deflate.
If you have not already done so, remove the valve cap. Then remove the valve stem core using the valve stem removal tool to release the air from the wheel, which should normally deflate completely on its own.
Step 6: Separate the tire’s bead from the wheel.For this step, use the sledgehammer in the following way: hit the tire sidewall with the sledgehammer in the same spot until you hear a crack or popping sound, and see the inside lip of the tire visibly break loose from the rim. This means that the tire has been successfully detached from the lip of the wheel.
Once the tire bead has been broken, continue hitting with the sledgehammer around the tire to detach the sidewall around the entire circumference of the wheel.
Step 7: Remove the tire from the rim.Once the sidewall of the tire is separated from the outer edge of the rim around the entire circumference of the wheel, insert your tire iron between the edge of the rim and the inside lip of the tire, and then pry upward to pull the lip of the tire over the edge of the wheel.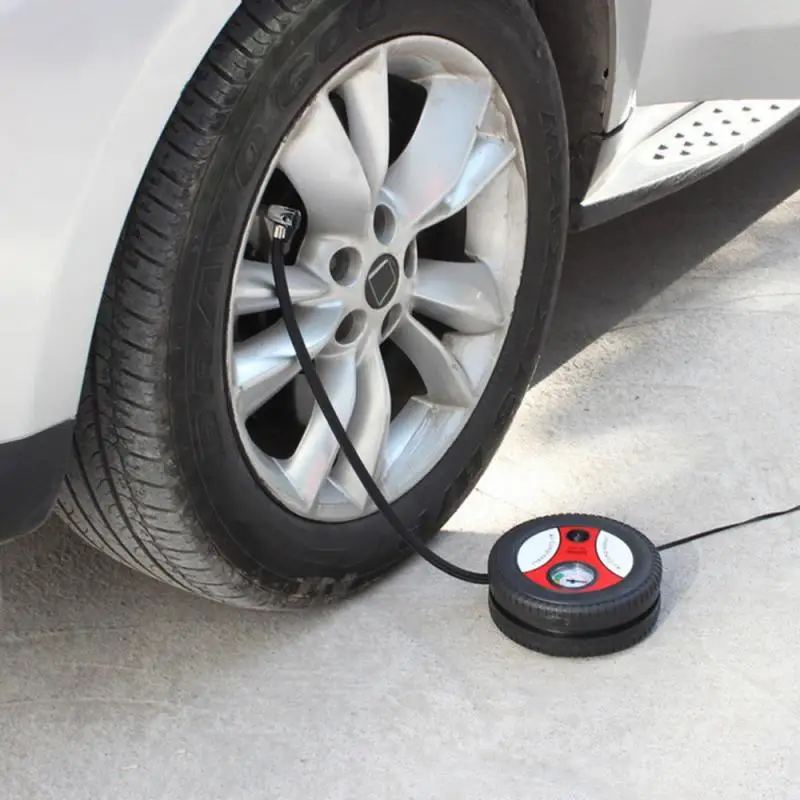 Once you have pulled the lip of the tire over the edge of the wheel, work the tire iron around the rim until the entire lip of the tire is off the rim.
Once the sidewall of the tire is completely above the wheel, grab it by its removed lip and pull it upward so that the opposite lip that was at the bottom of the wheel is now touching the top edge of the rim. Use your tire iron again by inserting it between the tire’s lip and the edge of the wheel and pry upwards to pull the lip over the edge of the rim. As before, work the tire iron around the edge of the wheel until the tire is removed from the wheel.
Step 8: Remove the defective valve stem and replace it with the new one.Once the tire is separated from the rim, it is time to remove the valve stem. To do this, first pull out the valve stem free from the wheel using the needle-nose pliers. Once this has been done, install the replacement valve stem from the inside of the wheel. Once it is in position, use the needle-nose pliers again to pull it through into its right place on the wheel.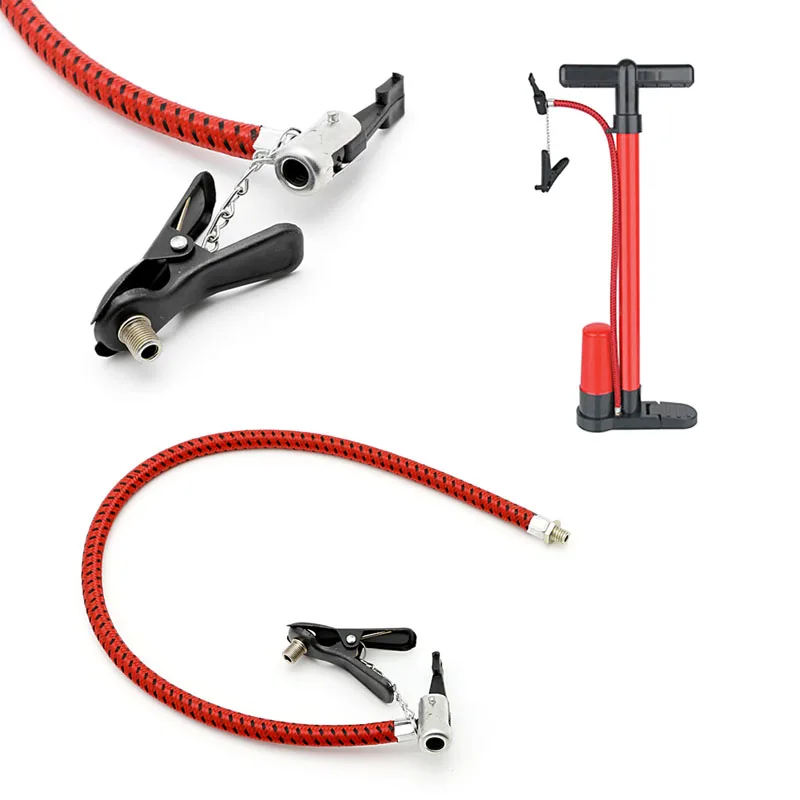
Once the stem is in place, it is time to put the tire back on its rim. To do this, start by pressing the tire down over the rim until the bottom bead clears the edge of the rim. The aim here is to return the lower sidewall of the tire to its original position on the wheel.
Then press the upper sidewall of the tire down underneath the edge of the wheel. Then tuck your tire iron between the tire sidewall and the rim edge and use it to make the opposite movement to the one you used to pull the tire sidewall out of the rim. Once the bead clears the lip of the wheel, use the tire iron to work your way round the entire wheel until the tire is completely installed on the wheel. Then inflate it to the correct pressure using the air compressor.
Step 10: Make sure there are no other leaks, and mount your wheel back on!Once the tire is inflated to the correct pressure, check for other leaks. If all is well, mount the wheel on your vehicle and bring it down by lowering the level of the jack stands until the repaired wheel touches the ground and you can safely remove them.
Ultimately, it is very important to make sure your tires are free of air leaks to maintain proper air pressure at all times. In the case of a slow air leak, the consequences can be dramatic. If the air leak is due to a faulty tire valve, you will definitely need to replace it. You can either follow the above procedure on how to repair a leaking tire valve or take it directly to a specialist. If, on the other hand, you need to change the entire tire, consult our selection of tires adapted for your car directly online on our website!
Tire Installation 101: When and how to change your tires?
Inflatable tire valve stems are one of the characteristics of a wheel that enables you to maintain proper tire inflation by adding or removing air as required.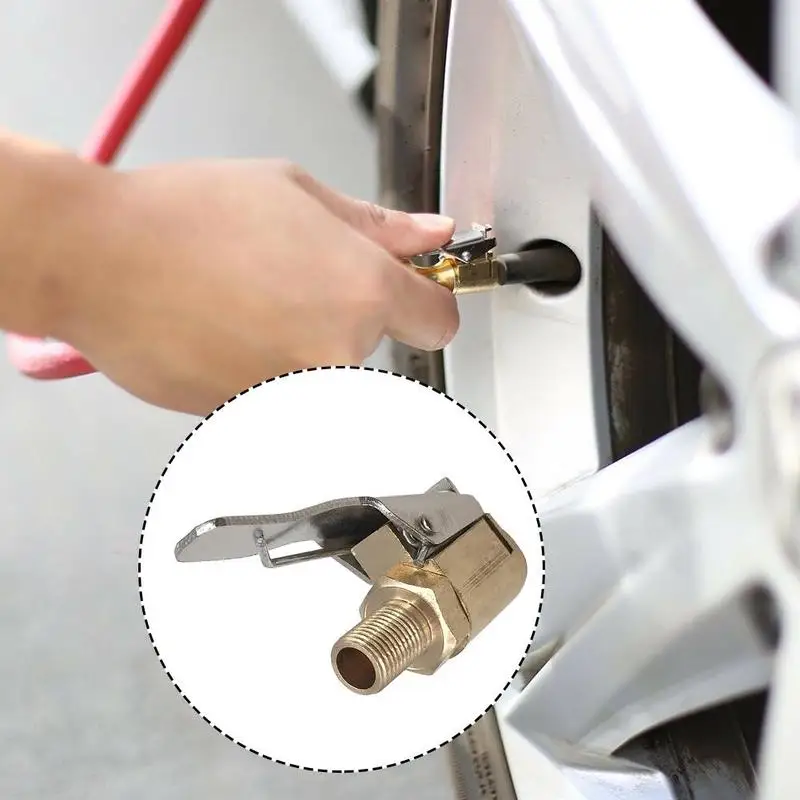 However, different factors will influence the tire valve stem to loosen, or worse, produce a leak. The good news you can tighten a loose tire valve stem with common tools and techniques.
To tighten the tire valve stem, begin with a clockwise rotation of the valve stem to the greatest extent feasible, screw up the valve stem with the valve stem tool to finish the tightening operation. Remember not to overdo it as this might result in damage to the valve.
It is possible for the valve stem to become loose and produce a leak in the tire. Some of the reasons for valves to leak include exposure to chemicals on the road, impact from bumps and potholes, corrosion from moisture, and aging.
When a valve stem is exposed to the sun for an extended period of time, the rubber components of the stem might dry out and fracture, causing the valve to fail. Failure to tighten might have catastrophic repercussions since a valve is crucial to the performance of a tire as well as the safety of the vehicle on the road. It is just as vital as installing and maintaining your vehicle’s equipment to ensure that it is properly tightened.
Because of the internal workings of your valve stems, the air is allowed to enter and remain in your tires. To inflate your tires, you just set the air pump on top of the valve stem’s tip and turn the handle. The valve on the inside is opened to allow air to flow in. Then, when you turn off the pump, the valve shuts and remains sealed due to the pressure or a spring that is in place.
How Can You Tell If Your Valve System Needs Tightening?Rubbing a water-dish soap mixture over the uncapped valve stem with your finger is the easiest way to see if it’s leaking. If air is escaping, bubbles will appear, indicating that the valve is leaking. There is no leakage on the tire if no bubbles form.
What Is The Proper Tightness For a Valve Stem?Not only may valve-stem nuts be overtightened, but so can valve cores if the valve is overtightened.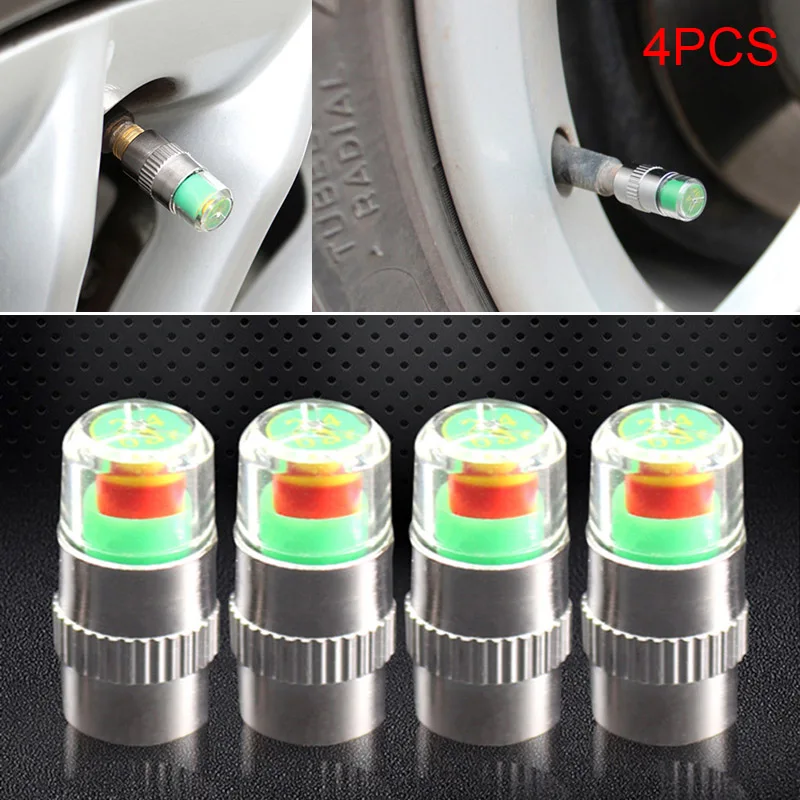 A valve core that has been subjected to excessive torque will be damaged, and a leak will result. Valve cores should be tightened to a torque of between 2 and 5 inch-pounds, which is practically hand-tight in nature.
When you have the main tool required, which is a tire valve stem tool, tightening your valve stem is a simple procedure. The tightening technique is as follows:
Step 1: RemoveTo get access to the valve stem, you must first remove the plastic valve stem cap from the valve.
Step 2: TightenTo tighten the valve stem, use your fingers to crank it clockwise as far as it will go or until it feels tight.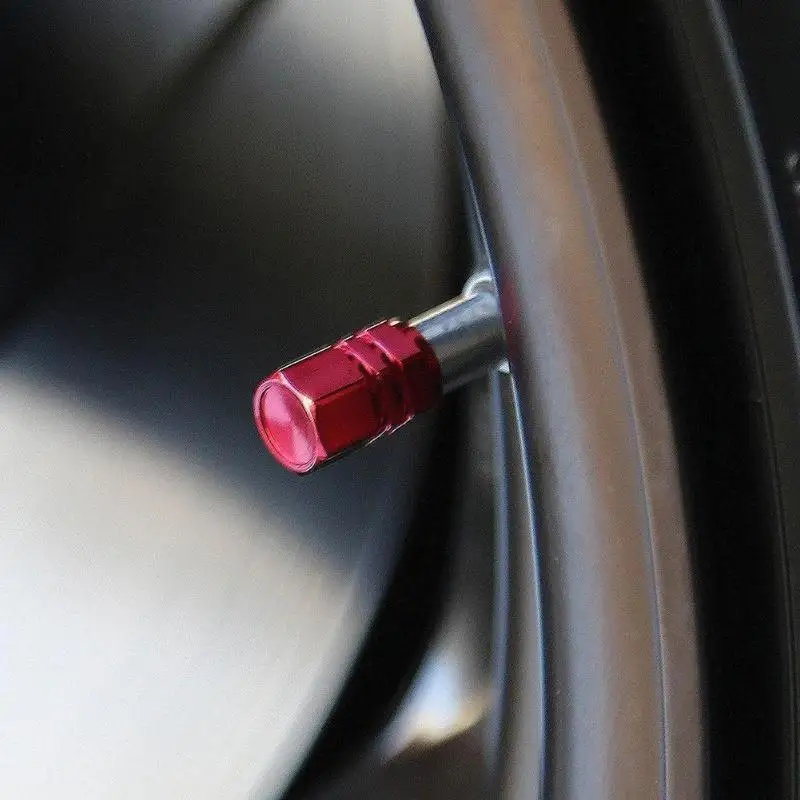
Hold the valve stem in place as you turn the valve tool clockwise onto the top of the valve stem; this will assist you in attaching the valve tool to the valve stem more securely and effectively.
Step 4: Continuous TurningUntil the stem is tight, continue turning the valve tool clockwise.
To remove the tool from the stem when you are done, hold the valve stem and turn the valve tool counterclockwise.
Cause of Tire Valve BreakageIn the case that moisture enters the valve stem and freezes, it might result in air loss and/or a flat tire. As the rubber components of the valve stem age and dry out, they may fracture, resulting in air leakage or even complete air loss.
Fixing a Leaking Tire Valve StemAside from a loosened valve stem, air leakage may occur even when the valve stem is well secured, which can be a source of concern. And if this occurs, you will be required to replace the valve in question.
Going to the tire shop for replacement or repair may be more expensive, but doing it yourself with a few simple instruments like a core removal tool and a replacement valve tool core will be more convenient and will save you money in the long run.
The following are the measures to take while changing a valve stem:
Step 1: Perform a DiagnosisFirst and foremost, determine if the leak was caused by a valve issue rather than a separate puncture.
Step 2: Deflate the tireDeflating the tire and removing any leftover air before beginning with the valve repair is critical because the pressure may cause the valve core to eject at a high enough speed to cause injury.
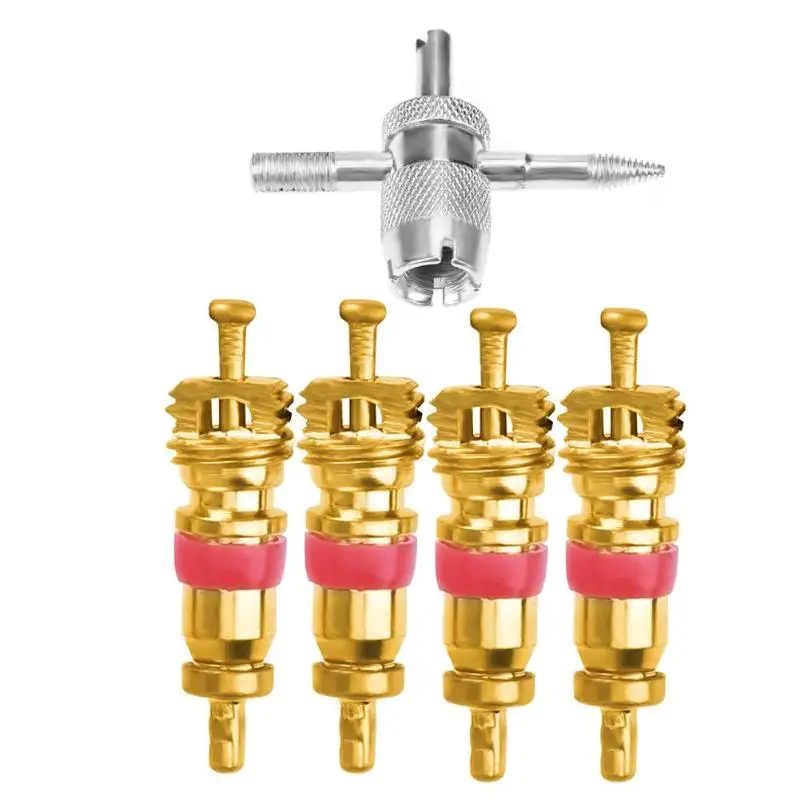
Step 3: Remove the Valve CoreRemove the core from the valve using the valve core tool. There are four separate ends, each of which serves a different function, and a forked end is required for the removal and installation of the valve core. Put pressure on the forked end of the tool to remove the core as you spin the tool counterclockwise. Insert the forked end into the valve. Clean the interior of the valve using the tapered end of the tool that is adjacent to it.
Always remember to clean out the valve of any dirt or debris.
Step 4: Install a New Valve Core and Inflate the TireInsert the new core into the valve, and using the forked end of the valve core tool, screw the core into place, turning it clockwise. Make sure that the core is not excessively tight since this might cause damage to the new valve core.
Step 5: Replace the Stem CapReplace the cap on the tire once it has been inflated and check the pressure. Even though it does not directly contribute to the tire’s ability to retain air, it is critical that you replace the caps once you have inflated the tire.
The valve’s inside is protected by the covers from debris and corrosion caused by moisture and chemicals carried in by the road, which can cause leaks.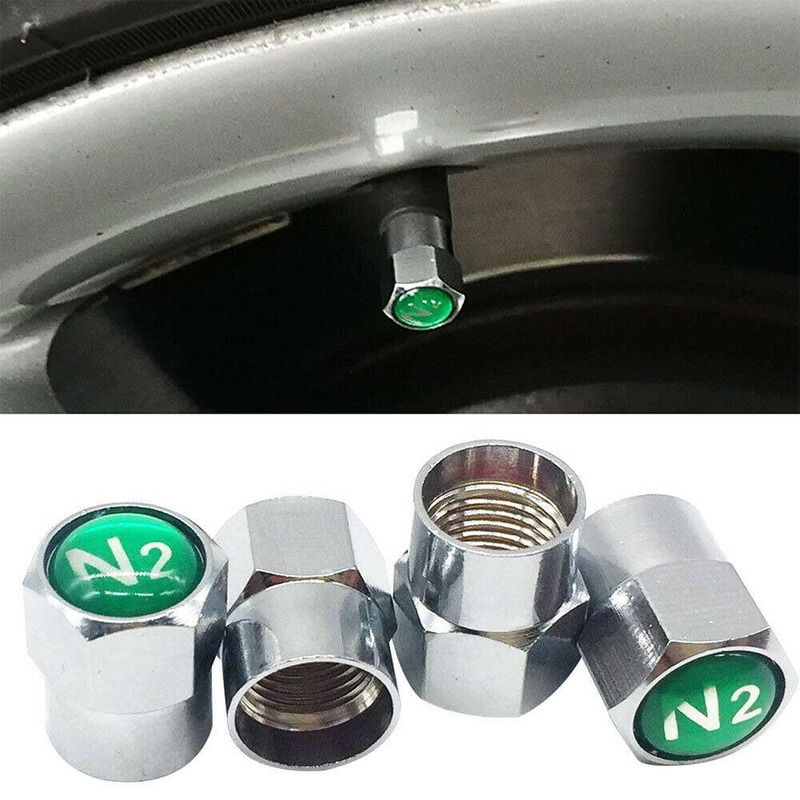
New tires are given with brand new valve stems. As a result of exposure to road chemicals and impact from bumps and potholes, as well as corrosion caused by moisture, valve stems may get damaged over time and with ongoing usage. In addition, prolonged exposure to the sun may cause the rubber components of valve stems to dry out and break, resulting in a leak.
It goes without saying that a broken or worn-out valve stem will not function properly, causing air to slowly but steadily seep out of the valve. Also, leaks may occur anywhere along the valve stem, such as at the place where the valve contacts the tire.
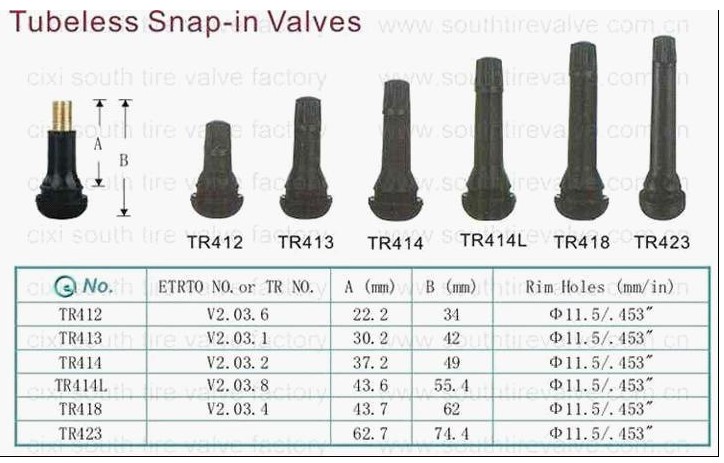
Choosing the Right Valve StemInflation pressures and higher speed limits make a selection of the proper valve stem extremely important. Most of the complaints involve light-duty trucks with TR413 or TR415 series snap-in valve stems. Many of these tires are now categorized as medium or even heavy-duty truck and bus tires. But because of their load-carrying capacity, some tires are still produced in sizes we formerly considered light truck tires.
The stem hole in these tires’ wheels is sometimes the same size as a passenger vehicle’s valve stem hole. The TR413 and TR415 valve stems were intended to handle up to 60 psi (4.1 bars). They are now rated at 65 psi (4.5 bars). Many outdated catalogs still grade the TR413 and TR415 valve stems at 60 psi maximum. One of the most common issues with the TR413 and TR415 series valve stems is that they run hotter than usual due to hot weather or other comparable conditions. Valves may break, blow out of the rim hole, or get unseated.
Replace it with a TR600HP or TR801HP high-pressure snap-in valve stem. Valve stems rated at 100 psi (6. 9 bars). A 200 psi clamp-in metal valve stem is also an option (13.8 bars). The TR600HP and TR602HP valve stems have .453-inch stem holes whereas the TR801HP and TR802HP stems have.625-inch stem holes. TR413 valve stems are for wheels with a maximum stem hole thickness of.156 inches, while the TR600HP high-pressure valve stem series is for wheels with a maximum stem hole thickness of.205 inches.
The TR602HP, TR801HP, and TR802HP valve series share this tolerance. A metal clamp-in valve stem must be used when the rim thickness at the stem hole is larger than .205 inches. In this case, the wheel might be thicker if the hole is larger. However, use the specified stem provided for the wheel’s stem hole thickness.
Making Use of ExtensionsWith the TR600HP and TR801HP series snap-in valve stems, metal stem extensions should never be utilized with the valve stems. The additional weight of the extension may cause the stem to shatter or crack, resulting in the stem being dislodged and air being lost. Metal extensions should only be used with metal clamp-in valves, and they should not be any longer than is absolutely required.
The TR416S is one of the most common clamp-in valve stems for wheels with a.453-inch stem hole, and it is available in a variety of sizes. It is possible that this valve stem will survive a long time since both the sealing grommet and the valve core may be changed if they get damaged or worn out during normal operation. When installing the clamp-in valve, extreme caution should be used since each one has a distinctly required torque for tightening the nut.
Check Hole SpecificationsNever assume the stem on the tire/wheel assembly is the correct stem. There may not be enough coined or machined area around a.453-inch stem hole. The coined area must be at least.125 inches larger than the valve hole.
Watch For ZippersZippers are harmful on all tires, not only on long-haul medium truck tires.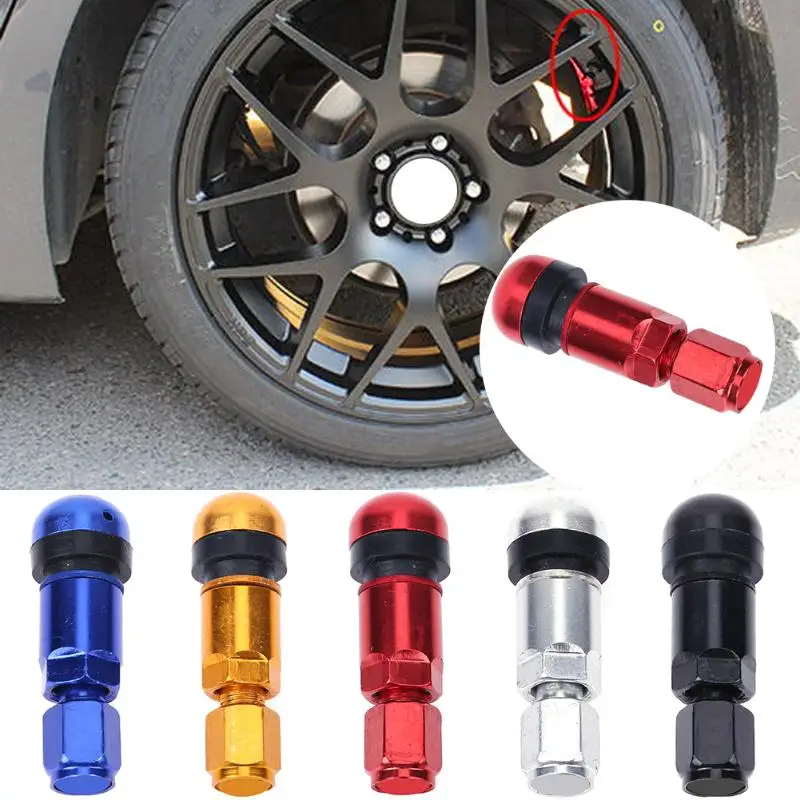 A sidewall fracture in a tiny light truck tire can be as hazardous as a bigger truck tire. Underinflated steel cord tires are always prone to zipper failure.
Despite the fact that a broken valve stem is a minor component of a tire, it may cause significant problems. It’s possible to adjust the tightness and looseness of a tire stem valve, but it’s best to do it on a frequent basis to avoid damaging it. When you remove your tire from your vehicle, you should do it carefully.
Can you repair a valve stem?Repairing the valve stem using a valve stem tool and a few other basic tools may be done by the car owner if the valve stem is leaking.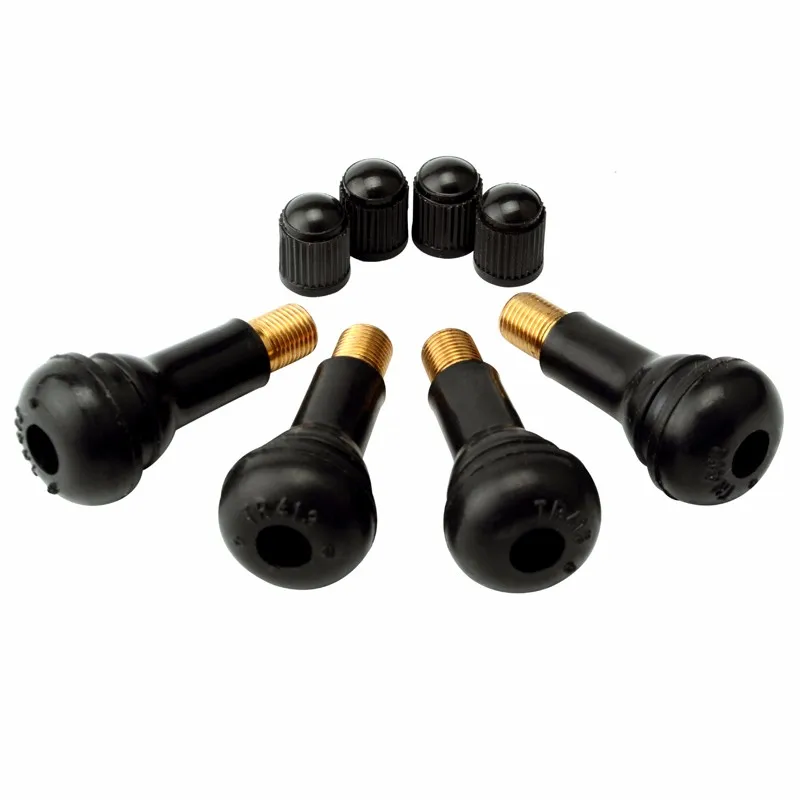 In order to get started, all you will need is a valve core tool and a package of replacement valve cores (both inexpensive). Use a valve core tool to carefully remove the old core and screw in the new core (be careful not to strip the threads), then fill the tire with air until it’s fully inflated.
When the tire is completely inflated, drip a combination of dishwashing liquid and water over the valve stem, around its base, as well as around the inner edge of the wheel where the tire and rim meet, to see if you can pinpoint the source of the issue. Any escaping air will cause bubbles to form in the soapy water around the leak’s location.
What causes a tire valve stem to go bad?Valve stem damage – New tires typically come with new valve stems, because the old ones tend to wear out. If you have older valve stems, they may go bad over time, due to use, dislocation, and exposure to chemicals on the road, such as road salt. They may corrode and go bad.
If possible, take the tire to a tire shop and have them remove the tire and replace the valve stem using a tire machine. This is the quickest method for replacing a valve stem in most circumstances. However, in the event that this is not a possibility, a tire may be removed and the valve stem replaced by hand in certain cases.
How do you change a valve stem on a tire core?Insert a valve stem removal tool or a slotted metal valve cap into the valve stem removal hole and screw counterclockwise until the valve stem removal tool or slotted metal valve cap is removed. Remove the core of the valve stem and set it aside. Replace the valve stem core with a new one and tighten it clockwise until the valve is fully closed. Then inflate the tires.
A ‘no-name’ valve stem may seem to fit and function well today, but how long will it last? Time and temperature influence the material’s lifespan.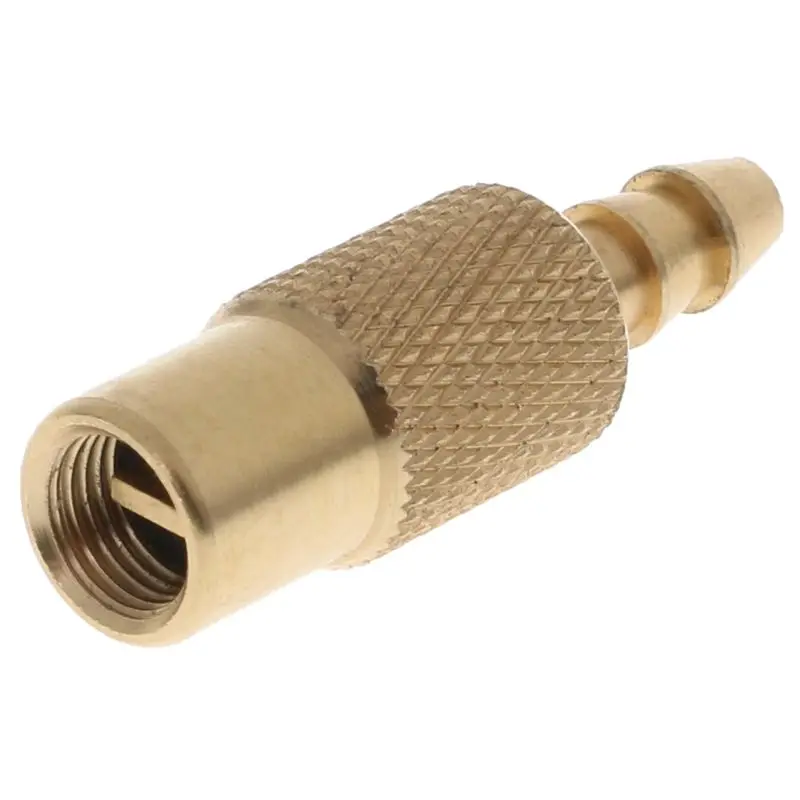 Reliable valve stem brands have a long service life and can go well with the tires’ life span, lasting up to six, eight, or even ten years.
When the tire valve stem becomes loose over time, it may result in gradual leaks that are difficult to detect. How to tighten a loose valve is a simple procedure that takes nothing more than a valve stem tool and your fingers to accomplish.
The procedure of tightening a slack valve stem, or replacing a valve core, is affordable, fast, and simple, and it may be completed by the car owner at their convenience and leisure.
A poor quality valve can instantly leave a tire without air. How to choose the right one and how to replace it - the experts at Behind the Wheel figured it out.
Studs for crossovers: driving choice
The topic for the study was proposed by a reader, a Zarulevite with 40 years of experience. Before a long trip, he accidentally saw deep cracks on the wheel valves. When trying to move one of them, the tire expired, although its age was not prohibitive.
After studying the issue, we found out that most of the valves sold are not eternal at all. And a special meanness lies in the fact that almost always this most important detail is chosen not by car owners, but by tire fitters.
Tool for CIP valve replacement.
Studs no longer have advantages - all questions about winter tires Punctured a tire: 6 solutions (without removing the wheel) How to change the valve without removing the tire - an easy way
We carefully study and select tires and wheels, but we consider tiny penny valves to be eternal and hassle-free. For normal products that automakers initially install, this is the way it is. But when, for example, you are preparing a winter set of wheels - is it really possible to choose a normal valve yourself? Let's try. Note that we are talking about parts with a rubber case. Products with pressure sensors, as well as metal valves for motorcycles and high-speed cars are a topic for a separate discussion.
A conventional valve consists of a rubber body, inside of which there is a metal sleeve with an internal thread for screwing in the spool and an external thread for screwing in a plastic or metal cap. They can be designated by several standards - for example, TR or ETRTO. On a branded product, its type and date of manufacture may be indicated, but you can not bother with this. It is more important to remember that valves vary in length and in the size of the hole in the wheel. The deeper it is relative to the outside of the rim, the longer the body should be. However, if possible! – it is desirable to install the valve shorter: this reduces the likelihood of tearing it off in mud or snow, and also reduces the imbalance of the wheel assembly.
The valve for Niva differs in its dimensions.
Today, most valves are sold with "chrome look" embellishments. Plastic is preferable to metal - it is lighter and does not corrode.
The best way to save your nerves and money is to subscribe to your favorite magazine
The rubber used is not oil and petrol resistant, therefore only soapy water can be used during assembly. The insert into which the spool is screwed is made of brass or zinc alloy. At first glance, they look the same, having a yellowish tint: initially light zinc is masked under brass with an appropriate coating. The corrosion resistance of zinc alloy is lower, so brass is preferred. The internal thread for the spool is applied by cutting, but the external thread is cast. A very unfortunate solution: due to the “weakness” of the thread, the tips of many compressors and pumps do not stick to it. Therefore, try to use brass products.
A machined thread (left) is distinguished from a cast thread (right) by the presence of a groove under the threaded part.
Caps can be metal or plastic. The metal ones are prettier, but sometimes, by the middle of winter, corrosion from road reagents seizes them so much that when you try to unscrew these caps, the valve insert is folded. In addition, shiny parts are more likely to be stolen. Plastic caps do not shine with beauty, but they do not freeze.
Caps vary, but plastic caps are preferred.
If your tires fit short valves, then it is better to take them. At the same time, do not miss the landing diameter: for example, valves for Niva steel disks are larger in diameter than for other VAZs. To distinguish a brass case from a zinc case, the latter must be scraped with something hard: the coating will quickly fall off the zinc, revealing a light alloy.
Any hard tool will help to distinguish brass from zinc: something whitish is hidden under the outer yellowish layer.
Unexpected valve failure is almost impossible to predict. However, jokes with them are bad: a torn off "nipple", unlike a punctured wheel, will let air out almost instantly. It remains to look at them more often, and at the first cracks go to a tire fitting. It would be nice to get a couple of normal branded valves in advance: the tire fitter doesn’t care what parts to install, he looks at the price.
Either a special tool or a horned cap is required to unscrew the spool.
If the valve "poisons" air over the spool (this is usually checked by applying a little saliva to the hole), then you can try to tighten the spool with a metal cap "with horns". Worse, if the valve was torn off in a rut, ill-wishers cut it off, or it began to let air through the body. You can replace the valve on your own by depressing the sidewall of the tire and throwing the bead ring over the hump of the disk. Next, you need to cut off the old valve and insert a new one. The work is hard, but with a certain skill it is doable. And on sale there is a device for in-place replacement of the valve.
This is how you disassemble a tire at home.
Divorce at the tire shop Tire fitters recommend that impressionable car owners change valves every time they change tires. Total - twice a year. Moreover, a high-quality valve should serve no less than tires, that is, five or even ten years. |
Contents:
A flat tire on a car is always a nuisance, especially if the loss of pressure caught the driver not in the garage, but on an empty highway. And it's not always a puncture, because the bleeding of air can occur along the disk. Why the wheel is lowering along the rim and what to do about it, we will analyze in the article.
This problem is quite common with tubeless tires, where the rubber adheres to the disc due to internal pressure. At the junction of the disk and tire, the seal is sometimes broken and air is bled, which ultimately leads to a complete loss of pressure. In chamber tires, the situation is more unambiguous: if the wheel is flat, then look for a puncture.
Deformation is the main reason. Disc geometry is an extremely important thing for full-fledged work, sometimes even a dent in an insignificant place can be fatal. The car drove into the pit - the disk bent, the tightness of the cord was broken and all the air came out. Low temperatures outside the car, which causes the rubber to harden, is a common cause, especially if tightened with a tire change. Also, due to poor maintenance, improper storage of the prefabricated kit, or constant driving on roads sprinkled with reagents, the disc begins to rust, as a result of which corrosion eats away the metal, forming micro-holes through which air will be gradually etched. Blowing off the wheel can also occur through a faulty nipple.
In the end, the reason that the wheel is going down is the most banal - the rubber is already old and deformed over time, which means it is physically unable to provide the desired density at the point of contact. There is nothing to prevaricate here: the tire urgently needs to be replaced.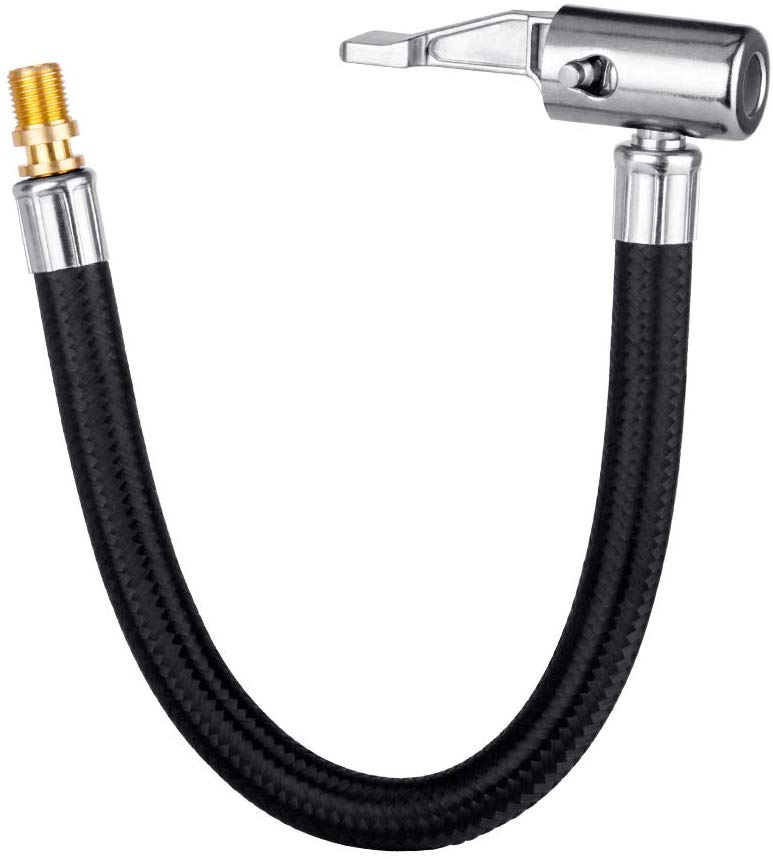
It would seem that since such a disaster does not happen with chamber tires, isn’t it better to give preference to them? Maybe in this sense this is true, but in fact, tubeless has more than one advantage. Here they are:
They have no friction between the tube and rubber, which means that the tire heats up less during long rides.
It is lighter and more reliable, since the chamber version can burst at high speed.
It balances better and holds pressure longer after a puncture.
A hole in the tread may not interfere with the ride at all - a stuck nail will simply not allow air to escape. With a chamber tire, this is impossible, it will be blown away pretty quickly.
Damage to the tread can be urgently repaired with a repair harness. This is quite enough to get to the nearest tire center and change tires.
First, make sure that you do not have a puncture in the wheel or that the cause of the trouble is not in the nipple. It is elementary to notice a protruding nail, but it is not always necessary to pull it out immediately and immediately. As we wrote above, a foreign object can simply get stuck in the tread and the air will have nowhere to go. An open puncture is repaired with a tourniquet.
The valve must be smeared with soapy water or simply slobbered - if there are no bubbles anywhere, then it has nothing to do with it. A defective nipple will have to be replaced with a new one.
If the valve is in order, fully inflate the tire and smear the edges of the cord with soapy water. You can do this with a brush or use a sprayer. Air bubbles will tell you that the source of the trouble is in the detachment of the cord from the disk surface, i.e. in violation of the tightness of the tire seat. Metal edges should also be carefully examined - any cracks and welding defects can be the cause of a pressure drop.
To eliminate the descent from under the rim, you can do this:
We poison all the air and remove the wheel from the car.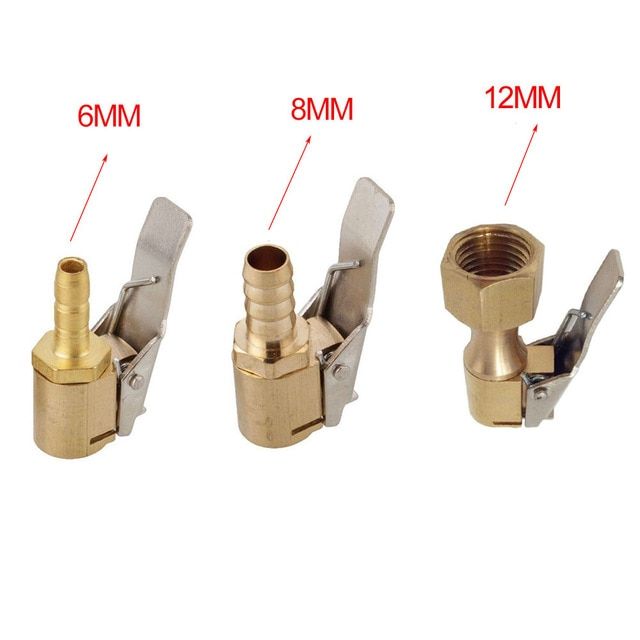
It is best to disassemble it, so it will be much more reliable to fix the problem. In order not to do the balancing again after the procedure, it’s a good idea to mark the position of the nipple with chalk first.
The disk edges will have to be properly sanded with fine sandpaper in places of rust damage and covered with a new layer of paint.
After the paintwork has dried, we put the tire back on and spread the rubber on the places where the cord touches the disk with a special sealant or mastic. Or you can use the soap solution again, but this time cook it much thicker so that it resembles glue in viscosity. And with the help of a simple brush, we go around the entire circumference of the cord on both sides of the wheel.
We inflate the tire with a compressor, pressing the cord against the disk.
So we will eliminate the damage and provide a tighter fit on the seat. The sealing compound must penetrate all micropores and prevent new bleeding of air.
If there is absolutely no time to remove the wheel, and trouble overtook you on the road, it is enough to bend the edge of the cord and also smear the rubber with sealant or soap. This is quite enough to reach the garage or car service.
The described methods are suitable if there was no serious deformation and there are no cracks in places near the mounting holes or there is no damage to the tire cord. In the worst case, you can’t do without rolling a disk in a tire fitting or replacing it. If you have an alloy wheel, then you can fix it, but this is an extremely expensive business, comparable to buying a new one. However, even when repairing at a tire center, rolling a casting does not always help, and it may soon crack. It’s better not to even think about repairing the wheels yourself. A mistake can be costly. It is often much cheaper to buy one than to repair it. The assortment of the BlackTyres online store includes inexpensive models from Russian and foreign brands.