Have a flat on your Honda snowblower? Just got it out of storage to find a tire has come off a rim? Here’s what you need to do to fix it and keep it from happening again.
All Honda snowblowers built in the past two decades that use pneumatic tires are tubeless. That means if you have a leak, it’s in the tire itself. It also means that if the tire separates from the rim, the bead needs to be reseated to reinflate the tire.
Tire pressure should be checked before each use, even if you got your snowblower out the day before. If the temperature drops 10°F, tire pressure can drop up to one PSI. Tires can also lose one PSI each month they’re in storage. Honda’s snowblower tires are designed to operate at 8.5 PSI, so it doesn’t take much for the pressure to drop significantly between uses.
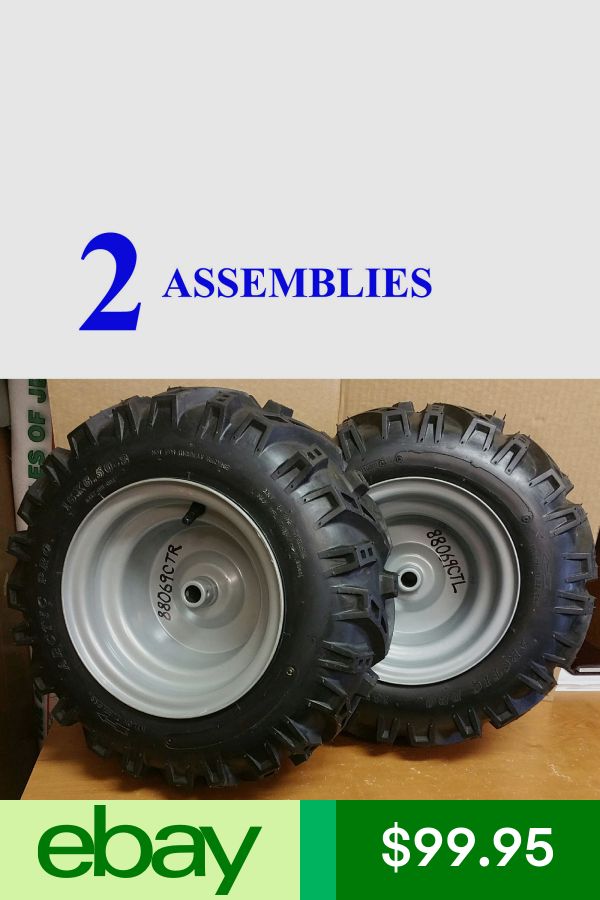
Removing the wheel will make it much easier to work on the tire. Honda offers some tires and wheels as a complete set, letting you replace a bent rim and tire in one step.
1. Disconnect the spark plug wire to prevent an accidental start.
2. Lift up the rear of the snowblower so that the tires are off the ground.
3. Depending on the model, there will be either a bolt or a Clevis pin on the axle. Remove this part, and slide the wheel off of the axle.
4. Slide the new wheel onto the axle and tighten down the bolt or reinstall the pin.
5. Air up the tire before lowing the snowblower to keep the bead from separating it from the rim.
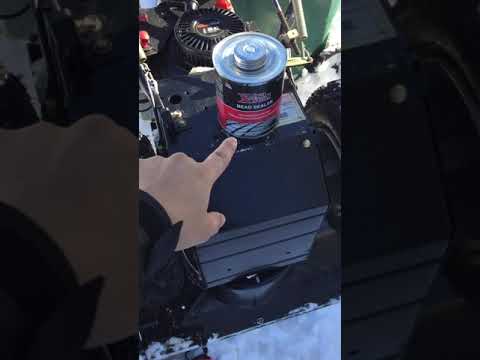
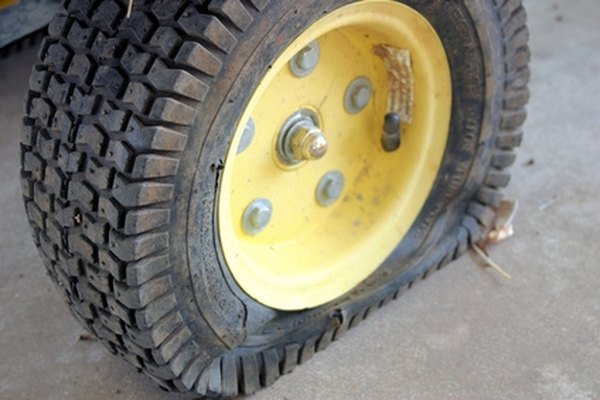
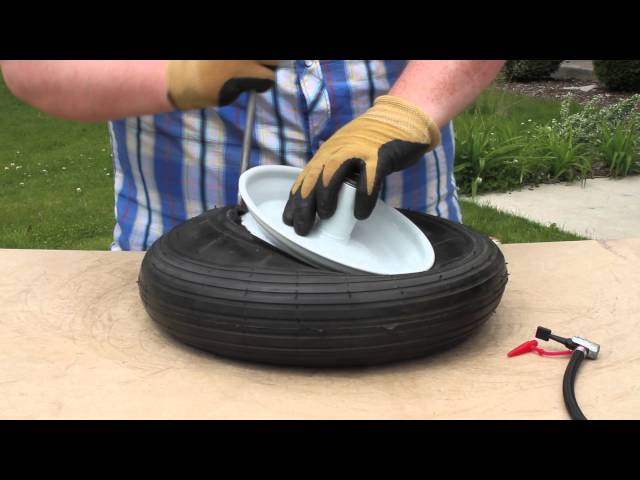
If the tire pressure is too low, rolling the snowblower can cause the tire bead to roll off of the rim. If that happens, it can be reseated by using air pressure to push out the sidewalls of the tire:
1. Remove the wheel.
2. Hold the tire and wheel in a way that lines the bead up with the rim.
3. Connect the air valve to a compressor or a pressurized air tank. You may need to go over the recommended operating pressure to push the bead onto the rim, but try not to go above the maximum pressure on the sidewall. The goal isn’t to put a lot of air in the tire, it’s to put the air in quickly to get the bead to meet with the rim.
Most of the time, the tire will expand and seat on the rim with just air pressure. If the bead still doesn’t want to seat, there are a few things you can try:
— Apply grease on the inside lip of the wheel. This helps the tire slide up to the rim, and can reduce the amount of air escaping as you air up the tire.
— Remove the valve stem. This reduces resistance when airing up the wheel. Be gentle handling the wheel and tire when reinstalling the stem as the lack of air pressure can let the bead slide off of the rim again.
— Tie a ratchet strap or a rope around the tire tread. This pressure will help push out the sidewall so the bead doesn’t have as far to go to meet with the rim. To tighten a rope, slide a piece of pipe between it and the tire and twist, wrapping the rope around the bar.
It is possible to spray the rim with starter fluid and light it to pull the tire onto the rim, but it should be obvious that this is extremely dangerous. If the tire is that difficult to fit, it’s worth getting a complete wheel and tire instead of setting your snowblower and yourself on fire.
If there are cracks in the rubber or damage to the tire, it should be replaced.
1. Remove the wheel from the snowblower.
2. Push in the tire valve to release any remaining air inside the tire.
3. Use a set of tire levers or spoons to pull the bead over the rim. Once one bead is off the wheel, lift up the tire and pull the other bead over.
4. Fit the new tire onto the wheel using the spoons or levers.
5. Use the process above for reseating the bead. Air up the tire to the correct pressure, then install the wheel on the snowblower.
www.hondalawnparts.com is a certified Honda Power Equipment dealer, so we’re able to ship any OEM part currently available to any address in the U.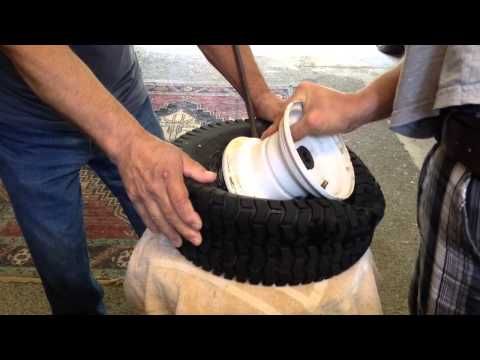 S. or Canada. Check out our wheels section to find a replacement for your snowblower, or use our search system to find the right part for your model.
By Amy Rodriguez
Not everyone lives in a region that receives consistent yearly snowfall, but many areas are prone to cold winter weather that can produce a surprise snowy day. Snow blowers carefully stored for years will need to be dusted off and powered on. However, many owners will find that one of their snow blower tires will just not hold any air. In these cases, the tire needs to be replaced. Careful attention to the tire's attachment point will guide you to a successful snow blower repair.
Unscrew the gas cap from the snow blower. Lay a piece of plastic wrap across the open gas orifice. Carefully screw the gas cap back on. This plastic wrap will prevent any harmful fuel spills during tire replacement.
Choose a sturdy surface to work on the snow blower, such as within a garage or on a concrete driveway. Lay a tarp down to protect the surface from any damage from the auger blades or dropped tools.
Tilt the snow blower up onto its auger by pushing the handlebar forward. If the snow blower is too heavy for you to tilt, ask a friend to help with the pushing process.
Examine the snow blower's bad tire connection to the snow blower. Each manufacturer has a different attachment design to the axle. The connecting screw should be on the center of the exterior wheel assembly or behind the wheel on the axle rod.
Detach the connecting screw from the blower with a screwdriver or socket driver. Fasteners may differ between manufacturers; consult the blower's specific manual for particular fastener types. Slide any washers off of the connection point and place aside.
Slide the wheel and tire assembly off of the blower's axle. Place a new tire and wheel assembly onto the blower's axle.
Place any necessary washers onto the connection point.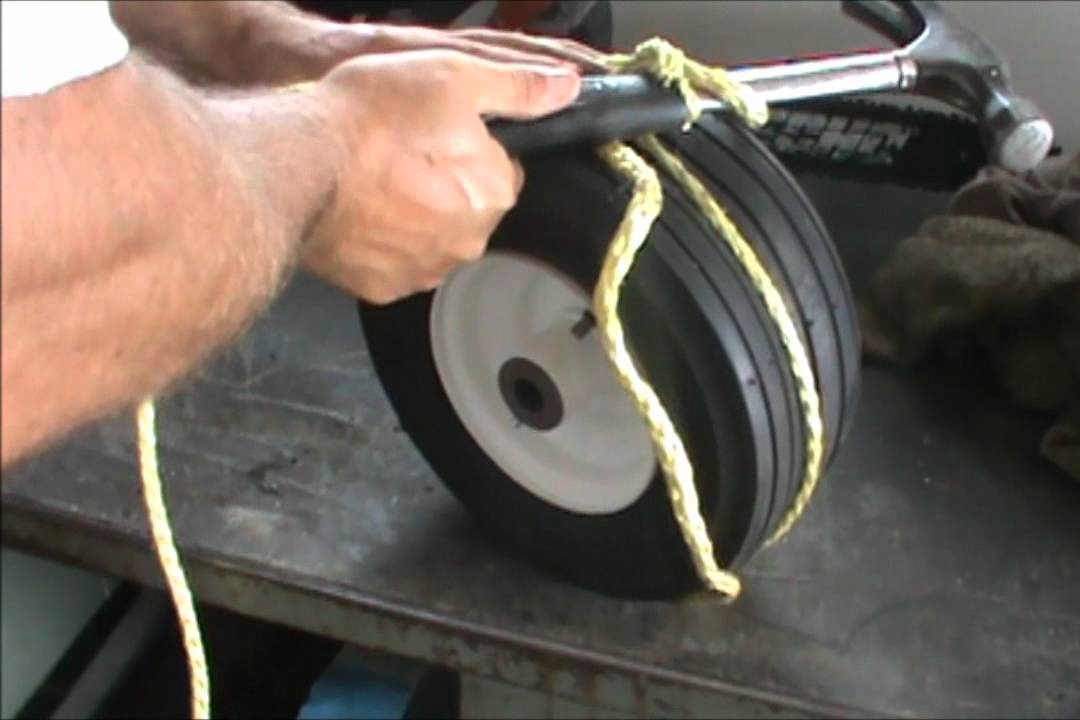 Insert the fastener onto the connection point and tighten with the screwdriver or socket driver. If your blower model has a screw torque specification, use a torque driver to tighten the fastener to the manufacturer's value listed in the owner's manual.
Tilt the snow blower back down into its normal ground position carefully. Remove the plastic wrap from the gas cap. Tighten the gas cap back down onto the snow blower.
Test the snow blower's new tire by rolling it across the garage or driveway. The movement should be smooth and bump-free.
References
Tips
Writer Bio
Writing professionally since 2010, Amy Rodriguez cultivates successful cacti, succulents, bulbs, carnivorous plants and orchids at home. With an electronics degree and more than 10 years of experience, she applies her love of gadgets to the gardening world as she continues her education through college classes and gardening activities.
Both novice cyclists and experienced cyclists should know how to change the camera on a bike. The problem of replacing a wheel can be encountered for various reasons: it was pierced with a nail or a piece of glass, you want to move an old camera, etc. The process is not difficult, but it requires skill and adherence to certain recommendations.
It's one thing how to change the camera on a bike at home, and quite another - on the street.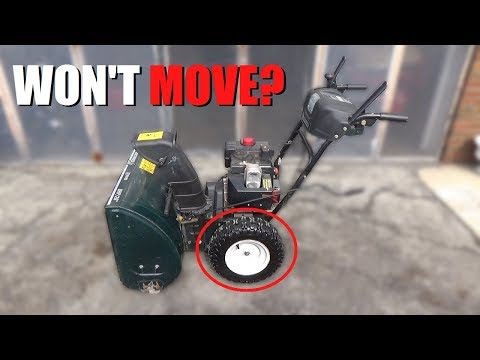 At home, you will have the necessary tools and time at hand so as not to rush. To replace it on the street, you will definitely need a bicycle pump and a repair kit. Due to their size and volume, not many people carry them with them. If the “first aid kit” for the bike is with you, then it will be possible to make a replacement anywhere.
The minimum replacement set looks like this:
You can buy a repair kit ready-made or assemble the necessary items yourself. It includes:
These items are easy to replace with "home" counterparts.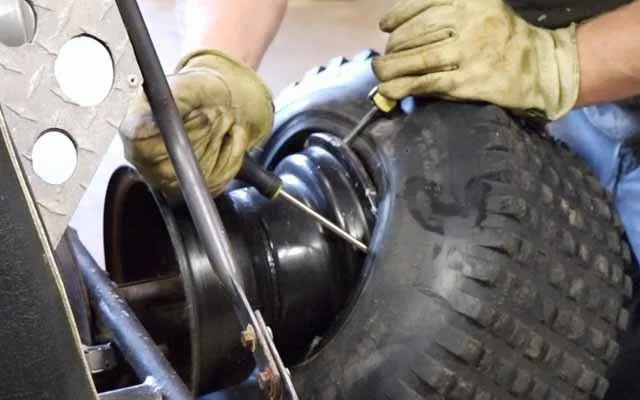 Instead of patches, old tires are used, sandpaper is used for stripping, and a degreaser is replaced with alcohol.
In the question of how to change a tire on a bicycle, the most difficult thing is to bend its side. Modern models are so tightly attached to the rim that the strength of their hands will not be enough. Therefore, a multitool or mounting blades are needed to replace. They are special plastic or metal "spoons". They are inserted between the tire and the rim and pick up the tire.
Before proceeding with the repair, you need to know a few details:
Replacement consists of several stages. They need to be done consistently and carefully.
As soon as the tools that are needed are at hand, you can begin:
 This will allow air to escape and reduce drag. If the nipple is automotive type, it is enough to press the button from above to release the air.
 The first stage is over, then you need to mount the wheel. Patch the hole or replace the tire or tube. From the new camera, you need to remove the cap and the retaining ring.
These simple actions are enough to get the bike back on track.
Remember that when changing a wheel, there is no need to rush. Be careful at every step. Any inaccuracy can lead to further problems on the road and cause harm to health.
If you decide to keep the old tire, be sure to check its inside for the presence or absence of piercing or cutting objects. The object that pierced it could remain inside. This will cause secondary damage to the camera. If you found this item and removed it, you need to check to make sure that it did not break off and was completely destroyed.
When working with a montage, you should definitely hold it. It usually stays on its own, that's true, but the resistance of the tire can easily push it out. In an easy version, this means starting work again. In the complex - a blow to the face and injury.
The process of replacing a tire or tube has several nuances that you need to pay attention to before proceeding with the process:
 If it is pumped over, the chamber or tire will burst.
 Any cyclist can handle the replacement of a tire or tube, whatever the reasons: a puncture, a scheduled change, etc. To do this, you will need a repair kit, materials and a pump. It is necessary to choose the right tools so as not to increase the damage, and to be careful with the recommendations of the manufacturer. It is enough to make a replacement once, and in the future the process will no longer cause difficulties.
Choose from catalog :
Remedules
Cameras
tires
4 · Subscribers 0
This product is perfect for your 145X70-6 450/530-6 tire/wheel: also a replacement tube for 4.50-6, 5.30-6, 5.30/4.50-6 and 145/70 -6. Compatible with: It works with lawn mowers/tractors, hand carts, wheelbarrows, garden/utility/flat carts, yard trailers, trolleys, carts, wagons, generators, snow blowers, pressure washers, air compressors, wood shredders and more. Please check the pictures carefully before purchasing. Package include: 2pcs
Toki L. Louton
Level 1
713 Review
2 Karma
Arrived quickly and as described.
Good product for the price. The valve stem installed in the snow blower's tire broke, but it's not the fault of the camera. my faultView full review
Mario A. Anderson
1 Level
757 Review
4 Karma
They fit perfectly on my son's 50cc ATV. The tires were made tubeless, but we couldn't get them to stay on the rim. These tubes solved the problem for us. To examine the recall completely
Anthony L. Lopez
1 level
699 Review
5 Karma
Jacob S. Seymour
1 Level
763 Review
15 Karma
9 review
Kit includes two bleeder valves for use on most Showa inverted forks with a M5 x 0.8 air bleed screw in the fork cap. New ultra-compact, low profile design is only 11 millimeter high installed. Stainless steel body is stronger, will not corrode, and fits on many late model Japanese off-road motorcycles. Allows bleeding of air pressure without tools…
Learn more
9 Reviewed
The Adventure Mirror offers the ultimate in visibility and durability for Adventure bikes.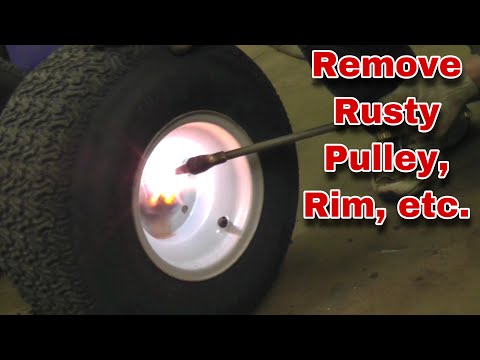 DOT spec glass, unbreakable housing. Includes two Adventure Mirrors, two 6" RAM Arms, two Ball Stud Bases (10 x 1.25mm thread), two Extension adapters (10 x 1.25mm), two Beemer adapters (10 x 1.5mm), and one Reverse-Thread adapter ( 10mm x 1.25). Additional…
Learn More
9 Review
FITMENT : 2005-2009 Mustang & GT-500 with factory or factory-copy aftermarket tail lights. PERFECT FIT : They are made with the proper grommet, connector and clips, so you know the fit will be perfect!. SOPHISTICATED ELECTRONICS : All Pre-wired Harnesses feature sophisticated electronics that automatically adjust the sequencing speed to match the turn…
Learn More
10 Review
.
9 review
[ Customized for Ducati ] Specially designed and customized for Ducati V4/V4S/V2/1199/1299/959/899/939(Super Sport)/848, goes better with your bike than other universal holders.