Last Updated: Sunday, May 13th, 2018, Created: Wednesday, November 29th, 2000
Pneumatic tools are amongst the most indestructible power tools you can buy - and yet we manage to kill them. So I took a trip to a few repair shops to find out what can possibly be done to maim, cripple and kill pneumatic construction site tools.
Let's start with the killers: dirty or moist air. If the air going into the system is not properly filtered, you're grinding grit right into the pistons. The only time this seems to be a real problem is when someone takes the filter off the compressor because it was totally clogged up, and then runs it without a replacement. Impatience can get expensive.
Now, moisture is something else. In a shop environment you will find an air drier or water separator on the line and, although it is a bit more trouble, you should have one on-site compressor as well. If you don't, your only recourse is to completely drain the tank every single day, if not twice a day.
If you are not in the habit of doing that, you are probably spraying water -- non-compressible, rust-encouraging water -- right through the guts of the tool. I remember as a kid we used to clean the pistons of my old Chevy by pouring water into the carburetor of a fast running engine. The cloud of sooty smoke that came out the other end attested to the incompressibility of water, as did the occasionally cracked piston.
Precisely because you don't have a perfectly dry air supply, lubrication is even more important on a construction site than in a shop. And not just any lubricant at that. The heart, and weak link, of pneumatic tools is rubber "O" rings. These need to be lubricated, but many lubricants will attack rubber. WD40 will eat rubber. You must use a "non-detergent" oil or, specifically, a "pneumatic tool oil".
Some people like to put self-oiling valves on these tools. That is fine, if they work. All too often they either supply too much or, more critically, not enough oil. If you really want to know that your pneumatic nailer is getting what it needs, put two to three drops of pneumatic tool oil right into the hose coupling joint at the beginning and end of each day and fire it a few times. At the beginning to provide lubrication, at the end to resist rust. Repairmen tell me that they often bring condemned nailers back to life with nothing more than a few drops of oil.
The quick connectors also have the same rust and lubrication problems as the tool itself. Make sure they are clean, dry and lubricated every night and you won't develop leaky hoses. A quick wipe while rolling up the hose is all that is required, but it makes a difference.
Beyond killing pneumatic tools, there are a lot of reasons why tools don't perform as they should, and one can be cold weather. If you are working in below-freezing temperature, use a pneumatic tool oil with anti-freeze. Also, keep the gun as warm as possible and keep frost off of both the air intake to the compressor and the air exhaust on the tool.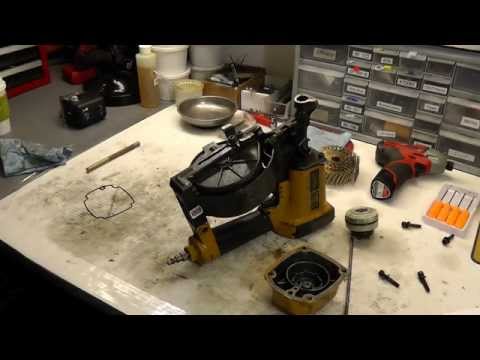
Using the wrong fasteners can cause poor performance and premature wearing of parts, although this is more common with staplers than with nailers. Check both the gun listing and the fastener listing to see that they are compatible. Also, keeping the delivery end of nailers clean will reduce jamming. This is a constant but necessary task with asphalt in a roofing nailer.
Although many nailers can take 120 lbs. of pressure, for some this much pressure will slowly destroy the anvil. Match your compressor pressure to the tool specs. Some nailers allow for high pressure at the compressor by providing depth adjustment at the nailer head, but when pressure gets low, nails from any tool begin to go in unevenly. A common problem with low pressure occurs with roofing shingles where the nails drive home well until you hit a truss, particularly an old or very dry truss. That nail will stand proud and if you don't catch it with your hammer, it will push up through the next shingle. But often it is not the compressor that is at fault.
If you do a lot of rapid fire shooting with any nails and can feel the difference at the beginning and at the end of a shooting spree, either the compressor is too small to keep up or the connectors are restricting the flow from the compressor and you are using the hose itself as your power reservoir. The air is going through the gun faster than it can get through the hose connector. When the hose gives you its pressure, you have to stop and let it fill up again before it works right.
So some of us feel like we are caught in a nasty contradiction: set the compressor to the safe limit of the tool and get poor performance, or set the pressure high and wear the tool out prematurely.
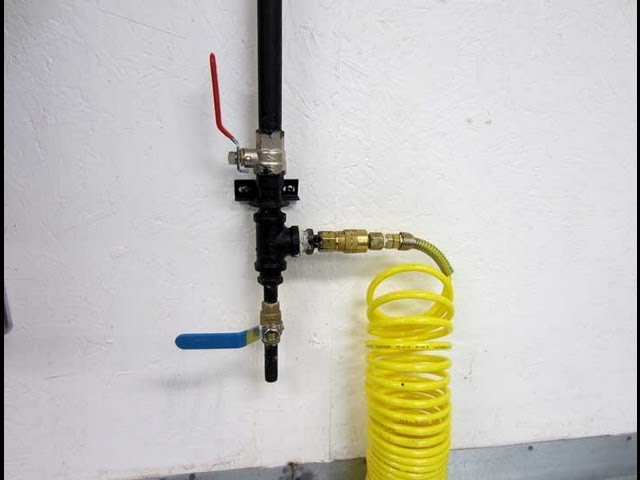
There is a third way to go. You lose about 10 pounds of pressure for each section of hose. Actually it is probably more the connector than the hose that is giving you the trouble. A 1/4-inch hose is light and easy to use, but take a look at how small the passage is inside the connector. If you need more than 50 feet of hose, it is best to use a 3/8-inch hose on the compressor and then the lighter 1/4-inch on the tool. If you use long hoses or many hoses frequently you should probably invest in "high volume" connectors that keep the inside diameter the same as the hose. Shorter hoses or high-volume connectors will give you better access to the power of the compressor tank, and if your compressor is big enough, that means smooth consistent nailing.
An apple a day may keep you out of the doctor?s office but clean dry air and non-detergent lubrication will keep your pneumatic tools out of the repair shop.
**Originally published as an article by Jon Eakes in Home Builder Magazine, the magazine of the Canadian Home Builder's Association.
Keywords: Pneumatic, Power Tools, Techniques, Maintenance, Tools
Article 647
Most pneumatic tools require air tool oil for optimal functionality. This oil is often expensive and sometimes hard to come by, hence the need for viable alternatives.
This article unpacks potential alternatives and how to use them.
Pneumatic oil is essential for all forms of pneumatic equipment since it provides lubrication while the equipment is in use. Here, the oil ensures less friction between moving components, prevents moisture and rust build-up, dissolves sludge, and protects O-rings.
The moving parts in air tools don’t touch. Instead, got a thin film of oil between them and they have various seals and O-rings to ensure airtight sealing. Compressed air moves the parts back and forth. To ensure proper operation, these parts require lubrication, ensuring that the seals and O-rings move as they should without getting damaged.
Following are some of the effective air tool oil substitutes. Check the tool manual before using any of these alternatives to ensure that the specific oil is safe for your application.
The transmission fluid works well for air tools, acting as a lubricant and generally allowing it to work as it should. ATF reduces wear and tear in air tools without creating residue on surfaces.
Automatic Transmission Fluid contains several useful additives including anti-oxidation additives, detergents, anti-foam compounds, etc. ATFs are inexpensive and are perhaps the best air oil substitute.
I suggest the Dexron Automatic Transmission Fluid as a cheaper alternative to air tool oils. Before using this oil, check for compatibility with your air tool.
Marvel Mystery Oil is suitable for most applications and can be used with most pneumatic tools. It contains a strong solvent, which will help lubricate nearly any tool under most conditions, dissolving any gummy residue inside the tool.
Marvel Mystery Oil – Get Here
It’s slightly more expensive than other all-purpose air tool oils but works really well and lasts long.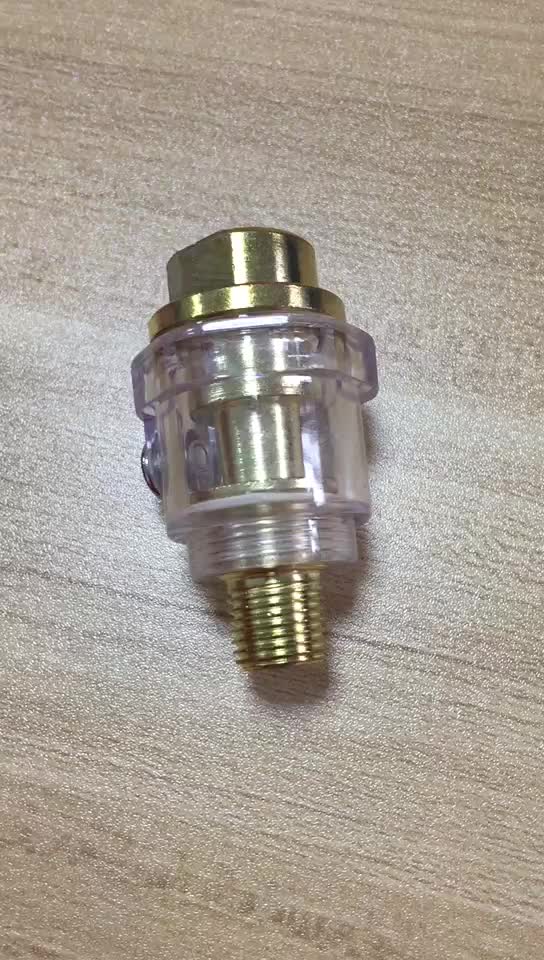
Hydraulic oils are ideal for high-pressure hydraulic applications, but they can also be used to lubricate lightly loaded compressors.
However, hydraulic oils usually have high viscosity and you cannot use oil with high weight on pneumatic tools.
Go with the ISO 32 hydraulic oil. This oil has a low viscosity at low temperatures, making it compatible with most pneumatic applications.
3-in-1 Oil is a petroleum-based oil that’s been in use for generations.
Generally, petroleum-based lubricants are not ideal for power tools as they can cause damage to elastomeric rubber sealings. The 3-in-1 oil seems to be the exception to the rule when it comes to petroleum-based oils and air tools. This oil is thin enough to work well in pneumatic power tools and doesn’t leave a gummy residue.
It’s perfect for most household applications with moving parts, like hinges, tools, nuts and bolts, and sewing machines.
Get 3in1 Oil for Pneumatic Tools
The 3-in-one air tool oil also dissolves sludge and gummy residue in your tool, operating it more smoothly. Make sure that you get the pneumatic tool oil and NOT the multipurpose penetrating oil.
As a last resort, you could use 10W 30 low-weight synthetic motor oil. Make sure that it is non-detergent and paraffin-free to avoid the build-up of wax inside your tool.
The above listed are some of the common alternatives to pneumatic tool oils available, and these work well in most applications. Power tool equipment manuals should always indicate which pneumatic tool oil to use with the equipment, how much of it, and oil top-up frequency. When in doubt, always refer back to the manual.
Air tool oil tends to be thinner than compressor oil. It also contains anti-rust agents. You can use a low viscous compressor oil to lubricate your air tools, but not the other way around.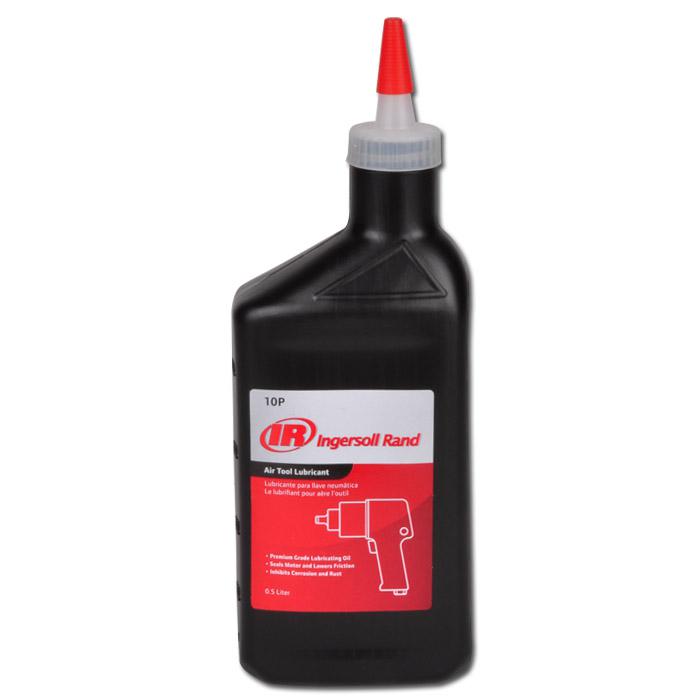
This is a common lubricant found in many households since a sewing machine needs to be oiled on a regular basis. So, can sewing machine oil be used for pneumatic tools?
If you have no other alternative, you could use sewing machine oil as air tool oil, although it is not recommended.
Unlike air tool oils that are mineral oils or synthetic, the sewing machine oil is a petroleum-based lubricant. Sewing machine oil may react with the rubber sealing and has a higher viscosity.
Your power tool only requires a couple of drops of oil, and one-time use of sewing machine oil is unlikely to cause any damage. However, continuous use of this lubricant can disintegrate the O-rings and will result in air leakage or jammed pistons.
Lubricating oil alternatives are legion, but some options are detrimental to your pneumatic tool’s operation. Here are the two most common ones to avoid:
Diesel is petroleum-based and combustible.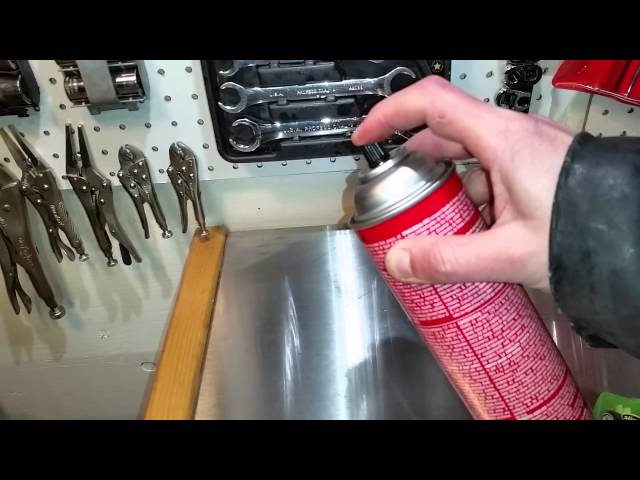 It’s never a good idea to use flammable, petroleum-based oils as lubricants in power tools. The petroleum reacts with the rubber made to manufacture the O-rings and other sealers inside the pneumatic tool, disintegrating them. This will create a gummy residue inside the tool, potentially damaging the tool.
In air tools such as impact wrenches or impact drivers with a built-in hammering mechanism, it can ignite diesel causing damage to the vane motor and anvil of the tool.
No, WD40 oil isn’t designed for pneumatic tools and, as such, could potentially damage your air tools. It is a degreaser that is used for removing rust, cleaning, etc. WD40 is a penetrating oil that swells the rubber sealants and in the long run dries the moving parts and can result in wear and tear.
Hence it is not recommended.
Vegetable oil produces a sticky residue inside air tools, affecting their performance and causing damage.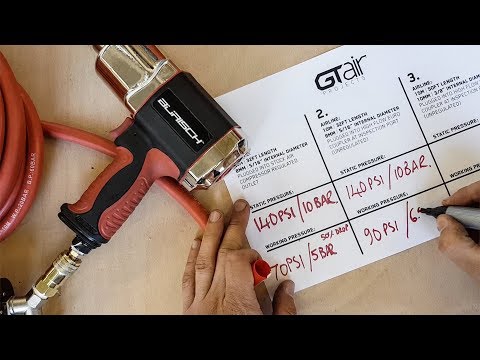 This residue attracts dust, creating a solid deposit inside your tool or machine.
Oiling air tools is a crucial step in tool maintenance. Choosing the correct oil and applying it according to the manufacturer’s guidelines ensures that your power tools function optimally and have a long lifespan.
Typically, two types of oils are available for air tools: mineral-based oil and synthetic oil.
Mineral-based pneumatic tool oils are the most commonly used and are considered the standard by most. However, this version is far more volatile than its synthetic counterpart. It thus leads to more significant oil loss during tool operation.
Mineral oil is generally more reactive than synthetic oil, and these reactions cause it to clump up. The tool life span shortens when this occurs, which counts against using mineral oil.
Synthetic tool oils are generally more expensive than their mineral-based counterparts. This increased expense is often worth it since it is designed as a high-performance oil. They reduce friction inside the tool, prolonging its lifespan.
Synthetic oils aren’t reactive like their mineral-based counterparts and thus won’t clump up inside the tools.
Air tool oils act as a lubricant for pneumatic tools and thus have a low viscosity. They also act as anti-rust agents and clean the tools while in use. Air tool oils contain solvents that dissolve gum and sludge build-up within the tools. This type of build-up could potentially reduce the tool’s speed and power.
In short, the oil should have the following properties.
Air tool oils’ low viscosity allows them to be easily atomized, spreading throughout the tool by compressed air.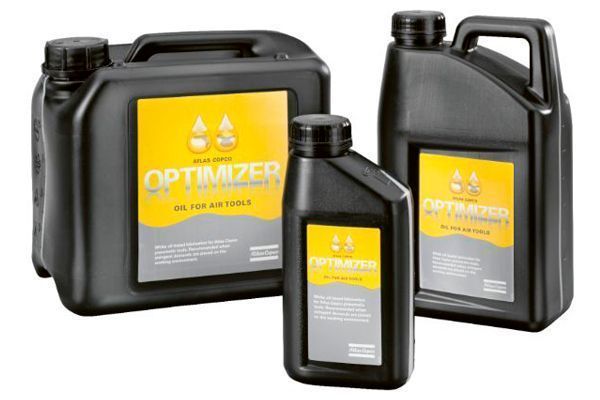 SAE (Society of Automotive Engineers) specifications govern the weight and viscosity. Typical applications call for ISO 32 grade or SAE 10 oil.
Here, the 10 represents an oil thickness rating under operating conditions, specifically how temperature affects it.
Oils with a viscosity between ISO 22 to 46 can be used for pneumatic tools, depending on the application.
Oiling air tools is an essential step in basic maintenance. It should be done as frequently as is indicated in the user manual. This differs between tools and applications. If you use your tools more often, you need to oil them more often. For regularly used tools, it’s best to do it according to a set schedule. This ensures that you don’t forget and skip a cycle, potentially compromising your tool’s functioning.
To oil your air tool, you need specific oil containers or tools. These vary depending on the tool and application, so it’s best to check the user manual for more information.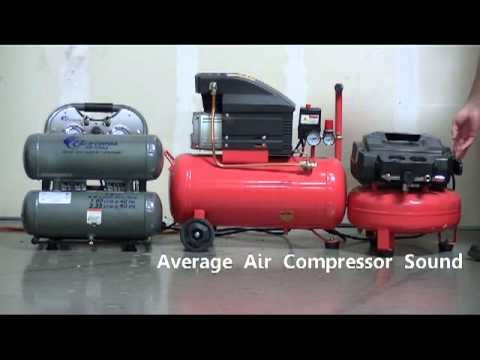 The main aim of these tools is to release oil slowly, helping ensure that you add the right amount of oil to your tool. Adding too much or too little could damage your tools.
There are many methods for oiling air tools. The most common ones are outlined below.
This is the most common method of oiling nail guns, impact wrenches, air hammers, die grinders, etc.
If your tool doesn’t a specific oil reservoir, disconnect the compressed air pipe from the inlet of the power tool. Then you could complete the task by adding a few drops of oil to the air inlet. Once you connect the tool’s inlet to the air hose, the compressed air will distribute the oil from here.
Some tools have an oil reservoir. Use a screwdriver or hex wrench set to open the reservoir if yours is like this. Drip oil here until you reach the required volume as prescribed in the manual.
An air tool oiler is specially designed to add oil to pneumatic equipment.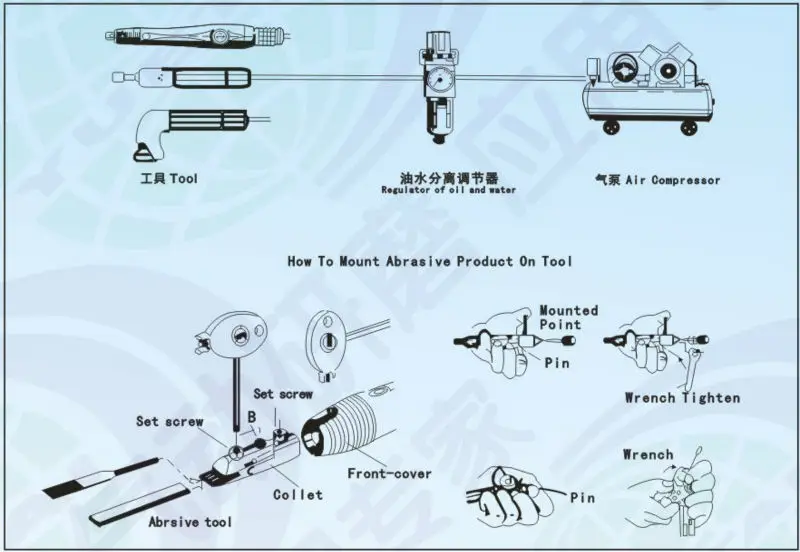 Fill the oiler with the correct amount of air tool oil to use this. Next, attach the oiler before the tool’s air inlet. The oil will be distributed through your tool as air passes through the tool oiler. Ensure that the air tool oiler is attached at the tool end of your air system, not at the compressor side. Typically, multiple tools will run off the same compressor system, which may have differing oil needs. Attaching the pneumatic tool oiler to the compressor side will distribute the oil to all equipment and thus potentially damage tools that aren’t compatible with that oil.
A lubricator is attached to the air system, similar to an air tool oiler. This tool releases oil into the air system at a controlled rate, ensuring that the tools are appropriately lubricated while in operation. Adjusting the drip rate (oil-fog or micro-fog) alters the rate at which the oil mist is released into the system – this rate depends on the application.
FRL is short for Filter, Regulator, Lubricator.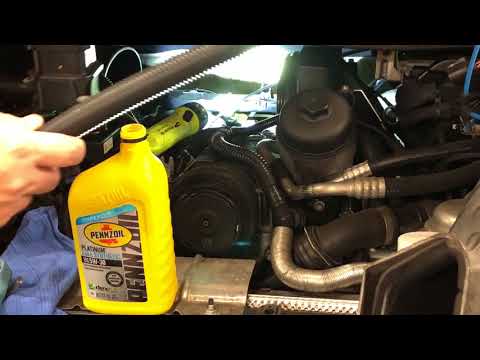 This unit supplies lubrication to the air tool. It also contains an air filter and regulator. The air filter prevents dirt from entering the power tool’s system. At the same time, the regulator maintains pressure on your tool according to manufacturer guidelines. Attaching this unit is a slightly larger task, but it precisely manages the oil supply to your air tool.
All air tools don’t use oil. There determining factor here is the driving mechanism. Generally, if the tool is driven by air, it needs air tool oil. If it’s only controlled by pneumatics, but not driven by compressed air, it doesn’t need to be oiled. There are exceptions to this rule, however.
Some pneumatic tools are made to be oil-less. These include oil-free nail guns for wood finishing, pneumatic screwdrivers used in clean-room conditions, etc. where you cannot have any oil on the final product. Check the user manual if you’re unsure whether your air tool needs oil.
Contents
 Automatic Transmission Fluid (ATF)
Home » Air Tools
Compressed air is used to operate pneumatic tools, which are used in many industrial and repair areas.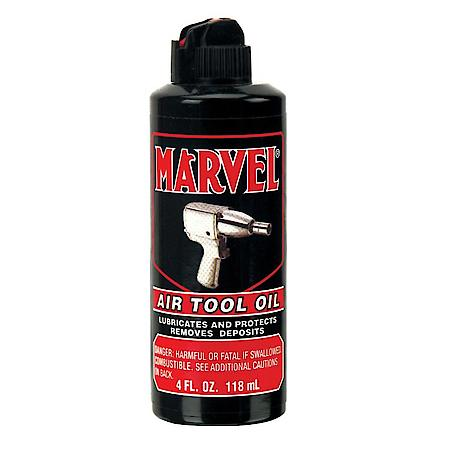 But the air leaving the compressor equipment is not ready for use without proper preparation. Condensate, oil and other contaminants in the compressed air can cause significant damage to the tool, significantly reducing its service life. Therefore, the air must be cleaned and lubricated before being fed into the tool by installing a dehumidifier and lubricator or a modular group in the pneumatic line, which provides comprehensive preparation.
More details about the preparation of compressed air are described in a separate article.
In most pneumatic tools, such as pneumatic wrenches, pneumatic ratchets, pneumatic chisels, pneumatic screwdrivers, and so on, compressed air is used to start the drive (motor). Therefore, in addition to air purification, a special oil must enter the air stream, which provides lubrication of rubbing internal mechanisms.
The lubricator is used in pneumatic lines to spray oil into the compressed air stream, providing lubrication to the internal working parts of pneumatic tools and their components, including drive cylinders, valves and motors.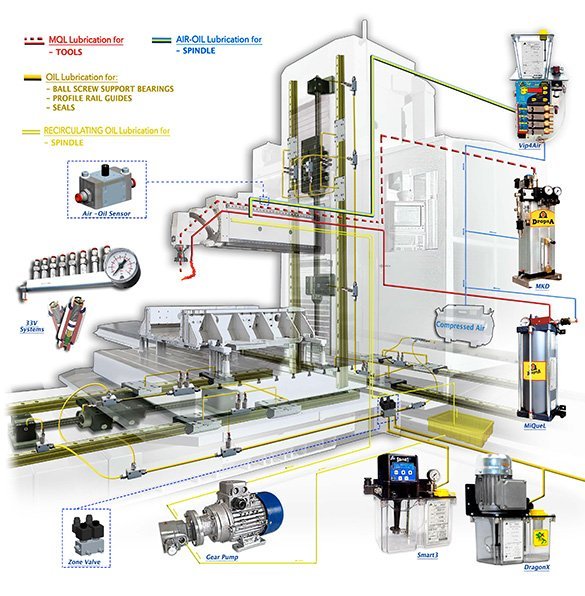 The lubricated air helps to reduce wear, keeping your air tool running smoothly and consistently.
Lubricators are divided into:
In the first case, the lubricator is permanently installed in the air preparation system after the pressure regulator or after the dehumidifier with regulator. The entire system is installed as close to the instrument as possible. The length of the hose between the lubricator and pneumatic equipment must not exceed 10 meters. It is worth remembering that such a lubricator should be located above the tool, since the oil aerosol does not move upwards well.
A multi-point lubricator can serve several posts with a tool. Lubricators are available with different inlet/outlet inch diameters, as well as different oil flask sizes.
The flow rate depends on the diameter of the inlet/outlet, so the lubricator should be selected based on the amount of air consumed by the tool to ensure maximum efficiency for all operators.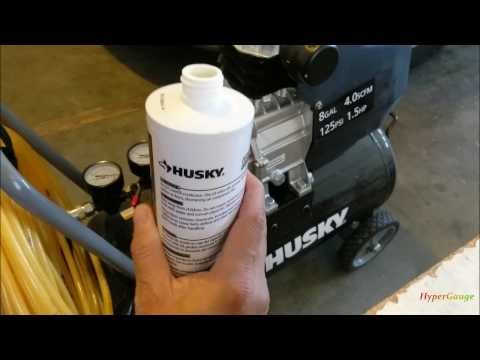 Most models have a special screw that allows you to adjust the intensity of the oil supply.
In the second case, the lubricator is installed immediately after the tool handle and provides lubrication to a single tool. In addition, such a lubricator can be installed in the pneumatic line together with the main model for greater efficiency.
Air entering through the inlet of the lubricator passes through the needle valve, which is connected to the receiving tube. This tube is immersed in a flask with oil. The oil is pulled up by the Venturi effect and ejected as an aerosol into the outlet, and then through the hose, along with air, enters the tool.
Oil is poured into a stationary lubricator using a funnel through a hole located on the upper plane of the equipment. As a rule, the hole is screwed with a plug for an internal hexagon. If the lubricator does not have a special hole, then the oil is poured into the removed flask, and then installed back.
Oil is poured into a small lubricator through a hole on the body, which is unwound with either a Phillips or a flat screwdriver. The oil is dropped in using a small plastic oil can. In order to control the oil level in the lubricator, there are two marks on its body - the maximum and minimum volume levels.
A special hydraulic oil with a viscosity of 32 must be used.
For example:
December 17, 2019
Tire changing Energy Pneumatic wrenches Tools
Is your air impact wrench becoming unreliable, not working well or has suddenly stopped working? One of the most common causes of poor tool life and premature tool failure is insufficient lubrication - not only of the motor, but also of the impact mechanism.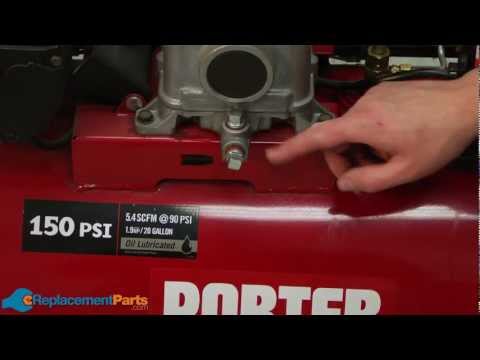
It is well known that regular maintenance is essential to keep your tool performing optimally. Just like with the oil level in a car, it is important to regularly check the presence of oil and grease in your tool. Minimal maintenance means a lot to increase its reliability and service life. In this blog, we'll take a look at two different lubrication zones and explain how to properly maintain an impact wrench to maintain its superior performance over a long service life. We will also discuss how often an air tool should be lubricated and what type of oil to use to ensure maximum performance.
With regard to lubrication, two parts of the wrench must be observed: a. Dvigatelb. Impact mechanism
The two parts of an impact wrench that require lubrication are the motor and the impact mechanism.
You probably remember that the engine needs regular lubrication, but did you know that the impact mechanism also needs lubrication? Both systems are independent of each other and therefore need to be lubricated separately. The motor is lubricated by a special air line lubricator, which is mounted on the FRL or directly on the air inlet (on the tool). In turn, the impact mechanism is lubricated in one of two ways, depending on the system used in the tool. This is:
The lubrication of the hammer mechanism is necessary to minimize friction at the points of contact between the shank and the hammer and therefore to keep the wrench in good condition. Consider these two systems in more detail:
Grease-lubricated hammer mechanism
In this system, grease is applied only to the contact points of the shank and hammer to prevent friction between them.
Grease-lubricated impact wrench requires regular relubrication.
However, over time, the lubricant shifts from the contact points to the outer part of the hammer (due to inertia) and therefore is not present in this critical area. As a result, friction increases, heating occurs, and the tool eventually stops working. Requires regular lubrication.
Oil lubricated impact mechanism
In a tool using an oil bath system, the entire front of the impact wrench is immersed in oil. There is no doubt about the presence or absence of oil, because it surrounds the entire system. One of the advantages is that lubricant is always present at the contact points and therefore less maintenance is required. Maintenance can be tricky, but if you follow the right tips and tricks below, it's very easy to do.
To properly lubricate the hammer mechanism, it is recommended that you open the tool and carefully apply grease with your hands or a brush to critical contact points: the shank (in contact with the hammer) and the inside of the hammer.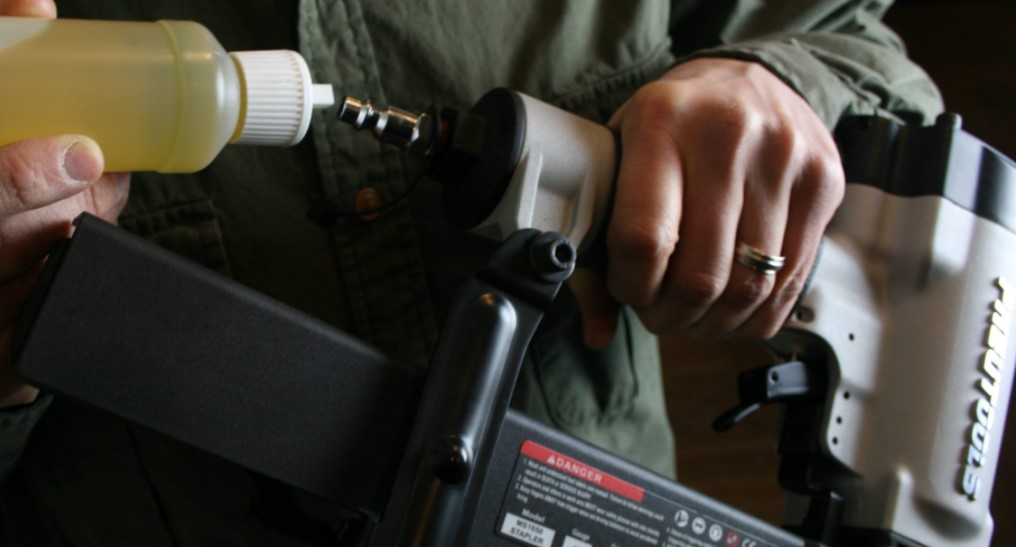 Most air tools have several grease fittings, and if it is not possible to lubricate the hammer mechanism as described above, it is sometimes possible to pump grease through these holes. If you are not sure where they are located, check your owner's manual or contact your service representative. Don't forget to remove the old grease before applying the new one!
| Tool operating conditions: | Tool frequency: low | Tool frequency: high |
| Low | About 6 months | About 3 months |
| High | About 3 months | About 1 month |
To change the oil, carefully open the tool, drain and properly dispose of the used oil, and then replace it with new oil. Be sure to use an oil that is suitable for impact systems, such as SAE30 type oil. Note: This oil is different from the one used for air lubrication.
| Tool operating conditions: | Tool frequency: low | Tool frequency: high |
| Low | About 12 months | About 6 months |
| High | About 6 months | About 2 months |
Lubrication check frequency depends on usage and maintenance schedule. In this regard, we advise you to follow the manufacturer's recommendations.
Antoine Tourneux , Global Product Marketing Manager Chicago Pneumatic, Automotive Pneumatic Tools Industry
Note: Regardless of the type of lubricant, use only cleaners and lubricants recommended by the manufacturer. If you are unsure, consult the instrument's instruction manual or service provider.
If the lubricant is applied correctly and frequently, the life of grease lubricated and oil bath tools will be very similar.