An ounce of prevention is worth 100 psi of cure when it comes to your tires and their lifespan. Unfortunately, flats are part of riding and bound to happen to every cyclist at some point—but there are precautions you can take to reduce their likelihood.
Here are nine expert tips to prevent a flat tire from slowing you down on your next ride.
Join Bicycling now for the latest cycling tips
A little bit of talcum powder goes a long way.
Trevor RaabLiberally dusting a new inner tube with talcum powder before installation reduces chafing on the tube’s rubber surface. This keeps the tire and tube from sticking to each other and lessens friction that can possibly wear a hole in the tube.
“I have always had a quart-sized zip-lock bag with the talc in it and simply dropped the tube in and given it a good shaking,” says Matt Eames, a World Cup downhill mechanic for Giant Bicycles. “It seems to keep the mess to a minimum as well as not wasting unnecessary talc.”
Trevor Raab
Keeping your tires inflated within the correct psi range will help keep flats at bay, specifically what’s known as a “pinch flat.” A pinch flat occurs when the tire compresses and pinches the tube against the wheel rim. It’s often caused by an under-inflated tire or a hard impact against an obstacle, like a curb, manhole cover, or pothole. You can identify a pinch flat by the two, side-by-side holes it creates in the tube.
The recommended psi range for your tires will be printed on their sidewall. That’s a good starting pointing. Otherwise, check out our guide for getting your psi dialed in.
Many tire manufacturers make more durable versions of their popular models.
Trevor RaabNot all tires are created equal. If you find yourself the victim of frequent puncture flats, perhaps due to debris-laden roads, try using a more durable tire such as Continental Gatorskin or Schwalbe Marathon Plus.
Trevor Raab
It can be a bit more expensive than some other options, and it depends on your bike and rims, but buying a tubeless conversion kit or switching to Universal System Tubeless (UST) tires altogether can be very effective ways to bring down your number of flats and improve a bike’s overall control. With no tubes, pinch flats become a non-issue, and less air pressure is required to inflate your tire, allowing for better shock absorption on rough terrain. The sealant used in tubeless tires will also prevent flats from minor punctures.
If you can’t bring yourself to get rid of your tubes, you can still try using tire sealant. When looking for a sealant, be sure to check if the inner tube requires a certain type, and how long it lasts before it needs to be replaced. Tires and tubes can be purchased with sealant already in them—Slime brand products are marketed this way—but are more expensive and are typically heavier than those without it.
Both rim strips and tire liners guard the sides of the tube from its neighbors, the rim and the tire. As the name implies, rim strips protect the tube from the holes in the rim, and the ends of the spokes. These are as simple as a rubber strip or a cloth tape and fit inside the rim bed. Tire liners are similar to rim strips in their function but protect from objects attempting to penetrate from the outside. Both are inexpensive to purchase, making them cheap insurance against flats.
Eames says you should pay close attention to the overlap of the liner when it is installed; otherwise, it can prove ineffective and may cause more flats than it prevents. “Take care during installation that the liner stays center relative to the tire’s tread,” he says. “You can end up with a really protected sidewall and little help under the tread.”
While it’s tempting to get the most mileage that you can out of your tires, pushing the limits of their lifespan will inevitably end in a flat. Mileage can range from 1,000 to 5,000 miles and varies by tire type. Even if you don’t track your mileage, you should replace a tire if it has dry rot or if the threads are visible.
Now 15% Off
$7 at Amazon
Credit: Slime$7 at Amazon
Credit: Kenda$17 at Amazon
Credit: Johnson and JohnsonNow 42% Off
$35 at Competitive Cyclist
Credit: ContinentalThis might be an obvious tip, but many don’t take the time to do it. If you think you’ve ridden over a patch of glass, grit, or any other sharp objects that litter the road, just stop and inspect your tires for foreign objects. If you see anything embedded in the tire, gently pry it out. If you have a handkerchief, bandana, or glove, use it to protect your hand while you gently spin the wheel, and see if anything gets caught on the cloth.
Trevor Raab
This step can prevent an embedded object from causing a puncture later if it hasn’t already pierced the tire’s casing. It’s good practice to inspect your tires after each ride, too.
They’re harder to find as their popularity has dropped off, but tire wipers are still a great way to prevent punctures (though they only work on tires with minimal tread). Tire wipers attach to your rim brakes or fenders and consist of a rubber-coated metal bar that lightly rubs the tire as it rotates to wipe away debris before it has a chance to puncture the tire.
Trevor Raab
That spare tube in your saddlebag could be a lifesaver on a long ride, but wouldn’t it be a bummer if you changed a flat, only to discover that the tube was no longer good? Make sure your bike’s inner tubes are in good shape when you need them by avoiding these common mistakes.
Maybe you’ve been fortunate enough to evade flat tires for a while. If that’s the case, the spares in your saddlebag might need to be replaced. Storing tubes inside a saddlebag for long periods of time can lead to weakness or cracks where the tubes are folded. The tubes can also be damaged by jostling against other items in the bag. Unpack your tubes occasionally to prevent them from cracking or splitting. If in doubt, inflate them to look for leaks.
This is especially important for Presta-style valves, which are particularly pointy. Make sure the valve is capped when you fold up the tube for storage so the valve doesn’t poke a hole into the tube.
Over time, rubber bands could react with the rubber of the tube and cause a hole to form. The rubber band could even fuse to the tube and create a tear when you try to separate them. It’s best to keep your tubes in their original cardboard box or in a plastic bag.
Heat degrades the rubber, making it brittle and less elastic. If you have tubes you’re not planning to use for a while, keep them away from direct sunlight and especially from a heater.
Jessica CoulonService and News Editor
When she’s not out riding her mountain bike, Jessica is an editor for Popular Mechanics. She was previously an editor for Bicycling magazine.
This content is imported from OpenWeb. You may be able to find the same content in another format, or you may be able to find more information, at their web site.
Orders over $50 ship FREE
There's no magic solution to never getting a flat tire, but with the right tools and preparation you can greatly reduce the chances of getting a flat bike tire on your next ride.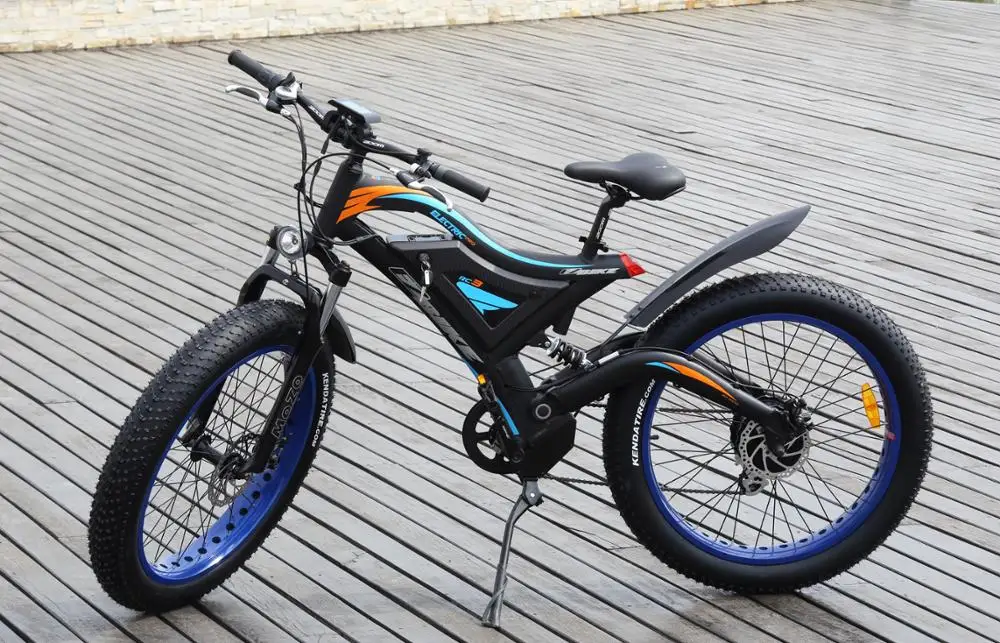 Read on, with this advice and gear, you may never be that cyclist on the side of the trail fixing a flat ever again.
First and foremost before you head out for a ride you should follow the ABC technique - Air, Brakes, Chain. Make sure you are riding with the proper bike tire pressure.
Each bike tire has a preferred air-pressure range and after some time you'll develop your own sense of what feels right within that range. Pressure is measured in PSI (pounds per square inch). Look on the tire's sidewall for the recommended pressure.
Under-inflation can lead to pinched flats. When you hit a bump and your under-inflated tire compresses all the way to the rim, causing two small holes that resemble a snake bite. Over-inflation, on the other hand, doesn't cause flats although it's possible to blow out the tube if you head over a bump.
Use a tire pump to check your pressure, ideally a floor pump before you head out on your ride. Higher-end tire pumps will include a psi gauge, but if you have a lower-end pump, you'll need a separate pressure gauge.
PRO TIP: Save money and get a pump with both! Be sure to know whether you have a Presta or Schrader valve stem (the slimmer Presta valve needs to have the top nut unscrewed before checking pressure).
It's a good idea to periodically inspect your bike tires for embedded glass, rock shards or other sharp objects, especially after riding a route that has substantial debris. These small embedded items may not cause an immediate flat but can slowly work their way through a tire to eventually cause a puncture. Use your fingernail or a small tool to remove this debris before it causes a problem.
Periodically check your tire sidewalls and tread for excessive wear, damage, dryness or cracking. Tires with any of these symptoms increase your risk for a flat tire. If unsure about their condition, ask a bike pro at your local Bicycle Warehouse or hit us up via chat.
This option is handy because you can repair an existing flat tire with it or use it as a preventive measure to avoid future flats. The concept is simple: Squeeze in a bit of sealant through the valve stem to coat the inside of the tube. In the case of a small puncture or cut, the sealant quickly fills the leak and creates a plug that often outlasts the tube or the tire around it.
Some tubes (with both Schrader and Presta valves) come pre-filled with sealant to offer a preventive approach to flat tires. These tubes are typically a thicker thorn-resistant variety, that when pre-injected with Slime, offer an excellent flat-avoidance strategy.
The downsides to sealants? Some can be a little messy to install, and sealants alone do not protect against large gashes or cuts.
Shop bike tire sealant
A tire liner is a thin strip of extruded-plastic that fits between the tire and the tube. This extra layer greatly reduces the chance of puncture flats from thorns, glass or other sharp objects. Liners are popular and work well, but they do add 6 oz. or more to the weight of your tires which adds noticeably to your rolling resistance in higher performance tires. However, if you live in an area with lots of thorns or road debris, liners could be well worth the weight.
When installing liners, place your tire on the rim as you usually do to fit the inner tube within the tire (one bead on rim/one off). Fit the tube into the tire. Pump a little air into the inner tube to expand it just until the tube begins touching the inside of the tire (it won't require much!). THEN, slide the liner between the tube (lightly inflated) and the tire. The pressure of the inflated tube will keep the liner held in place against the inside of the tire preventing liner from shifting resulting in tube chaffing or cutting (I have never had the liner shift or chaff when installing this way). Once the liner is in place, if you can't get the tire back on the rim you probably have a tad too much air in the tube - let a little out, pop the tire over the rim and fill to recommended/desired pressure. Happy (bike) trails!
Shop bike tire liners
Another option is to change out your tires to ones specifically designed to resist flats. These tires won't feel as speedy as standard bike tires, but bike-commuting customers have told us that they experience flats much less frequently when using them.
How do they work? Many tires makers employ a durable belt of aramid fibers (such as the well-known Kevlar® brand) to resist punctures; others simply increase the tread thickness. These tires are marketed by a variety of proprietary names: the Serfas Flat Protection System, the Continental Safety System, the Michelin ProTek reinforcement system and so on. The downside of these tires is that they are relatively heavy which reduces your pedaling efficiency.
Shop Bike Tires
Finally, consider using thorn-resistant tubes. They are simply thicker (and heavier) versions of conventional tubes.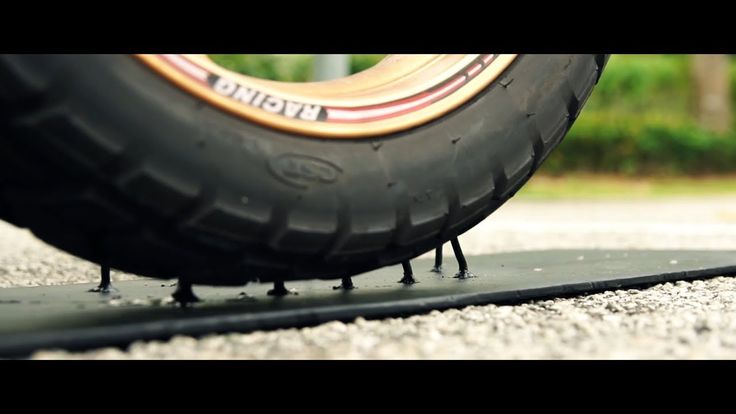
Reach us Monday-Saturday 9-6 PST
Store Hours: Tuesday-Saturday 11:00 am - 6:00 pm
Find a Bicycle Warehouse Store Near You!
1 / of 4
View all
Your cart is empty
Tire punctures are common for cyclists and at the same time a nightmare on the race and a spoiled mood on a bike trip.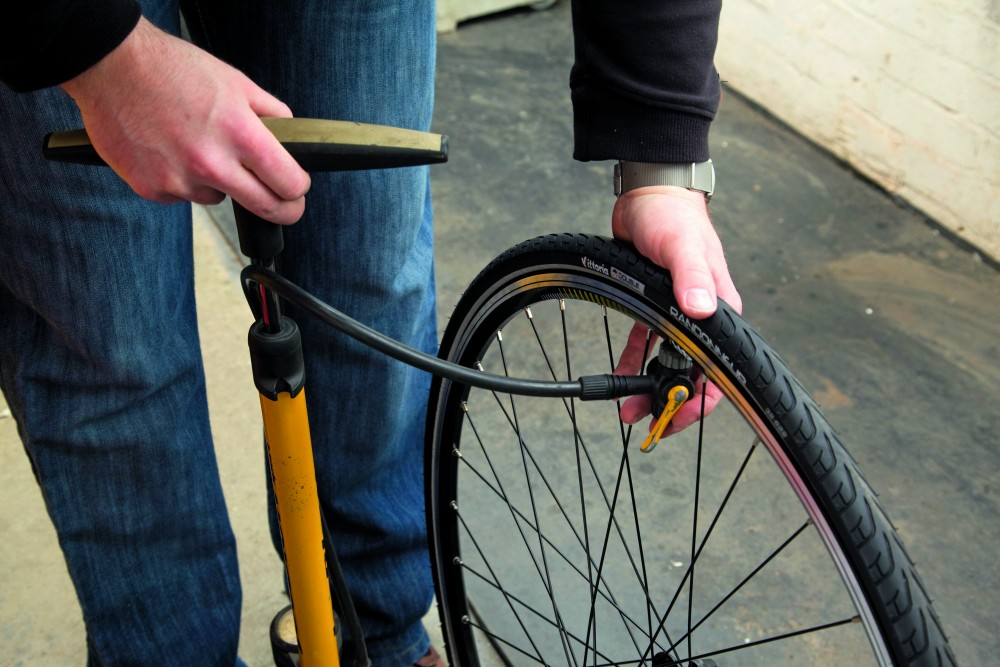
Fortunately, there are steps you can take to reduce the risk of a puncture. Our tips will help you avoid an unpleasant situation.
Bicycle tires are what protect your camera. The lightest and fastest tires are also the most prone to punctures.
Tough and durable marathon tires have a tough, puncture-resistant layer that helps prevent sharp objects from penetrating the belt and tube. Yes, they are heavier, but the repair of the wheel has a stronger effect on the results of the race in a negative direction.
Often the cause of a puncture, puncture or snakebite is under-inflated tires. "Snake bite" occurs when a sudden collision with something protruding (curb, stone). In this case, the camera breaks in two adjacent places. Due to the weak pressure in the chamber, the tire bulges, pressing against the rim, and the chamber is sandwiched between the rim and a solid object on the road.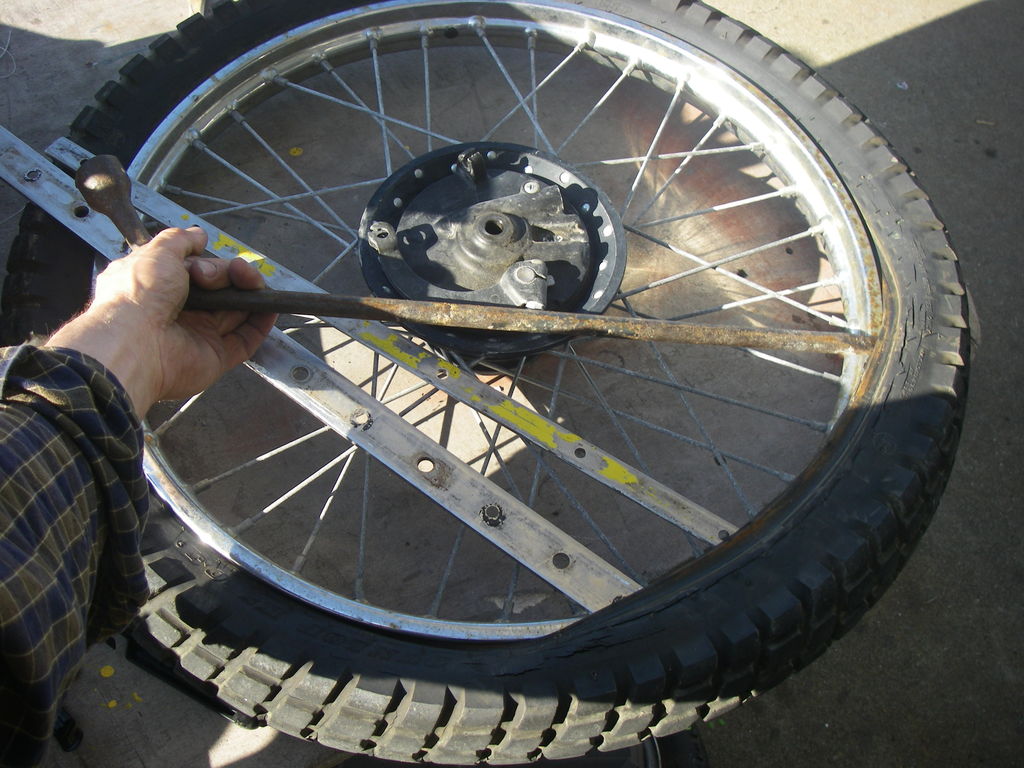
To avoid this problem, make sure your tires are properly inflated before riding, especially if you're on a less than perfect track. Properly selected pressure gives less chance of deformation of the tire and its contact with the rim.
The tire must be marked with the values to which it should be inflated. Try not to go beyond both the minimum and maximum values. If you are going to ride on asphalt, bring the tire pressure to the maximum value, and if on an uneven surface, reduce it to the average allowable.
This simple tip is ignored by many, unaware that before and after every ride you need to spin the wheels and check for any sharp objects stuck in the tyre. If they are not removed, they will over time, under the influence of your weight, push into the inner chamber - and provide a puncture.
Most glass and debris collects on the edge of the road, so another way to protect yourself from camera repair is to choose a place on the road away from littered areas.
Don't just look under your wheel, otherwise you risk not noticing a pit, stone, broken glass and other dangers in time. Look a few steps ahead.
If you are traveling in a group, warn your comrades of the danger. There are special signs for this. If someone has a puncture, the whole group will have to wait on the side of the road until the injured cyclist is done with the repair.
If you cannot avoid a potential hazard, loosen your grip on the handlebars as much as possible and try to "slide" over the obstacle. When you tense up by squeezing the steering wheel and leaning on it, the force acting on the front wheel in the event of an impact increases.
In addition, you can use your cycling skills to literally jump over obstacles. This works well with potholes, rails, and narrow artificial bumps like speed bumps. Just don't show off your amazing skills when riding in a group.
If you do need to replace tubes, always check the inside of the rim and tire for any debris. To do this, carefully run your finger along the inner surface and inspect.
Then inflate the inner tube a little, place it in the rim support and make sure that the inner tube does not get stuck between the rim and the edge of the tire.
Tubeless tires don't have the usual tube underneath, hence the name. Tubeless technology has been around for many years, especially in the mountain bike market. Gradually, it is being introduced into the road cycling environment. "Tubeless" have increased resistance to punctures and here's why:
Tires don't last forever and wear out over time. Many of them have an indicator showing when it's time to replace. As soon as it shows up, get a new tire.
Indicators are usually two small holes a few mm wide in the tire tread. If they are no longer visible, then the tire has worn out, and it is time to change it.
There are no such indicators on the MTB, but you can watch the tread spikes. When they get rough and close to being level with the ground, it's time to install a new tire.
Sometimes the problem is not on the outside, but on the inside. For example, in the rim. So, the rim is surrounded by a rim tape, which can be damaged or move. This is the most innocuous of problems, and if you find worse faults, visit a bike shop where they will fix your wheel.
Of course, it is not expected that a puncture will be the fault of the old chamber, but it does happen. The inner chamber also wears out, and the rubber becomes more crumbly. If you haven't changed your camera for several years, check it before an important start.
Although there is a belief among riders that with a new tube a puncture will happen literally on the same day.
Taping a punctured chamber is a cheap but temporary solution. With a camera that has a patch, and even more so more than one, the risk of a puncture increases. If it is not possible to install a new camera on the way and you have to patch a punctured one, we recommend that you replace it immediately after the trip.
This tip is for cyclists who ride without punctures for a long time. The chamber valve itself and the place around it wear out faster than rubber. During the year, you have to pump up the wheel countless times, so sometimes the culprit of a flat tire on a trip is a valve damaged from use.
The area on the tube around it can also tear and crack, because it is most subject to friction against the hole in the rim.
 Don't ride in the rain
 It's more likely to get a puncture in the rain because the water acts as a lubricant and helps sharp stones and glass cut through the tire. And when it rains, there is more garbage on the road: it is washed from sidewalks, lawns and from the edge of the road to the part where you usually ride a bike.
Sealant can be used not only in tubeless tyres. This tool is added to conventional cameras. It, of course, will make the wheel a little heavier, but it will create additional protection.
Adding sealant is easier if the chamber has a removable valve core, so you can fill it without risking clogging the valve. But before you follow this advice, make sure the sealant is compatible with your bike's inner tubes, especially if you're using latex ones.
Inner tube sealant works the same as tubeless sealant. It covers the inside of the chamber as the wheel spins, and if you puncture, the air escaping from the chamber sucks the sealant towards the hole. Sealant particles should plug the hole before the wheel deflates.
A wider tire can be a life saver for flat tires if you have to drive on bad roads frequently. For daily training or commuting, tire width is not critical. A larger volume of air will resist impact or "snake bites".
When you decide to use a wider tire, make sure you also fit the correct inner tube. If you buy a 25mm tire but still have a 23mm tube, the tube rubber will be too thin, increasing the chances of a puncture.
You can also buy puncture resistant tape that goes between the tire and tube, adding an extra layer of protection. However, with modern technology and puncture protection materials, it will be an unnecessary addition that will only increase the weight of the wheels.
However, tape is worth considering if you're mountain biking on very bumpy trails and don't want to go tubeless.
We hope that our advice will help prevent a puncture, and your trip or race will be pleasant and leave only positive emotions.
Read more: How to properly wash your bike
5/5 - (1 vote)
When it comes to punctures, prevention is better than cure.
We've all heard that awful hiss and felt the tire warp from the puncture. This usually means 15 minutes on the side of the road and often happens at the most inopportune time when it's going to rain, it's cold, it's getting dark—or all three.
It's good to be prepared, have a spare tube and know how to fix a puncture quickly. You usually have two options: repair the punctured tube or replace it with a new one.
However, there are many things you can do to reduce your chances of getting punctures altogether. After all, when it comes to punctures, prevention is better than cure. Here are six steps to help prevent your bike's tires from puncturing.
Contents
A durable road or semi-slick gravel tire will provide extra puncture protection, but may rob you of some speed.
First of all, choose tires designed for specific conditions.
The best road tires are a pleasure to ride—light, fast-rolling, responsive and comfortable. But punctures are much more common on wet winter roads, often strewn with sand and debris, so as summer turns into fall, it's a good idea to switch to winter tires.
Winter bike tires are more durable than summer tires with more puncture protection and are made with thicker rubber. The best tires for year-round training combine speed, durability, traction and puncture protection.
Wider tires can give you more grip and better riding comfort, and if you have clearance in your frame, a light tread gravel bike tire can also be a good choice for cycling, winter cycling or mixed riding. terrain.
Inflating your tires to the correct pressure will help prevent punctures.
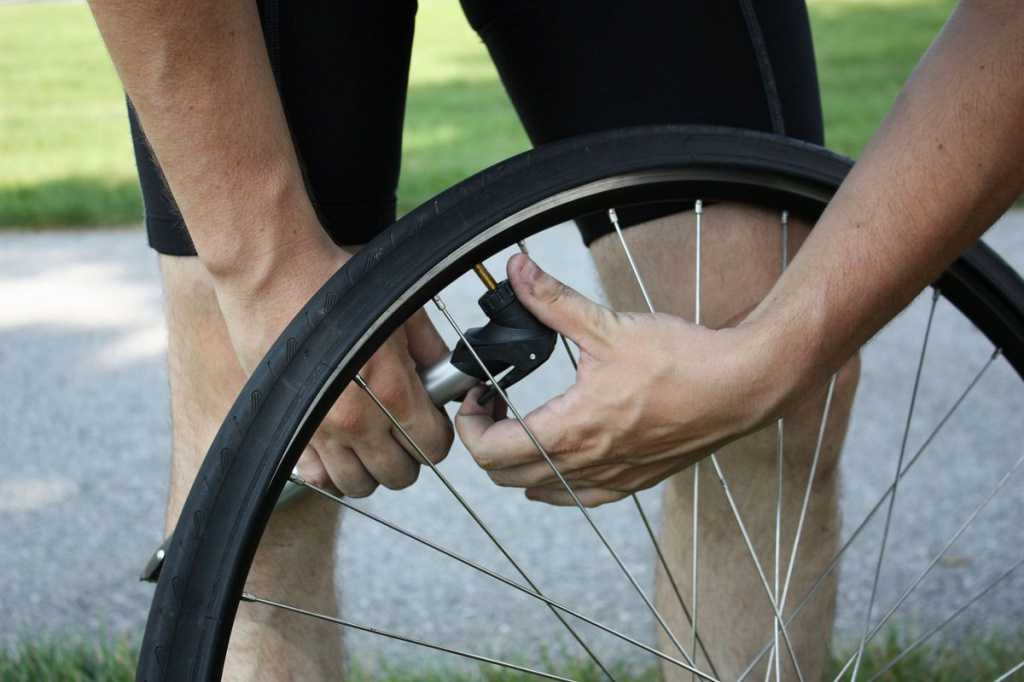
If your tube tire pressure is too low, you risk pinching when the tube gets caught between the rim and the tire carcass when you roll on the road or rough trail. This results in a puncture with two parallel slits in the chamber, also called a snakebite puncture.
It is therefore important to inflate your bicycle tires to the correct pressure. It will also reduce the chance of sidewall damage, reduce tire wear, reduce the chance of rim damage, and improve your bike's handling.
It takes a bit of trial and error to find the right pressure and it depends on the terrain you ride, your weight and conditions.
The sidewalls of the tires will show the recommended pressure range, but you can usually lower the pressure if you ride with tubeless tires because you don't risk pinching flats.
Wheel manufacturers also often list the recommended pressure range for their wheels on their websites.
Adding sealant to the bladder can help prevent punctures, but will increase weight and rolling resistance.
Another option is to add sealant to your tubes, which will give you the benefits of extra puncture protection without having to invest in tubeless technology, though it will add weight and rolling resistance.
Adding sealant is easier if your inner tube has a removable valve core, so you can pour sealant into the tube without risking clogging the valve. Also make sure the sealant is compatible with your tubes, especially if you are using latex tubes.
Slime is one of the brands that sell sealant designed for use in cameras. Another option is to use internal chambers already filled with sealant. Again, Slime offers them in a variety of sizes to fit most popular road and mountain bike tire and wheel sizes.
Inner tube sealant works in the same way as tubeless sealant. The sealant coats the inside of the chamber as the tire rotates, and if you drive over a puncture-causing object such as a stud or glass, the air escaping from the chamber sucks the sealant into the hole. Sealant particles should plug the hole before it deflates the tire.
Using tubeless tires eliminates the risk of pinching flat surfaces and sealant will often fix small cuts in the tire before they turn into punctures, but some tweaking and ongoing maintenance is required.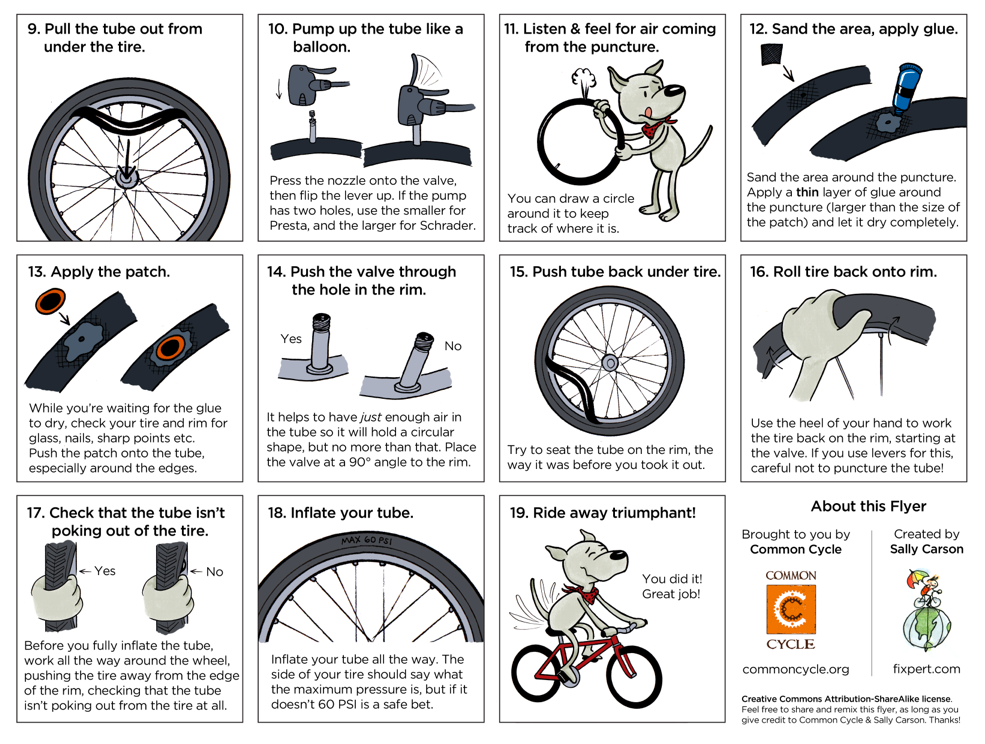
Tubeless tires for road bikes are all the hype right now. Tubeless benefits include lower rolling resistance and a more comfortable ride, plus you can (probably) forego those pesky tubes.
Without a tube, you will not be able to pinch, so you will avoid this type of puncture. The sealant in the tire also seals the smaller holes and prevents many of them from becoming a full blown puncture.
However, like tubes filled with sealant, tubeless tires are not perfect.
If you get a puncture that the sealant cannot close, you can use a tubeless repair kit to close the hole. If that doesn't work - or the hole is too big for a repair plug - you'll need to install a replacement camera.
You will need ready-to-use tubeless wheels and tires to upgrade to tubeless. Most new wheels come with tubeless-ready rims, but the best tubeless road tires are usually a bit more expensive than tubeless tires.
Do not attempt to convert tubeless to tubeless components because the technology requires tight tolerances.
If you do switch to tubeless tires, you also need to keep an eye on the sealant level and make sure it doesn't dry out - top it up if necessary - so extra routine maintenance is required.
Check tires regularly for pressure and wear. Also look out for any debris stuck in the rubber that could cause punctures.
A worn tire is much more likely to be punctured, so it's a good idea to check the condition of your bike's tires regularly. A badly worn tire will have a flattened or square profile where the thickness of the rubber has been eaten away by the road or trail.
Some tires have wear indicators built into the tread so you can see when they need to be replaced. If you've rubbed the rubber down to the puncture protection belt or the carcass threads of the tire are visible - even if only in one place - it's definitely time to install a new tire.
Even if your tires are not worn out, it is important to check them regularly.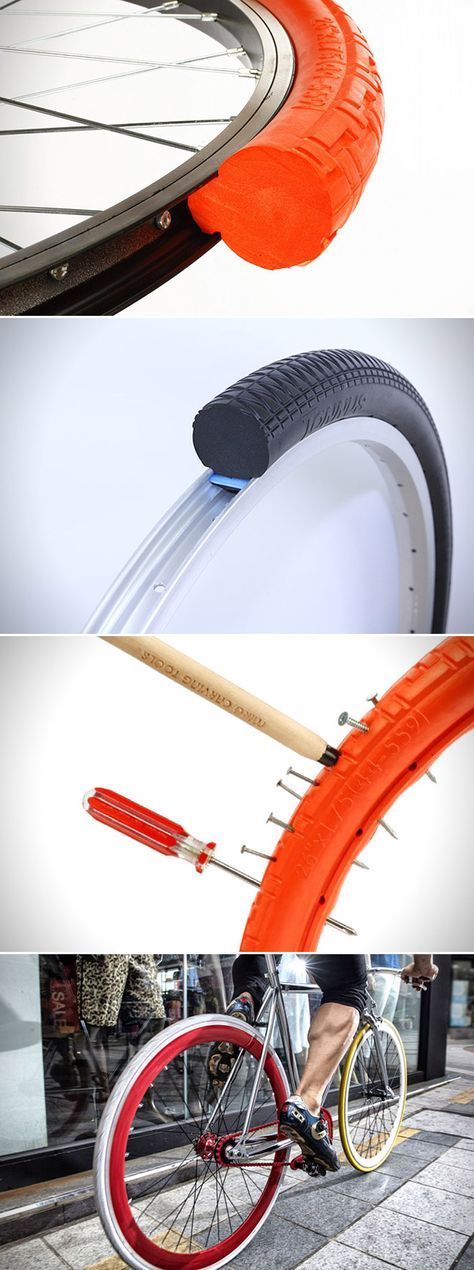 Tires can collect rocks, glass, spikes, or other debris, so inspect the tread as part of your regular safety check before riding your bike.
If you find something stuck in the tire, remove it with a small screwdriver or the point of a sharp knife before it can penetrate further into the tire and cause a puncture.
Beware of large cuts on the tread or sidewall of the tire that could make driving unsafe. If you get a puncture while riding, be sure to check the tire carefully to remove whatever was causing the puncture.
When riding a bike, beware of debris that can cause punctures and avoid riding in a drain.
If you are driving on the road, there is usually more debris on the side of the road than where other vehicles' tires have rolled, so do not drive in the gutter or too close to the edge of the road.
Choosing the best position on the road will also help you drive around other road users more safely.