I was washing my four wheeler the other day and seen fine scratches all over the fenders and wondered how I could remove them safely and effectively, so here is what I found out.
How to remove scratches from ATV plastics? In order to remove scratches from your plastics, you will need a heat gun. If you plan to remove all of the scratches from all of your plastics, then, you will need to first remove your plastics to prevent the heat gun from damaging the paint or materials of other objects that may get in the way. First, clean the plastic with rubbing alcohol. Then, turn the heat gun on high and slowly remove the scratches by applying the heat in a circular motion while moving the gun up and down, side to side, etc. DO NOT apply heat directly to one spot. Keep the heat gun moving. This will prevent melting your plastics.
If you are interested in removing all of those annoying fine scratches from your ATV’s plastics, I have more information on this topic below.
Using a heat gun to restore your plastics is a great option. The heat gun will remove all of the fine scratches, some of the deeper scratches and can also remove some of the faded areas caused by your plastic getting bent or damaged by the sun. Here are the steps to removing scratches with a heat gun.

I prefer a heat gun over sanding and buffing because it is just faster and less costly to get near the same results. Also, when you sand your plastics, you have to ensure you are using the proper grit sand paper and then you have to buff out all of the new scratches you just added. Not to mention, the cost of a descent buffer.
At the end of the day, this is an ATV we are talking about. Scratches are just inevitable on the trials and especially mudding.
How to restore faded ATV plastics?When I first got my Yamaha Big Bear 400, the previous owner had it sitting in the weather for years. The plastics were faded and scratched. At the time, I did not know what I was doing so I took some gritty sand paper and some WD-40 and began sanding. Let me tell you… those plastics got so scratched up, it was unreal. It was only a small section but, on the other hand, the WD-40 ended up fixing most of the faded areas.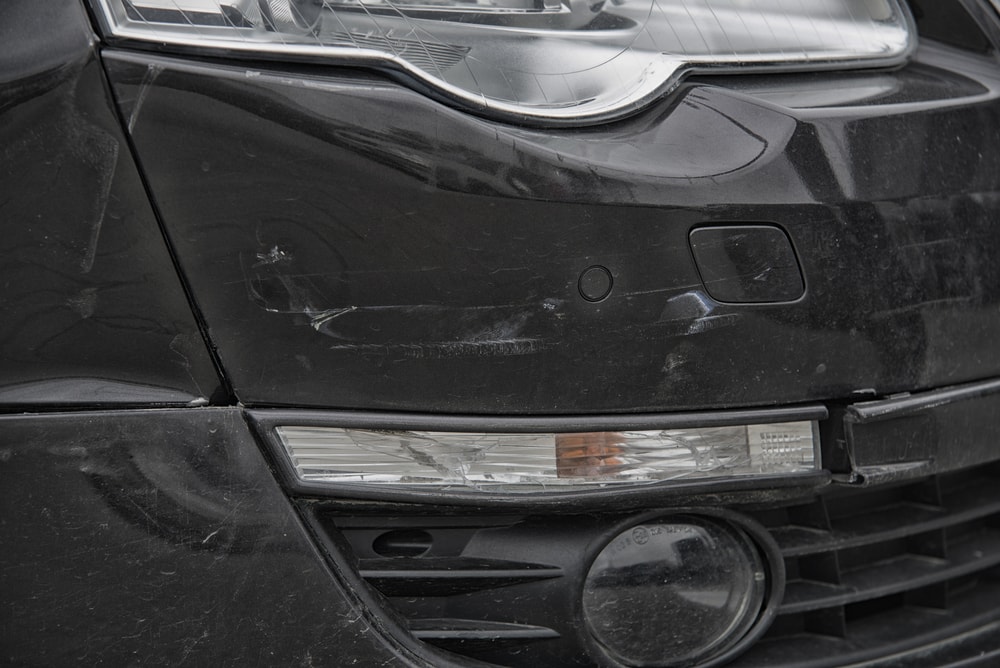 It surprised me.
Along with applying WD-40 with a wrag, you can also remove faded areas with a heat gun using the same procedure for removing scratches.
Will a heat gun remove deep scratches on my ATV’s plastics?I do not recommend trying to remove deep scratches with a heat gun. In order to remove a deeper scratch or gouge, the heat gun would end up causing more damage to your plastics than just a deep scratch.
If you have an older ATV like mine and do not care if the plastics get damaged anymore than they already are, give it a shot. Just make sure you keep your gun moving and allow the surface to heat up evenly.
What causes those fine scratches on your ATV plastics and how to prevent them?If you have ever owned a brand new ATV, I bet there was probably a scratch or two already on the machine before it even had its first owner. Scratches blow my mind some times. Just makes you wonder, “How did that happen?”… “There’s no way. ”
”
Most scratches come from getting on and off your four wheeler. You throw your leg around and your boot barely touches the plastic. Boom, some type of scratch or scuff. Especially if the plastic has mud and dirt on it when your boot hits it. Your boot pushes the dirt across your plastics creating those beautiful scratches. I cringe whenever someone writes on a dirty vehicle with their finger. Nooooo!!!!! Scratches everywhere!!
The best way to prevent scratches is to not touch your plastics at all whenever they are dirty and too pressure wash your ATV before hand washing to ensure you are not sliding dirt across your plastics with your wash wrag.
Cracks and scratches on your ATV plastics are bound to happen sooner or later. You could maintain and clean your ATV after every use, and still, you’ll end up with faded or scratched up plastic eventually.
To some people, scuffed up plastic on their quad is not a big deal.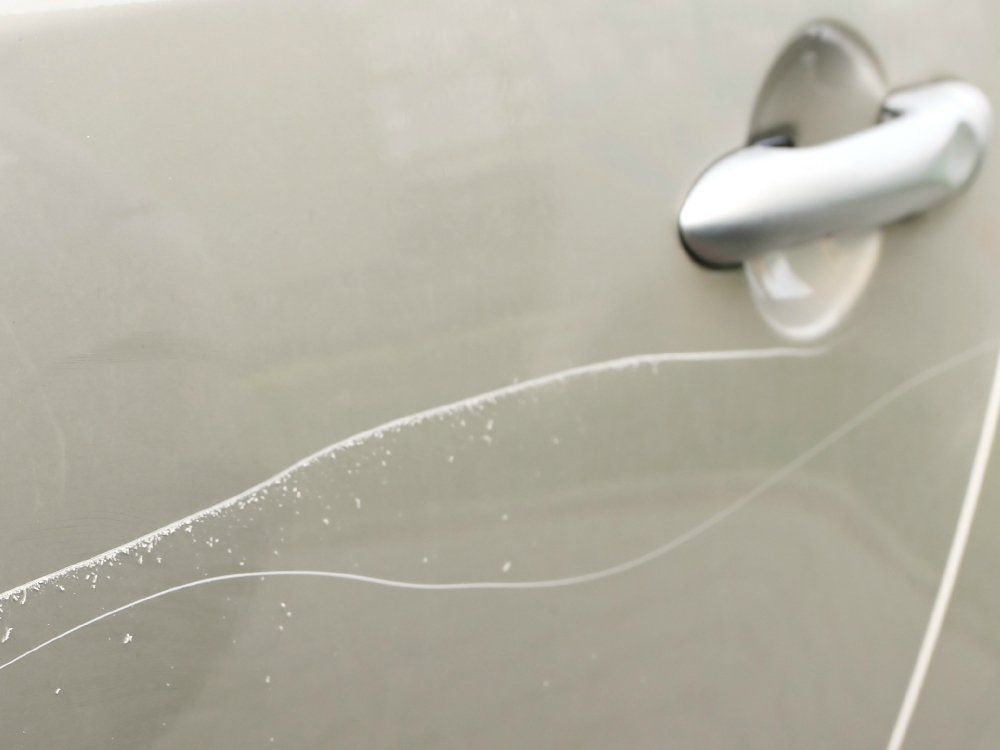 I mean, it’s not like it affects performance, handling, or anything important anyways. But there’s just something about the way it makes the machine look that I don’t like. So I went ahead and found the best ways to fix some of the most common ATV plastic damage you’ll encounter.
It’s a good idea to know why plastic fades to help you understand why the methods here work for restoring faded plastic. Basically, plastic starts to look faded because the oils in the plastic evaporate over time. The evaporation of oils in the plastic is sped up when the plastic sits in the sun for long periods of time.
Plastic is made from refined oil, and as the oil in the top layer of the plastic evaporates, the plastic is weakened and looks faded. Your plastics become more prone to cracks too the more you let it fade and weaken.
You could simply sand down the top layer of plastic, until you get to the part where the oil hasn’t evaporated yet. Then buff it out until it looks nice and new. But with this approach, you’re still weakening the plastic because you are actually removing layers of the plastic each time you do this.
Another method I’ve tried, is using a heat gun to help bring the oil in the plastic to the surface. This does work pretty good and makes the plastic look nice. But again, you’re not actually restoring oil to the plastic so over time, the plastic is getting weaker and weaker.
My preferred method, and what I recommend you try first. Is to get this Premium Plastic Restorer From Car Guys found here on Amazon. This way you’re not removing plastic, oil, or anything else from your ATV parts. In fact, this stuff is actually adding additives to the plastic to help get them to the condition they were in when they were brand new. This particular plastic restorer also has some nice UV protection to help keep the plastic from drying out and fading in the future.
Keep in mind, this is not to repair scratches or anything like that. It is specifically to restore dry faded plastic. There are some other brands out there that will do the same thing, I’ve just had the most luck with this one. To be honest, this is way easier than sanding or using a heat gun anyway, and I don’t have to worry about the structural integrity of the plastic being compromised.
There are two types of scratches you’ll encounter most often, light scratches or deep scratches. Light scratches are the ones caused by branches or bushes hitting the plastics and leaving little visible marks. A lot of people don’t even bother with these types of scratches, and just chalk it up to wear and tear. But for someone spending a lot of money on a quad or ATV, I can understand wanting to remove even the littlest of scratches.
The best way I’ve found for removing light scratches is to go with some 1500 Grit Wet Sandpaper. Just use the sand paper over the areas with scratches and buff it out when you’re done.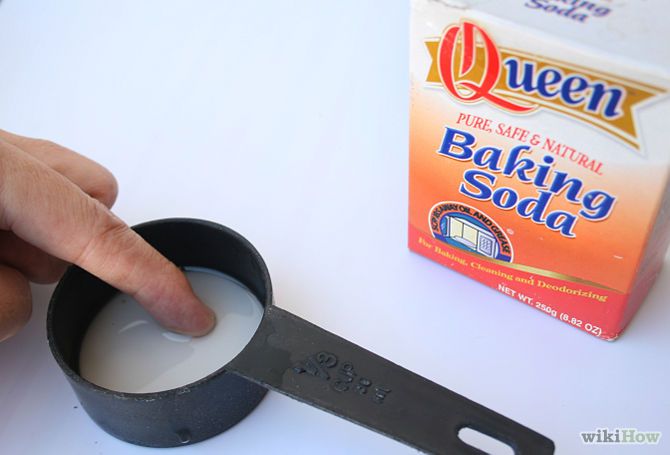 You could finish up with a coat of the plastic restorer I talked about above to make it look brand new.
Using wet sand paper could even work for medium to deep scratches, but I don’t like removing that much plastic from my ATV parts. For the deeper scratches you end up having to start with 400 grit or worse, and work your way up to 1500 grit to get a smooth surface. For me, it’s not worth all the time and energy sanding to just end up compromising the integrity of the plastics. Don’t forget, the more plastic you sand away, the easier they will crack.
So for deeper scratches I’ll use a plastic bonder/filler. My go-to is this JB Weld Plastic Bonder Gap Filler found here on Amazon. I’ll use this to actually just fill the scratches. It’s pretty easy to use, you push out some of the goop from each tube. It’s a 1 to 1 ratio and comes out at the same time. Mix it together and fill the deep scratches with it. The stuff sets in about 15 – 20 mins and you can sand it down after a half hour.
If you use a putty knife to clean off the excess after filling the scratch, it makes the sanding after much easier. This does set in a black color, so if you don’t want to have to paint afterwards, don’t use this method. I don’t paint after, and I don’t mind having the black filler here and there on the plastics. It’s better than having deep gouges in your plastics just asking to be cracked.
If you haven’t taken care of your ATV plastics, they could dry out over time and eventually crack and break. Or the more likely option, you hit something didn’t you? That’s ok, cracked plastics can usually be fixed without too much trouble. If you don’t want to spend the money buying new plastic parts, you’ll need to do it yourself.
For small little cracks you could try using the JB Weld I talked about above, but that only really works for cracks less than a few inches. But, you probably really messed your toy up bad, and for that, you’re gonna need something better.
I recommend using what’s called a hot staple gun. Like this Astro 7600 Hot Staple Gun Kit found here on Amazon. This thing is amazing and I’ve used it on more than just my ATV. It works by heating up these specially designed staples it comes with. The staples get set into the plastic making a nice strong bond, but still allowing the plastic to be flexible.
You just line up the pieces you want joined, and use the staple gun to staple them together. The staple is heated to it can sink into the plastic a bit, making a super strong bond. I always do the stapling on the underside of the plastic, that way you don’t see the staples. If you use this method, you will still see the crack on the upper side of the plastics. You can then use the JB Weld to fill in the crack, and then sand away any excess making a nice smooth surface.
Sometimes a piece of plastic from an ATV gets bent but doesn’t crack. That’s good, you don’t have to repair any cracked plastics now.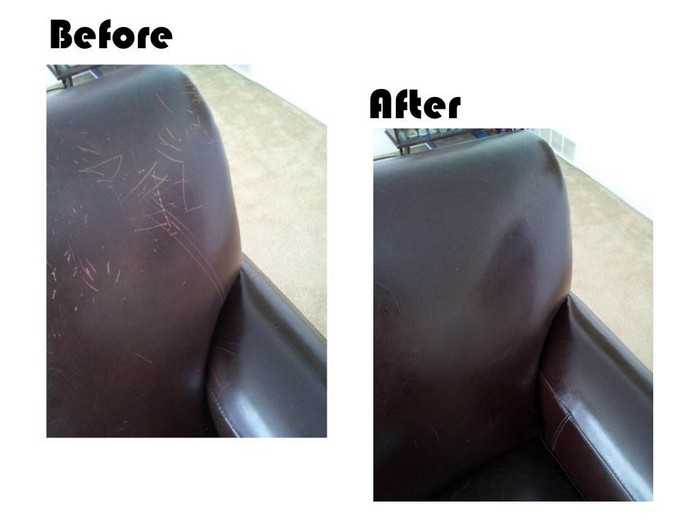 But it can leave a discolored looking area on the plastic that doesn’t look right.
For fixes like this, I like to use a heat gun. It’s really kinda cool how well it works, you can watch the plastic change color as you hold the heat gun to it. Be careful though, too much heat can melt the plastics and there’s no coming back from that. Hold the heat gun a few inches away from the plastic and keep it moving side to side the whole time.
Any old heat gun will work for something like this. Heck, I’ve seen people use a propane torch with success. If you’re unsure what type of heat gun to use, check this Heat Gun from Amazon for starters.
That’s all there is to it. If you want to paint your ATV plastics a new color, check out this article: How To Prep And Paint ATV Plastics.
Sharing is caring!
December 18, 2020
Even the most careful driver can face the problem of damage to the plastic parts of the car.
Inside the cabin, the “weak” point is the dashboard and doors. Knowing how to remove scratches from plastic in a car, the car owner returns the parts to their original appearance, saves on expensive repairs or replacement of plastic components.
The slightest plastic defects and chips on the dashboard visually "age" the interior of the car and give it a careless look. Few manage to avoid injury. They accidentally dropped the keys - there is a scratch, they pressed a little harder - a chip.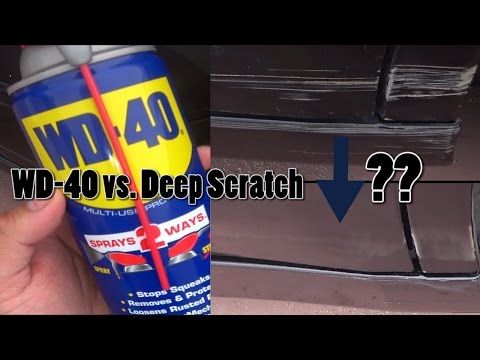 You can just open or close the door unsuccessfully. There are several ways to repair plastic.
Remember that corrugated surfaces cannot be repaired, much less polished or heat treated. They are completely replaced.
It is very easy to remove mechanical damage to plastic parts with a repair pencil, special wipes, as well as towels and microfiber cloths.
Before proceeding with heating the plastic, it is necessary to carefully clean the damaged area from contamination using fine-grained sandpaper. Then treat this place with an automotive degreaser. After that, we direct a working hair dryer to the defect (at maximum power). The distortion should disappear. In this way, only minor damage to the plastic can be removed.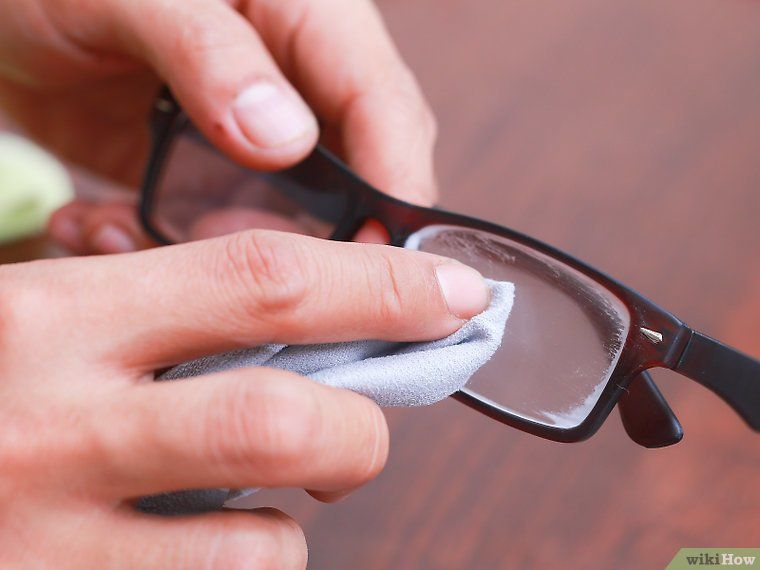 By melting plastic with deep defects in this way, you can achieve the opposite effect: the scratched place can deform even more.
The lighter is brought as close as possible to the damaged area of \u200b\u200bplastic. The fire must cover its entire surface. Remove soot from the cooled surface with a swab dipped in alcohol. With the right actions, the plastic should recover. This method is also only suitable for removing small scratches.
Remember to take precautions when handling fire.
Restorers are polishes and gels. Means remove damage after repair and give the product its original appearance. The polishing process is especially important when repairing glossy surfaces. The polish is applied with an abrasive paper or a grinder.
Make sure that the tool runs at low speeds. This will allow you to control the process of polishing the plastic. Eliminate minor scratches in this way is not worth it, the measure is excessive.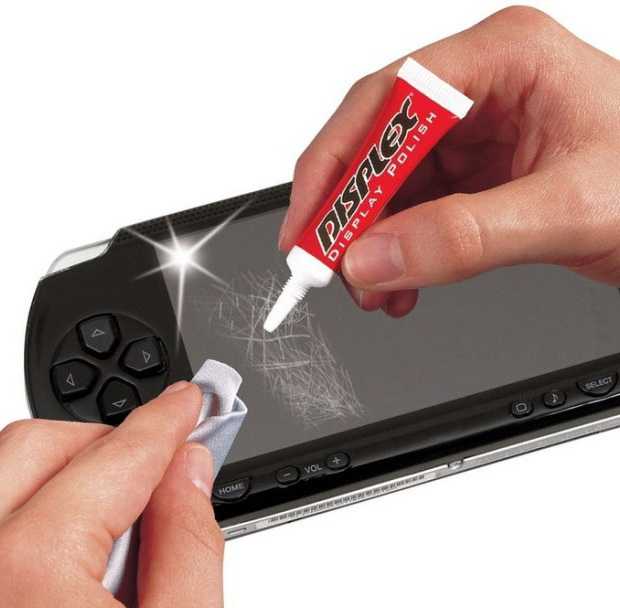
The method is suitable for removing small scratches on a glossy plastic surface.
The disadvantage of plastic is the rapid appearance of defects. Perform the following steps to repair deep scratches and chips:
If the above methods do not work, take extreme measures.

It is not so difficult to clean deep scratches and chips on your own. Follow the rules and take into account all the subtleties of plastic processing and then the repair will be of high quality and efficient.
Recommended articles
Contents from transparent plastic
Plastic is all around us in today's world, be it car panels, window sills, sunglasses or a mobile phone. Distribution is due to the fact that it is light in weight and easy to handle. Nevertheless, it is prone to damage, so sooner or later the question arises of how to remove scratches from plastic on one thing or another.
Most often, damage can appear on car parts, for example, dashboard or doors, this may be due to careless placement of keys, phones and other items on it. In addition, it is quite easy to scratch glasses that have a plastic base when they are casually placed on a table or in a bag.
To remove scratches from plastic, use one of the following quick methods:
 It is applied to the right place with a thin brush or toothpick, and after drying, polished with a cloth dipped in machine oil.
 If the scratch cannot be removed, use other methods:
Heat with a hair dryer. A fairly simple solution to the problem, hot air quickly levels the plastic surface and eliminates the smallest defects. Remove scratches as follows:
Polished with a polishing agent available from an auto supply store.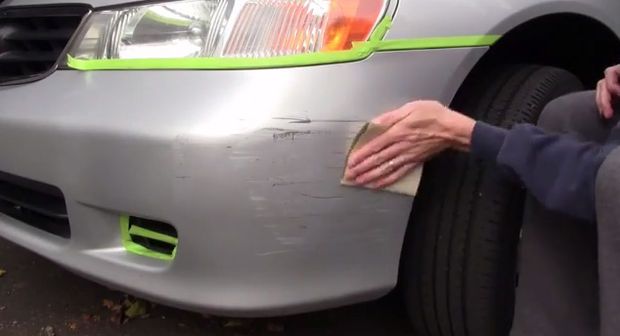
Pencils used to fill in scratches on a plastic surface can fill in damage and make it invisible to the eye:
To remove deep scratches on plastic that completely spoil the appearance of any thing:

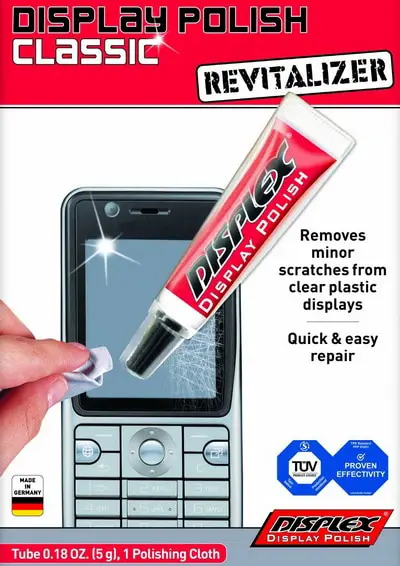
Larger damages on the plastic base can be removed by using a special tool Displex, which is sold in hardware stores, packaged in tubes. It is worth noting that this substance contains microparticles of a plastic nature, so they fill deep scratches in the most accurate way and make them invisible to others.
Apply this product as follows:
As a rule, Displex copes well with deep damage, but in the case when all the effects were ineffective, it makes sense to turn to specialists. For example, if the scratch is in the interior of a car, take advantage of the special damage removal service that most car washes offer.

The plastic window sill, of course, is superior in many ways to its wooden counterparts, but scratching it is easy. It is not uncommon for damage to be left by an awkwardly moved flower pot or by the hostess who cleans it using a brush with stiff bristles. It is worth noting that scratches can become a source of additional dirt that will get into them, and removing it will not be too easy.
Of course, the ideal option would be to completely replace the window sill with a new one. But if this method is not suitable, try to remove the damage with your own hands:
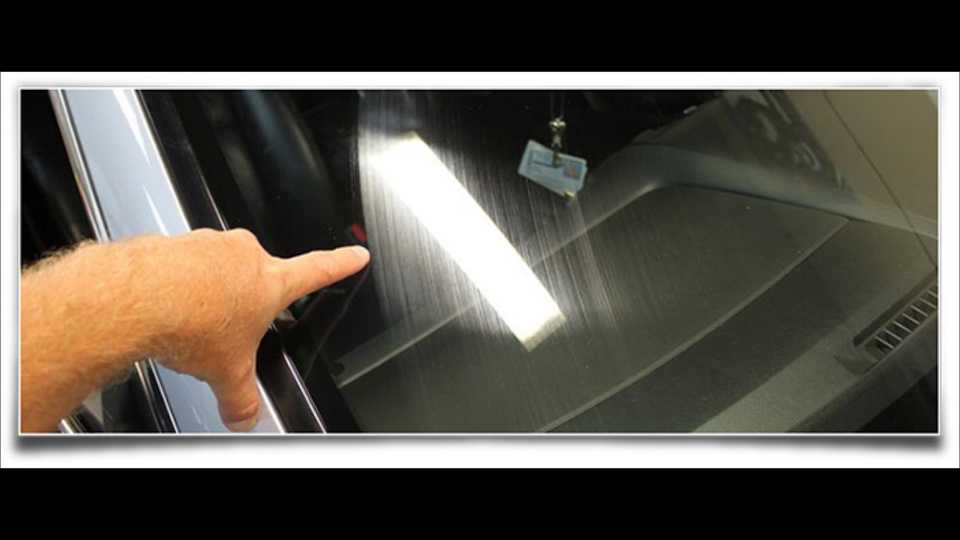 COSMOFEN 10 proved its effectiveness, which perfectly restores the lost glossy shine to plastic.
It is worth noting that waxing gives excellent results, because it tolerates sunlight and water very well. It also has the ability to repel dirt, protecting the surface of the window sill.
Clear plastic is just as susceptible to scratches as matt or colored plastic. As a rule, there may be many objects in the house that have a surface made of such plastic. Quite often, plastic lenses of glasses, most often sun glasses, are scratched. It should be noted that such damage can impair vision, and simply make their use uncomfortable.
Small scratches on transparent plastic can be removed using household tools:
