When handlebar grips wear out or become loose, you might as well cut them off as they are not worth keeping. But from time to time, it can be necessary to remove the grips without destroying them.
This post will cover three methods that may help you take off the grips on one piece. Most of them require tools and supplies you would typically find in most homes.
By knowing how the grips stick to the handlebar, you’ll better understand how to remove them.
Removing handlebar grips without removing them is not always easy, and you may need to try several methods before you hopefully succeed.
The first method works great with dry-fitted grips, while you may need to use one of the latter methods if the old grips were installed using an adhesive of any kind.
To use this method, you will need an air compressor with a hose and air blower nozzle. This is how you do it:
You need a small gap to get the nozzle of the air blower in between the handlebar and the grip.
You can also try poking a small hole at the end of each grip. Some grips come stock with holes for easy installation and removal.
This method works with most grips, at least the ones that are not glued in place.
However, if you don’t have access to compressed air or are struggling with a stubborn adhesive keeping the grip in place, the next method may be just what you need.
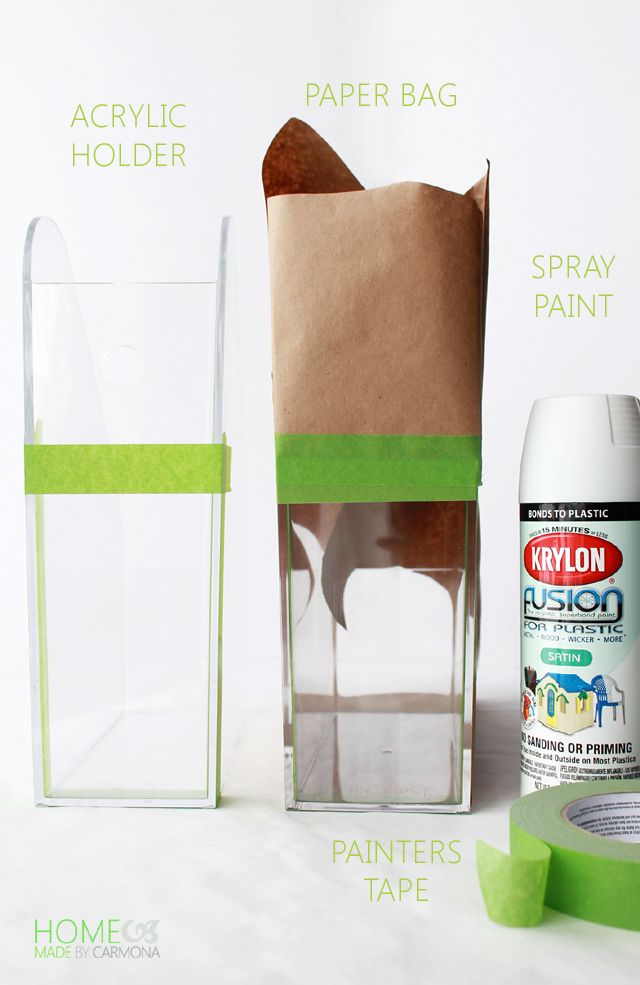
When the grips are held in place with an adhesive like any glue, spray paint, or even hairspray, you need to break the bond before the grip moves.
Your best bet is using a solvent as this will not only dissolve the adhesive it also acts as a lubricant, making it easier to slide the grip off the handle.
Another benefit of using a solvent is that it will evaporate without leaving any residue, and when you are done, there is no need for cleaning.
If you don’t have access to a solvent, there are some less effective options you can try:
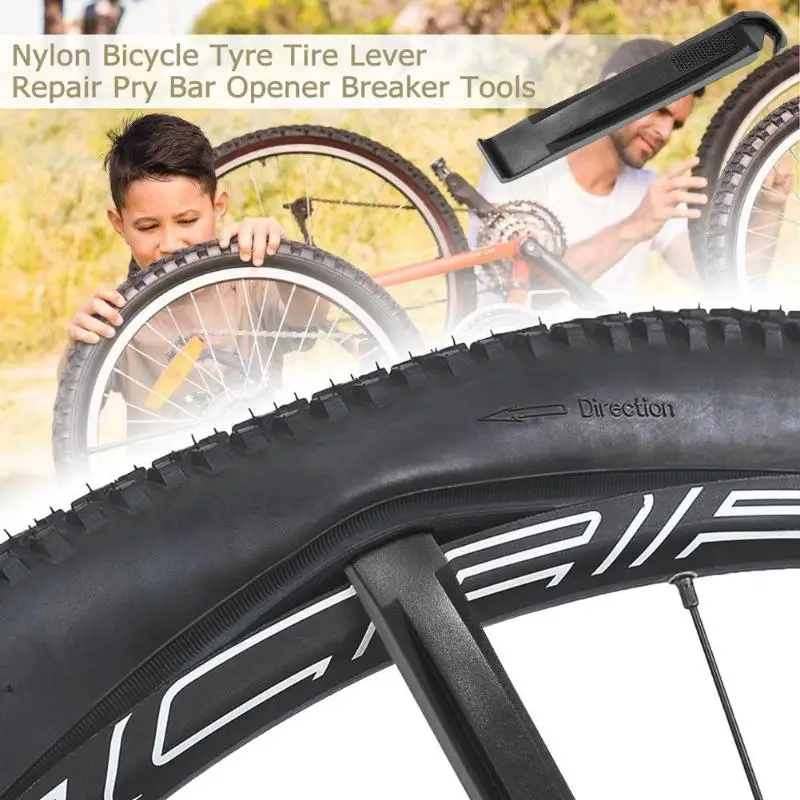
You will also need a flat object to pry between the handlebar and the grip. Here are a few options:
Lean the motorcycle against a wall, or park the ATV sideways on a slope. This will make it easier to pour solvent to flow along with the handlebar and inside the grip.
Wedge the screwdriver or whatever flat object you have at hand between the grip and handlebar to create a small gap. There is no need to push the screwdriver too far at this point. You need only a small gap to allow the solvent to start entering behind the grip.
Tip: Depending on what glue was used to glue the grips in place, try heating it using a hairdryer as this may make the glue less adhesive. Do this before you add a flammable solvent.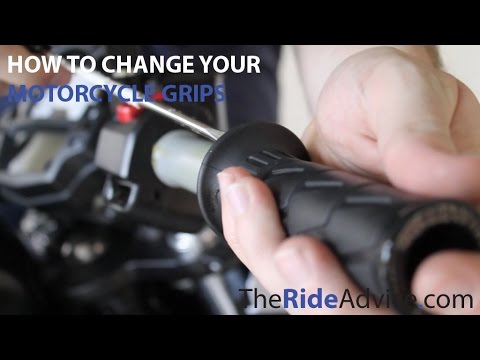
If you use an alcohol-based solvent or water, feel free to use as much fluid as you need as the leftovers will evaporate when you are done.
However, if you use WD-40 or vegetable oil, keep in mind that everything needs to be cleaned thoroughly before installing new grips.
 Eventually, the grip will come undone, and you’re able to slide it off.
Sometimes when the grips are glued solid to the handlebar, you may not be able to pour solvent in between the grip and the handlebar.
As a last resort, you can try using a basting syringe/marinade injector to inject the solvent.
These types of syringes are sold at any kitchen supply store. Similar syringes are used in golfing to remove rubber grips from golf clubs.
If neither blowing compressed air or using a solvent like a contact-cleaner won’t make the grip come loose, you may need to cut it. Use a razor blade or a box opener and gently along the grip’s entire length from top to bottom.
Make sure to not cut through the rubber as it may damage the plastic inner layer or heating elements if your bike has them.
Most ATV grips are ⅞ inches in diameter on both sides. Unlike motorcycles, ATV grips are the same diameter on each since they use a thumb throttle instead of a wrist throttle.
Maintenance
by Laura Bess
Contents
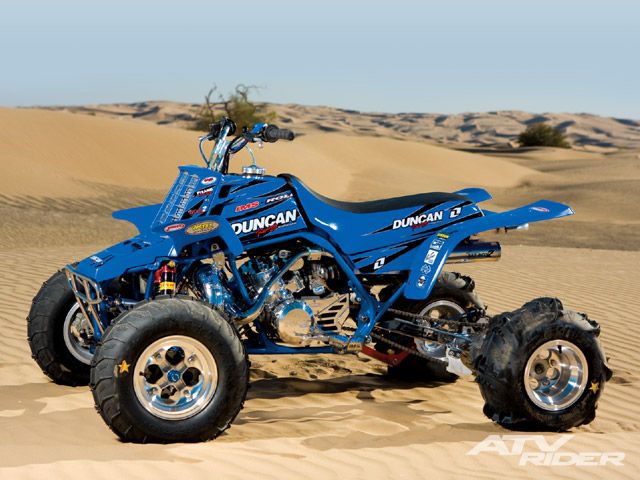
Wondering about how to install bike grips? Let’s get started. Steering and balance are two fundamental aspects of driving an ATV and anything that improves these elements should always be given priority. Unexpectedly, many ATV riders ignore the role of grips plays in this.
Grips play an essential role in providing riders with better control and stability when steering and balancing on the vehicle. With that said, if you own an ATV of any kind, you must pay special attention to the grips of the vehicle.
If you think it is time that you replace your old ATV bike grips and put on the new ones, this post will guide you through the best ways to the process. In this post, we have described how to put on bike grips on your ATV and improve the steering and balance.
Changing your grips is a cheap, easy, and fast way to give your ATV a new look. New grips can make your ATV feel like brand new and give your hands some fresh padding. The grips on ATVs are not of the highest quality and are meant to degrade quickly, especially when used strenuously.
If taken proper care of, your ATV grips may last a maximum of one season. You will eventually have to replace them if you want to ensure proper operation.
The primary reason why people install new grips is that old grips become dirty. One way to save money on new grips is to clean them with water and detergent. But, where is the fun in that?
You have two options when removing the old grips.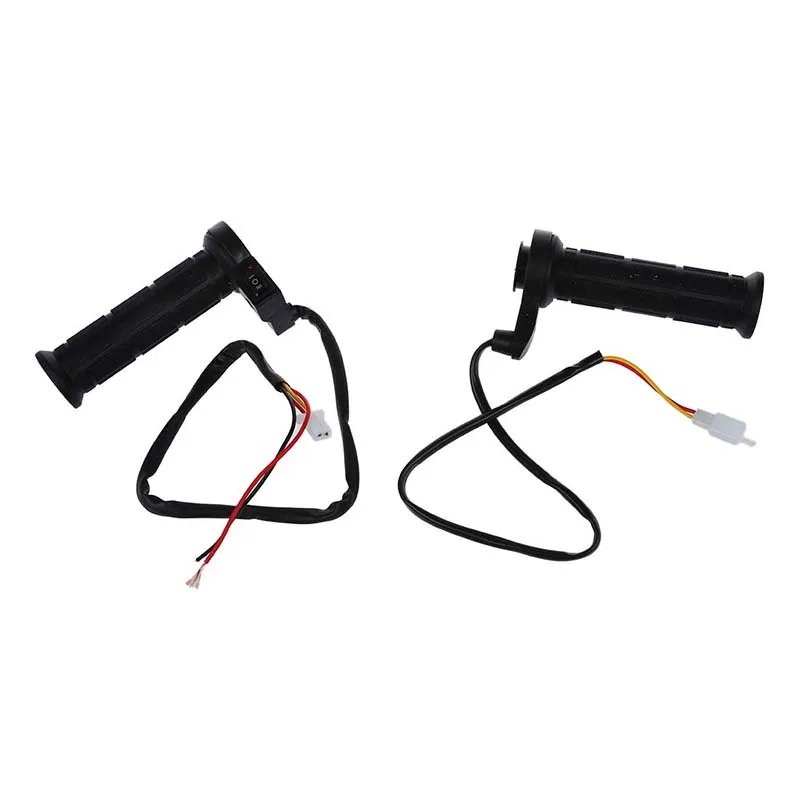 The first option is to completely cut them off with a pair of scissors or a sharp blade. If you don’t think that the old grip won’t be of any use in the future, you can follow this approach.
When cutting off the old grip, ensure that the scissors or blade you use do not damage the handlebars or put any scratch on them. Make a shallow cut and just peel the grips away.
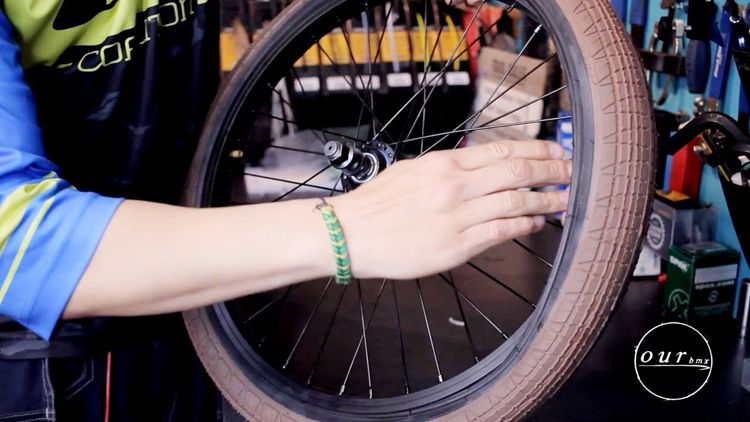
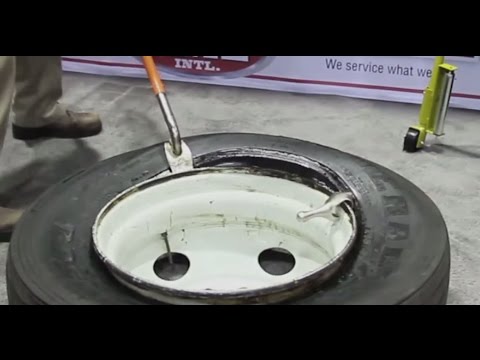
However, if you want to preserve the old grips, then you will have to get a bit technical here. Take a small and thin rod with a pointy end – like a screwdriver. Insert the screwdriver in between the grip and the handlebar, ensuring that the grip stretched a little bit so that it doesn’t have any contact with the handlebar.
Now take a degreaser like a hand sanitizer, liquid detergent, or anything else that helps the grip to slide easily off the handlebar. Apply the degreaser around the grip to decrease the friction between the grip and the handlebar. Now slowly twist the grip in an anti-clockwise direction until it ultimately comes off the handlebar.
Once the grip is complete off, clean the handlebar thoroughly and wipe off with a clean cloth to ensure no grease or any particle is sticking to it.
Now that you have removed the old grips, it is time to put on the new ones. First things first, insert a nickel into each new grip. Why? You may have noticed that the cover ends of your old grips were completely torn or damaged.
Tossing a nickel into it will keep the grips from being damaged or torn where they cover the ends of the handlebars. Since most grips are synthetic or rubber, the iron handlebar can easily wear them down.
Moreover, we also tend to poke that part of the grip oftentimes. The nickel at each end of the grip will keep it firm.
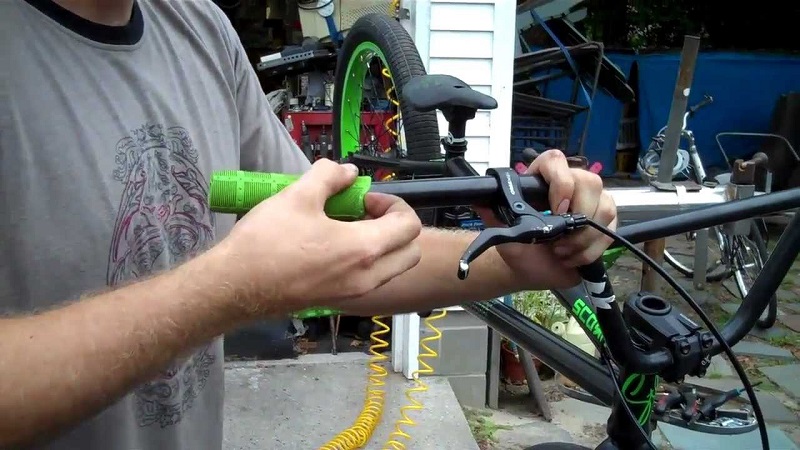
Before installing bike grips, spray some degreaser (use a product that will evaporate quickly like hair spray, hand sanitizer, etc.) into the grips. Shake out the excess (if any) and put the mouth end of the grip on the handlebar – from where it will be inserted.
Twist in a clockwise direction and slowly put some pressure to insert the grip. If you find difficulty in inserting the grip and are stuck halfway, use some lube like hand sanitizer and continue with the process until the grip is finally in its place.
Test the grip, hold it firmly and see if it gives a proper hold and padding. That’s it! This is how you install bike grips on your TV.
We recommend that you always use good-quality grips for your ATV. It will not only enhances the riding experience but also ensure that the operation is quite pleasant.
Source: Rocky Mountain ATV MC
Before the onset of winter, most owners of motor vehicles “preserve” their vehicles until warmer times arrive. This also applies to owners of ATVs. Nevertheless, for many lovers of extreme sports and outdoor activities, the ATV has become an all-weather vehicle. They proved that it is possible and necessary to ride an ATV in winter and enjoy it. True, for such pokatushek some improvements will be needed.
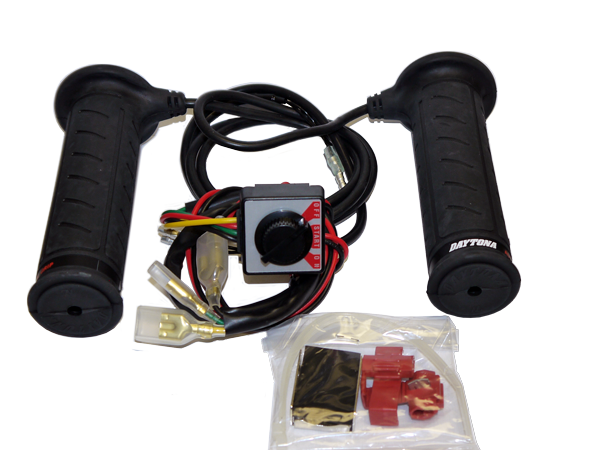
One of them is heated grips. Such an accessory is quite common among owners of motor vehicles, and on the market you can find applications for every taste and color.
Everything is quite simple here. Surely you have seen an electric stove or even used it. So the same principle is used in heated handles. A heating element (wire with high resistivity) in the form of a spiral is placed in rubber grips (grips) and connected to a heating controller, through which you control the temperature of the heating element. All this simple design is connected to the ATV wiring.
As you can see, everything is very simple.
In order to install new handles, the old ones must be removed.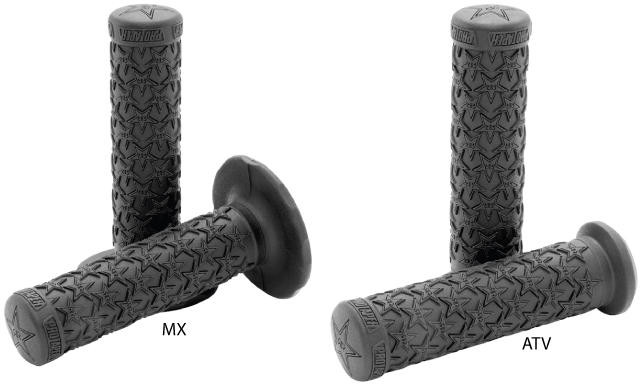 Everything is logical. Let's start with the fact that if hand protection is installed, then first we remove it and only then proceed to dismantle the standard grips.
The handlebars that are fitted to the ATV from the factory are often glued on tightly and are very difficult to remove. So it is advisable to simply cut the handles, and then clean the steering wheel from the remnants of glue and rubber.
Dismantling completed. Now it's the turn of the heated grips.
Before putting them on, the inside of the handles can be smeared with WD-40 grease and wait a few minutes. After that, heated grips will put on without problems.
20 minutes after installation, check that the knobs do not turn. If they are not fixed, then it is necessary to remove them, remove the remaining lubricant and put the handles again, but already on Poxipol.
Never use "super glue" to fix the handles. Over time, it will dry out, and the handles will begin to turn.
Heated grips and trigger are often included.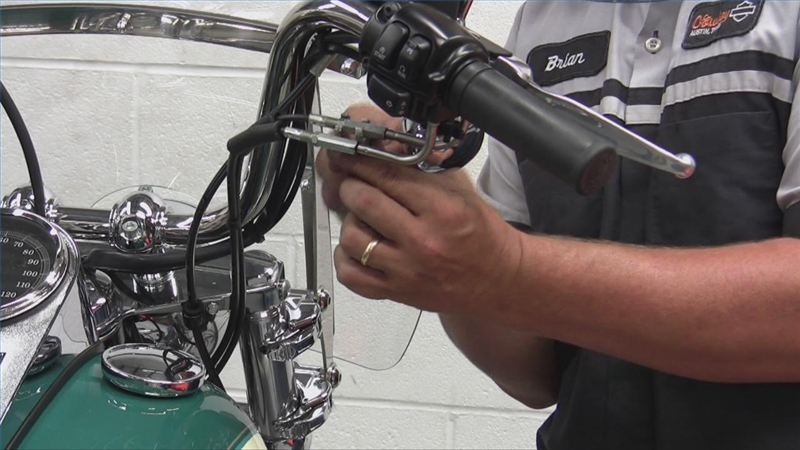 To install the trigger heating, it is necessary to put the heating element on double-sided tape, glue the second side of the tape on the accelerator trigger. We put on a special heat-shrink tube for this whole structure, which, in turn, is crimped with a hairdryer.
Next in line is the heating controller. We fasten it to the steering wheel in any convenient place.
Well, the last step is wiring. It is necessary to connect the heating with a positive wire to the positive that appears after the ignition switch is turned on (with this connection, if you forget to turn off the heating, the battery will not be discharged). As a rule, there is always a free connector under the hood, if you did not find a connector, you can connect to the cigarette lighter power supply, and connect the negative wire to ground.
Done! It remains only to test our handle heating and make sure everything works.
Last but not least, heated handles are recommended to be used together with hand protection. So you will protect your hands from the cold wind. Well, since you decide to ride in the cold season, do not forget about warm clothing. You can also install a heated seat and get a winter helmet (for snowmobile drivers, heated helmets are produced).
When it comes to choosing ATV heated grips, we recommend the American brand Moose. The products of this company are of high quality and reasonable price. You can buy heated handles and a trigger in our store.
If, according to the forecast, snow and frost are ahead, it is not necessary to put the ATV into storage until warmer weather. You can also ride it in winter.
But for this, the equipment needs to be prepared, monitored and properly looked after. How exactly to do this in winter - we will tell below.
Heated handlebars and throttle . If they were not in the basic configuration, and if the winters in your region are frosty, and you plan to ride for a long time, you must install them. Even in thick and warm gloves, hands can freeze, and this is dangerous: frozen fingers can interfere with control.
Seat heating. Not a mandatory option - here you need to focus on personal feelings. Therefore, you can first try to drive without seat heating.
Windscreen. At a speed of even 20-30 km/h, the oncoming flow of frosty air will very quickly "freeze" the driver if he does not have enough warm clothes, and especially if it is blown through. Plus, snow flying in the face can interfere.
Oil. In winter, a low viscosity oil should be used. For example - 5W40 or 5W30, or even 0W40 for the most severe winters. Important: this should be a composition specifically for motorcycles, and not automotive oil - since special oils contain additional additives for “wet” clutches.
Antifreeze. During the "warm" season, water may have entered the cooling system. In summer it may not interfere, but in winter it can freeze. Therefore, it is better to completely replace antifreeze, pouring a high-quality composition.
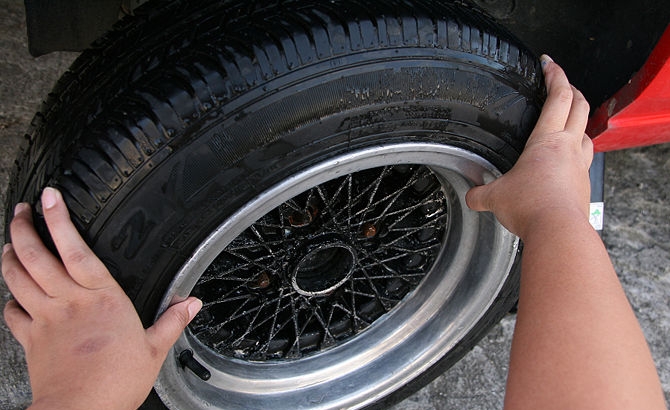
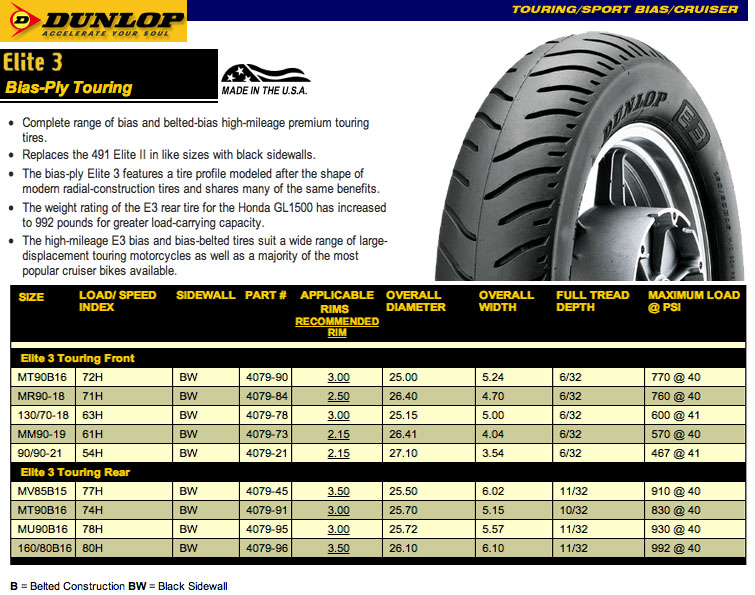
Rubber. The choice of tires depends on where you will ride. If it's ice, cross tires will do. For frozen ground, tires with a radial cord construction are suitable. Tires for snow depend on the characteristics of the surface:
If your outfit is designed only for warm weather, it is better not to wear thick sweaters under it, but to buy a special jumpsuit with insulation. Riding in this will be more convenient.
Get rid of the protection from the levers and the bottom so as not to pile up the snow. This is dangerous because the collected snow will then melt as it heats up on the drive train and may then freeze again. Thus, the CV joint anthers can be damaged.
Just don't forget: riding an ATV without protection is more careful, because under the snow you can not notice a stump, a log, a large stone.
Water can appear in the gas tank for a number of reasons:
An important caveat: if your ATV has a metal gas tank, moisture inside will appear faster, and it may be more than in a plastic tank.
Therefore, before frost, it is necessary to remove moisture from the fuel system. There are special tools for this. Their composition is about the same. Choose any and fill it in the gas tank.
A “folk” remedy invented by Soviet motorists for the most severe frosts (relatively speaking, from -25º and below).
What it means: a small piece of cardboard or "foam" is placed in front of the radiator. It cuts off the oncoming flow of frosty air, allowing the engine to warm up faster and use less fuel.
The most important thing is to choose the right size for the carton. It is not worth completely blocking the radiator, otherwise the engine will simply overheat. Alternatively, you can conduct a test: put a piece of cardboard about halfway over the radiator and see how the ATV will behave.
A bad battery can cause the engine to simply not start in cold weather. In general, this can happen with new batteries if the ATV stays in the cold for a long time. But if the battery is already old, the probability increases. Therefore, even before frost, periodically check how your battery holds voltage. If it's bad, it's better to replace it.
Ideally, keep the ATV in a heated room between rides. An unheated one is also suitable, but it must have an outlet so that, if necessary, it is possible to turn on a heat gun or a building hair dryer - for example, if the engine does not start due to frost.
The main rule is not to start the quarry immediately after starting. Wound up? Let the engine warm up quietly and smoothly for a few minutes at idle. Further - you can drive a little at low speed (relatively speaking, a few more minutes), and only then - accelerate at your discretion.
If you changed the oil to a less viscous one, and if your ATV has an injection engine in good condition, it should start normally even at -20º right on the street. With carburetor engines, everything is a little more complicated: their spark is weak, and in cold weather it cannot always ignite the fuel. This problem again can occur if the ATV was in an unheated garage or right on the street.
How to solve it: