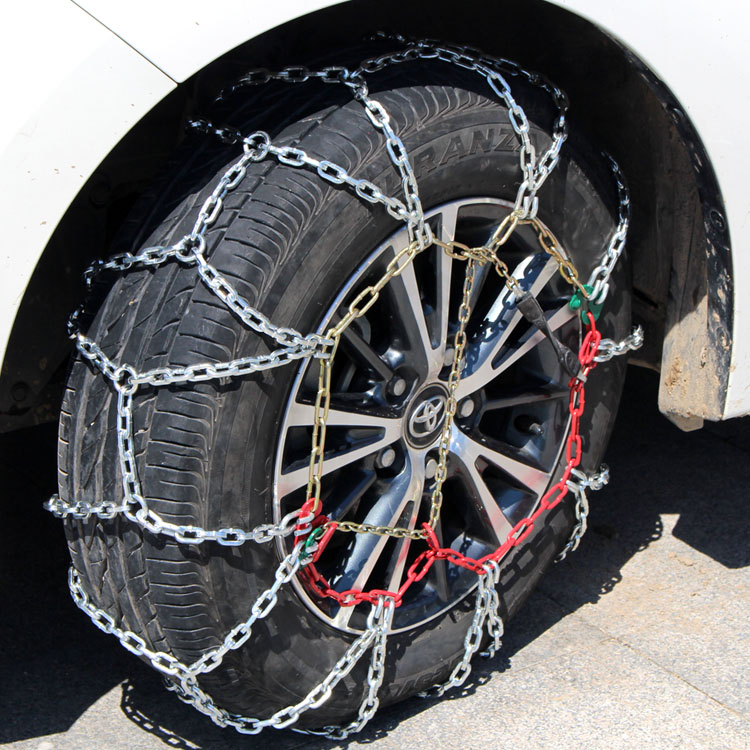
If you travel to the mountains or snowy areas regularly, sooner or later you’re going to have to use tire chains. Start by getting the right set for your vehicle at your local Les Schwab.
Quick-fit chains are not your grandpa’s tire chains. They are MUCH simpler to put on and take off. Here are a video, step-by-step instructions, and driving safety tips for installing quick-fit tire chains on your vehicle.
When you need chains, driving conditions are nasty. Snow is coming down, passing traffic is spraying slush, dirty water is dripping off your wheel wells, the road is slick, and it may be dark. Don’t make this the first time you put on your chains.
Practice installing your new chains once BEFORE you travel. Take advantage of a dry garage or driveway to make sure your winter tire chains are the right size and you’re comfortable putting them on. If needed, the professionals at Les Schwab Tire Centers can help.
Put together a simple winter road trip safety kit with warm gloves, waterproof layers, and other items to make your winter driving more safe and comfortable. In the winter, always carry this emergency kit and tire chains in your vehicle.
Once you’re comfortable installing your chains, you’re ready to hit the snow.
Be Safe. If you’re on the road, pull off as far as possible onto a safe shoulder. Flip on your hazard lights. Put on your waterproof layers, hat, headlamp, and gloves from your winter road trip kit.
Identify the Correct Tires. If your vehicle is front-wheel drive, the chains go on the front. If it’s rear-wheel drive, chains go on the back. If it’s all-wheel drive, please check your owner’s manual. If you’re not sure, you can ask the experts at Les Schwab for help.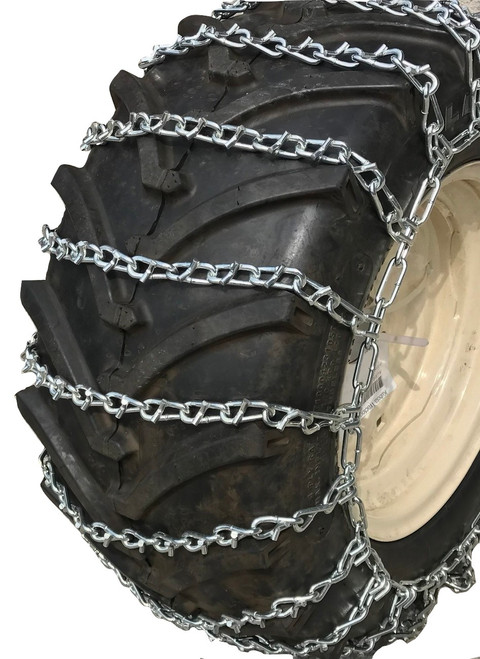
Pull Out Chains & Instructions. With your vehicle parked, open the bag and pull out your instructions and your first chain. Each bag comes with two chains. The plastic instruction mat that comes with your chains can be used as a barrier between you and the snow to keep you dry.
Untangle Your Chains. Holding them from the plastic-covered cable, make sure everything is straight and the chains are not looped over one another. Hold up your chains so the yellow end is in your left hand and the blue end is in your right.
The chains should hang loosely and the metal hooks seen along the yellow and blue sections should be facing away from you so they don’t damage your tires.
Place Chains onto Your Tire and Connect the Cable. Lay your chains on the ground and push them behind the tire, yellow cable end first, from the right side to the left.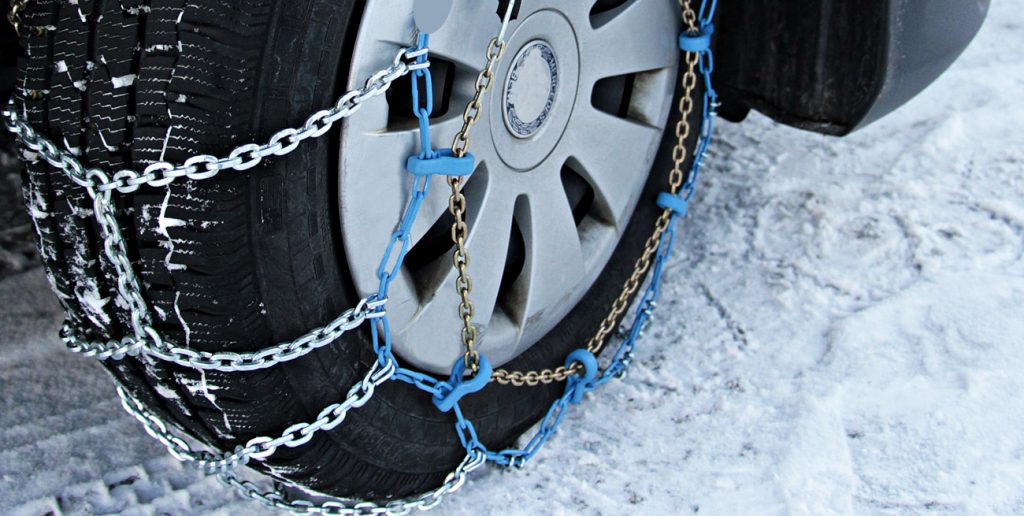
Once the chains are centered behind the wheel, grab both ends and pull them up over the top of the tire. You should feel the chains against your axle.
This will allow you to easily connect the yellow and blue ends of the cable by slipping one end into the other and pulling them into place.
Connect the Red Hook. Now that the cable is connected on top, look for the red hook directly opposite the cable connection. Connect the red hook on the right to the first available gold link on the left.
Check the Diamond Shape. Push the connected chain over the top of the tire. You should see the diamond shape in the chains against your tire. Between each of those diamonds is the center rail, which should be placed down the middle of the tire tread.
Connect the Red Chain Along the Bottom. Now that the cable is connected on top, look for the red hook directly opposite the cable connection. Connect the red hook on the right to the first available gold link on the left. Push the connected chain over the top of the tire.
The bottom of the chains includes a red draw chain with bungee on your right, and a chain guide on the left. Pull these out towards yourself.
Take the long red chain and run it through the chain guide and pull as tight as you can with both hands. Don’t pull using the bungee. As you pull, one of the chain links will find its way into the notch on the red chain guide, locking it into place.
Using the bungee end of the red chain, pull it through one or both of the red loops and secure it to a gold-side chain opposite the red loops. If you can’t get it through both loops, that’s ok, pull tight through one and attach it to a side chain to the left of the loop.
Repeat on Second Tire. Repeat these steps to install chains on the other side of your vehicle.
Drive Forward Slightly. The next step is to drive forward about 15 feet, or a full car length. This gives the chains a chance to relax and settle on your tires.
Re-tighten Chains. To take up any slack, unhook the rubber end of the red draw chain and pull it tight again. Once it’s tight, guide the red chain through the loops and, again, securely latch the bungee end to the gold-side chain.
The chains should be tight on the tire. And, be sure to stop if you hear them making any contact with your vehicle. If your chains are still loose, unhook the bungee and adjust the red hook straight across from the chain guide. Unhook and reattach to the tightest position on one of the three gold chain links. It’s okay if the extra links are hanging loosely. Now, you’re ready to reattach your bungee.
While driving with tire chains, listen for a loud sound of slapping, or metal on metal. If you hear any indication that a chain may be broken or hitting your car, STOP as soon as safely possible. Loose or broken chains that flap can wrap around a strut or shock component, causing big damage to your vehicle. To help prevent damage, here are a few tips for driving when you have winter chains installed on your vehicle.
Pull over in a safe location and remove the chains. Start by unhooking the bungee and chain from the guide, removing them from the tensioner. Unlatch the red hook, and then undo the blue and yellow cable connection. Once all of your chains are off and lying flat on the ground, pull backward or forward slowly a few feet so you can safely pick them up.
At the end of your trip, lay your chains out in the garage and let them dry. If you pack them wet, they can rust.
Also check them for wear, especially if you’ve driven them on asphalt for any distance. Look for flat spots, and replace the chains if you find some.
Link at left shows flattening from wear. Link in center shows sharp edge from wear that can damage a tire.
Remember, if you don’t use your chains all winter long, you can return them with proof of purchase to any Les Schwab for a full refund in the spring.
Get your next set of Quick-Fit chains, along with a few tips on how to install them, at your local Les Schwab, where doing the right thing matters.
Want more tips on winter road safety? See 19 Winter Driving Resources You Can’t Do Without.
Get More Winter Tips
Posted by Matthew C. Keegan Know How
Even with a set of winter tires on your car, driving through certain national parks or crossing mountainous terrain may require tire chains. Learning how to install tire chains takes a little practice to avoid common issues, like buying chains that are the wrong size for your car. Here’s a quick guide to getting the job done right.
When Tire Chains Are NecessaryYou may have invested in a set of winter tires for the season, thinking that they’re sufficient. In some cases, however, they are not — especially where road regulations and treacherous conditions come in.
Indeed, if you take certain roads in the Sierra Nevada, the California Department of Transportation (Caltrans) may require you to install chains before permitting you to continue on your journey. Caltrans puts such requirements in place when the roads are covered in packed-down snow, as only chains supply the grip necessary to safely traverse the terrain.
Choosing the Right Tire ChainsIf you don’t yet have tire chains for your car, you’ll need to shop for them.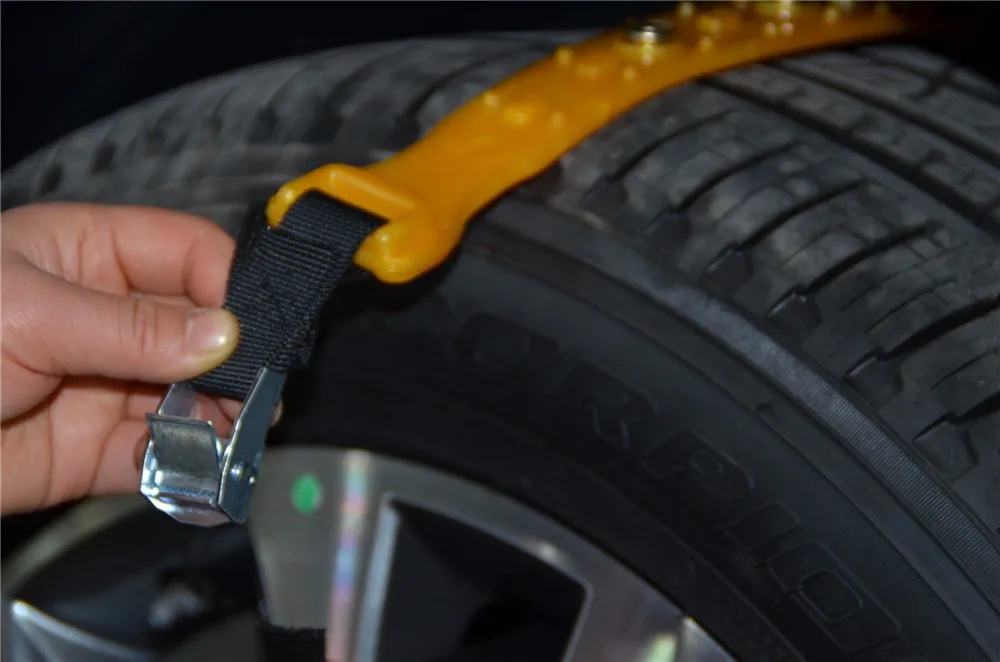 Tire chains are designed for specific tire sizes — you don’t want to deflate your tires, possibly damaging them to make the chains fit.
NAPA Know How spoke with two tire safety experts, who explained: “There should be, on average, a minimum of 12 chains crossing the tire. Before your journey, take time to learn how to install and remove the chains efficiently by following the manufacturer recommendations.”
How to Install Tire Chains in 6 StepsTire chains go on when road conditions warrant them. Once you’ve reached clear pavement or terrain, where chains are no longer required, pull over and remove the chains.
Here’s a step-by-step look at the installation process:

Remember to follow the manufacturer’s instructions on your particular set of chains. Manufacturer instructions may vary, so follow them over these steps, which are general guidelines.
Once your chains are installed, accelerate and decelerate with care. Never exceed 30 mph, and avoid spinning or locking the wheels. If a chain breaks, repair or replace it immediately. Lastly, warn tire experts, avoid using snow chains for an extended time on bare pavement to prevent potential damage to both the tires and snow chains.
Check out all the steering and suspension parts
Photo courtesy of Flickr.
Categories
Know How
Tags
driving tips, ice, snow, snow chains, tire care, tire chains, winter, winter tires
Matt Keegan has maintained his love for cars ever since his father taught him kicking tires can be one way to uncover a problem with a vehicle’s suspension system. He since moved on to learn a few things about coefficient of drag, G-forces, toe-heel shifting, and how to work the crazy infotainment system in some random weekly driver.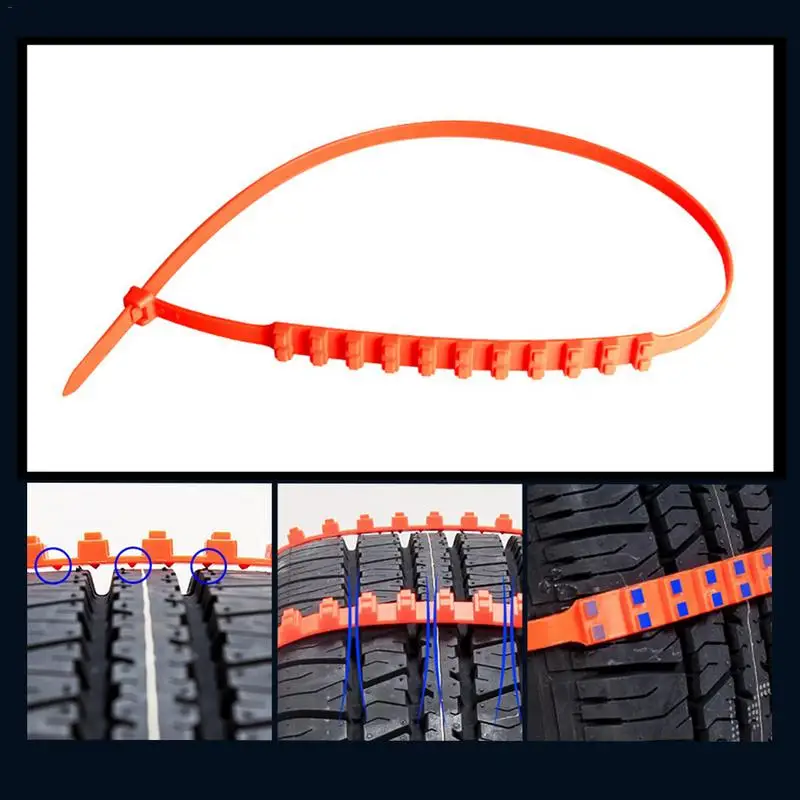 Matt is a member of the Washington Automotive Press Association and is a contributor to various print and online media sources.
Category: Interesting news.
The truck tire industry is developing rapidly. Designers improve the rubber compound, improve the tread pattern - and still, in winter it is impossible to do without such an old-fashioned accessory as snow chains . Consider why the driver needs chains and how to install them correctly.
Snow chains are used off-road, in ice and to improve the grip of wheels with the road.
Due to the fact that the pattern of the chain protrudes outward and the contact area of the chains with the road is smaller than that of the wheel, there are gaps between the chain and the tire, the vehicle's flotation is improved, and wheel slip is prevented.
The main purpose for which truck drivers put chains on their wheels - is to ensure a confident ride on slippery roads and in snowdrifts, to increase the stability and controllability of the car due to better grip.
Experienced drivers always carry chains on their wheels. They rescue not only on the ice, but also help out at the cargo terminal if the snow is falling faster than it is removed by public utilities.
The variety of types allows you to find an option for any task - for certain types of trucks, for example, MAN and Scania, chains can be of different “caliber”, and their pattern is made in the form of “honeycombs”, “ladders”, etc. - depending on the type of road surface.
For heavy trucks and trucks, studded chains are mainly used to ensure tire grip in the most difficult areas.
In Europe and Scandinavia, road sections where chains must be used are marked with special signs. Not far from dangerous areas - sites for installing chains.
The requirements for installing chains in different countries are different: somewhere it is enough to “arm” only the drive axle, somewhere you need to put chains on all the wheels of the tractor and even on the wheels of the semi-trailer. Before you travel in winter, check the chain requirements for your itinerary.
Before leaving for flight , it is important to check the condition of chains and store them in special cases or strong plastic bags. Worn out chains break in transit and can shatter headlights and fender liner, damage the fuel tank and cargo, get stuck between the wheels and cause an accident.
The chains must fit the wheel size of your truck. The specifics of its installation, the type of fastening and the degree of tension depend on the type of chain.
Do not accelerate and brake sharply when driving with chains on wheels, exceed the recommended speed: 50 km/h for metal chains and 80 km/h for soft chains (rubber, plastic). As the speed increases, centrifugal force can cause the chains to loosen, causing the chain to vibrate and contact the fender liner.
Immediately after the pavement has been replaced with clean asphalt, the chains must be removed - otherwise they will wear out quickly. After removal, the chain must be cleaned and dried.
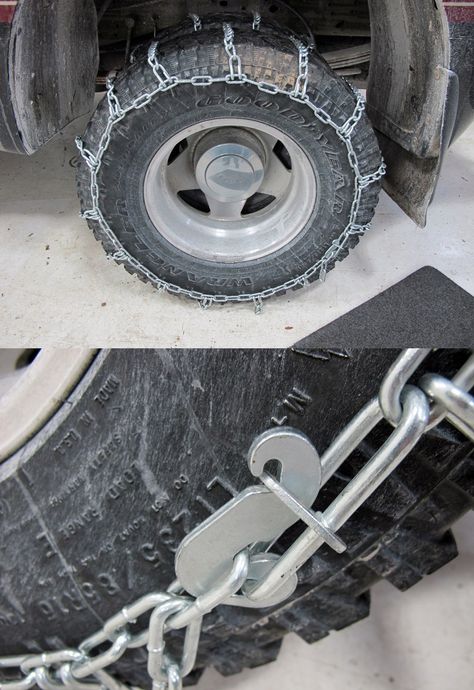
 Spread them out and place them next to the wheels so that the tie down chain is on the outside of the tire.
Quality used Scania truck parts can be found in our catalog
0002 In view of the fact that winter or even studded tires are almost universally used in Russia in winter, snow chains are not widely used. Except, maybe, areas of complete impassability.
Contents
Whereas in Europe, on the contrary, few people use studded tires. And when traveling to ski resorts, on some roads you may encounter a mandatory requirement to use snow chains.
You will be informed about this by the corresponding road sign. And the fact that you can have winter tires installed will not matter. So for peace of mind, it's better to have chains in the trunk.
New vehicles are often offered with different wheel/tire sizes. Some of them may not be suitable for fitting snow chains.
The problem is that installing chains adds a few centimeters to the width and diameter of the tires. This means that with some wheel/tire combinations, the snow chains will hit the body, suspension or parts of the braking system, which can lead to serious consequences.
Circuits can also interfere with the correct operation of the electronic sensors mounted on the steering wheel.
The vehicle manual must clearly state which wheel size the manufacturer allows snow chains to be used with.
If the chains cannot be used with the wheels installed on your machine, then your only option is to buy a second set of wheels/tyres.
You should only use snow chains where the road surface is completely covered by compacted snow or ice.
If signs require the use of snow chains, they must be fitted to all vehicles. Including those equipped with both winter and studded tires.
If you attempt to use the chains on a road that has been cleared of snow, you risk damaging the road surface and the vehicle. If you damage the road surface, you may face a large fine.
Therefore, as soon as you reach a section of the road free of snow or ice, you must select a level place and remove the chains.
It can be quite inconvenient to install or remove chains, for example when the wheel arches are filled with snow and your gloved hands are wet and cold.
So when you buy chains, don't just throw them in the trunk and forget about them. The practice of installing them at home when the weather is warm and dry, and you feel much more confident when you have all the necessary tools at hand, will help to cope with them in more difficult weather conditions.
At least one pair must be used on the drive wheels.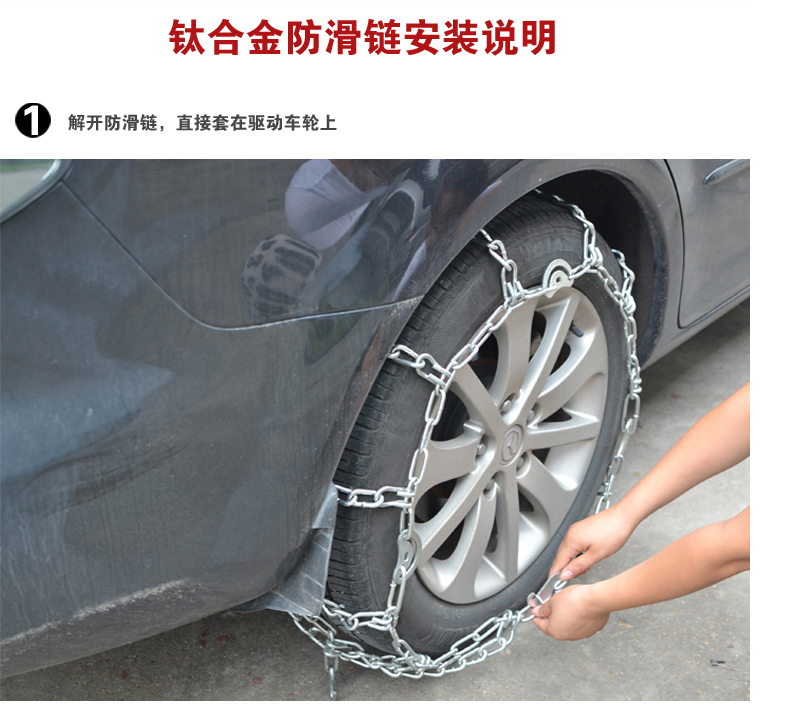 But two pairs are better, especially if you spend a lot of time in conditions where snow chains are a must.
As a general guide:
As a general rule, traction control (a system that controls the amount of slip on the vehicle's drive wheels to prevent them from spinning during acceleration) should be disabled when snow chains are used.
It is important to drive carefully with snow chains fitted. For cars with chains, different countries have their own speed limits. Reduce speed when cornering and avoid sudden acceleration and braking.
A few tips for using chains:
