A flat wheelbarrow tire, or a tire with a slow leak can be frustrating. Rather than taking the time to assess the damage and root cause of the problem, we sometimes just opt for the costly solution of replacing the tire, replacing the entire tire and wheel assembly, or even tossing out the wheelbarrow. It is not uncommon to see discarded wheelbarrows at dumps and waste yards that could have been easily returned to service with a minor wheelbarrow tire repair or tube replacement. Flat wheelbarrow tire repair or buying and installing a new tire, is an easy, money saving DIY project that anyone can do at home.
All that is needed to remove and replace the tire from the wheel is a large flathead screw-driver and a hand tire pump. You will also need a wrench to remove the wheel and tire assemble from the wheelbarrow. This is easily done by loosening one or both of the brackets holding the axle to the wheel.
If you have a tubeless tire which a puncture in the tread area of the tire, you will need a plug repair tool instead of the flathead screwdriver.
1. Once the flat wheelbarrow tire is off the wheelbarrow, you can conduct a thorough visual inspection. First, inspect the wheel for damage and the tire for obvious sources of the leak. You also want to check the amount of wear on the tread rubber and the amount of cracks in the tire due to dry rot. If the tire is badly rotted with deep cracks in the side of the tire, or the tread is worn and not providing sufficient traction, you should consider buying a replacement tire. A wheelbarrow tire could cost between 15 and 40 dollars delivered right to your door, compared to the $150 or more for a new wheelbarrow. If the wheelbarrow itself is in good condition, a new tire can make it work like new.
2. If the source of the leak is not easily identifiable on a tubeless tire (like a hole or object stuck in the tread), you need to inflate the tire to find the source of the leak.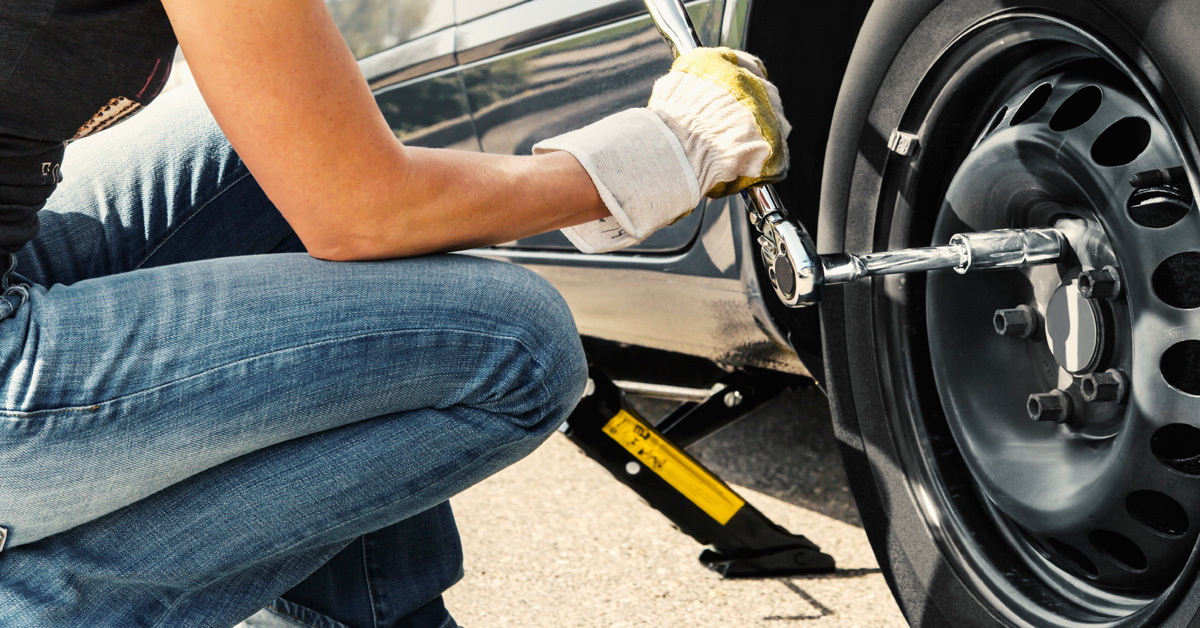 If the tire is entirely flat and won’t easily seat against the wheel flange, you can tighten a rope around the outside of the tire to push the tubeless tire against the wheel and get a good seal. If the wheel itself is severely bent, then you may need a new wheel, however small dents in the wheel flange usually don’t cause any problem, particularly for tube type tires. Adding
a tube to a tubeless tire and wheel assemble is a cheaper alternative to buying a new wheel even if it is damaged and leaking air between the wheel and tire itself.
3. For a tube type tire, the tire must be removed from the rim. Use the flathead screwdriver to pry the tire off the rim as shown in this video. Once one part of the tire is over the wheel frange, one side of the tire will easily twist off the wheel. Turn the wheel over, and repeat for the other side of the tire. Be careful not to pinch the tube between the screwdriver and the wheel flange. A tubeless tire can often be repaired by leaving the tire on the wheel and using a plug. It is much easier to repair a hole in a tubeless tire but it does take some specialized equipment. Here is a video on how to plug a tubeless tire. Once the tire is plugged and the plug is trimmed, the tire and wheel is ready to be installed back onto the wheelbarrow.
4. Once the tube is removed, it can be inflated and submerged in a bucket of water to find the source of the leak. The bubbles will identify even pin pricks from thorns or otherwise hard to see damage. The area around the hole should be roughened up using fine grit sandpaper or a wood file. Coat the area to be repaired with rubber cement and apply the patch. If the tube cannot be repaired, and the tire is still in good condition, consider buying a replacement tube. A wheelbarrow tube will cost under $10, so a fraction of the cost of a new wheelbarrow or even a new tire and wheel.
5. Once the tube repair has fully cured, it is time to install the tire and tube back on the wheel. First, insert the deflated tube in the tire, and reposition one side of the tire back in the wheel. At this point, for a tube type tire, you will need to position the tube valve in the wheel hole. Once aligned, the other half of the tire can be pried on to the tire.
6. The tire or tube is now ready to be inflated to the psi suggested on the side of the tire. Replace the axle and fasten the entire wheel and tire assemble to the wheelbarrow.
If your flat wheelbarrow tire or tube is too damaged or worn to be repaired, then tires-easy.com is your best option for inexpensive wheelbarrow tires. They have a large variety of wheelbarrow tires at low prices. Armed with the tire size you need, you can easily find your replacement tire, with fast and convenient ordering and shipping direct to your home.
`;
Home
Fact Checked
Christina EdwardsFixing a flat wheelbarrow tire, as opposed to buying a new one, is something that many do-it-yourselfers can accomplish in just a short amount of time.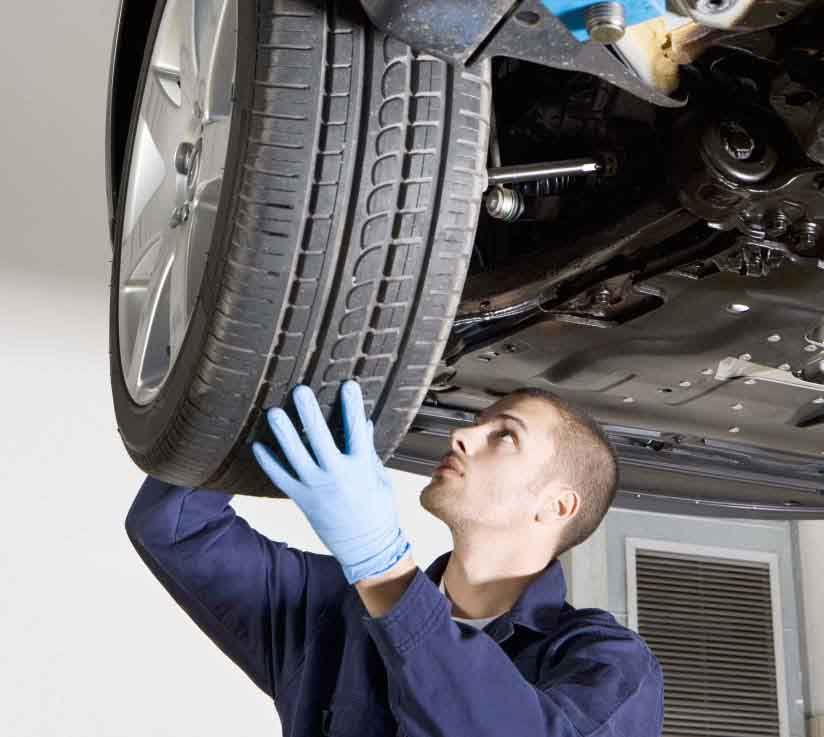 Not only does this often save money, it will reduce the impact on the environment. There are a few methods for fixing a flat wheelbarrow tire, depending on the reason it's flat. If your tubeless wheelbarrow tire has been punctured, using a tire repair kit, which can be found at most automotive or DIY stores, could be the answer. If the tire is leaking from the area where it sits on the rim, the tire probably just needs to be reset, which can be accomplished using ordinary dish soap or a ratchet strap.
Puncture holes in tubeless wheelbarrow tires are not uncommon, because of the strain put on these garden supplies. The first step to repairing them is to find out exactly where the tire has been punctured. Sometimes a nail or screw can be seen sticking out of the tire, but other times, the hole may be a little harder to find.
To pin down a puncture hole in a flat wheelbarrow tire, a solution of soapy water can be used, mixing the soap and water at a one to one ratio. Next, apply this mixture to the tire and add air with an air compressor. The location of a puncture can be found wherever the soap mixture starts to bubble, and it should be marked using chalk or a small strip of tape.
Most tubeless tire repair kits come with one or more plugs and two tools to aid you with the repair.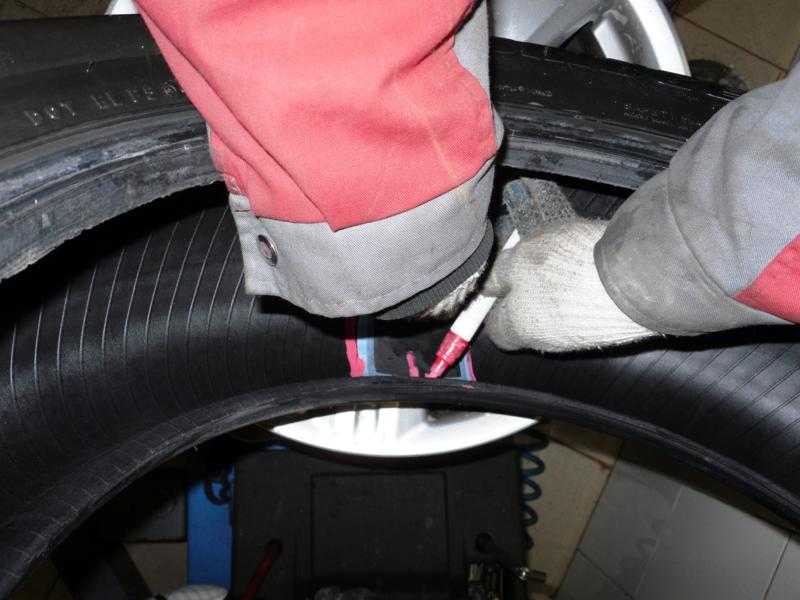 The long, circular file with a handle, referred to as a tire reaming tool, is the first one that should be used. Push this into the hole in the tire and twist it in and out a few times to roughen the edges of the hole. This will mar the edges of the hole, which will help the plug stay in place.
After the hole in the flat wheelbarrow tire has been reamed, the next step is to add the plug. The other tool that come in these kits often resembles a larger version of the eye of a needle attached to a handle on the other end. The plug should be put through this needle, and half of it should be hanging out on either side.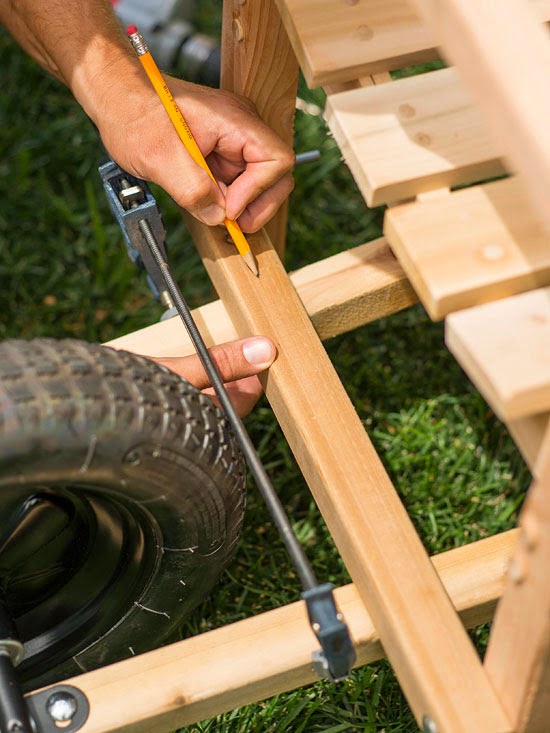 Push this through the hole until there is roughly 0.25 to 0.5 inch (0.6 to 1.3 cm) of the plug sticking out of the outside of the tire. Yank the tool out of the tire, leaving the plug inside, trim off any excess plug, and re-inflate the tire.
If there is a leak around the tire where it sits on the rim, called the bead, the flat wheelbarrow tire most likely needs to be reset. Before attempting this, first clean the bead and rim thoroughly. After it has been cleaned, coat the rim with a generous amount of soap, preferably dish soap. Inflate the tire using a compressor until the tire bead sets on the rim, which can usually be heard as a sharp popping noise.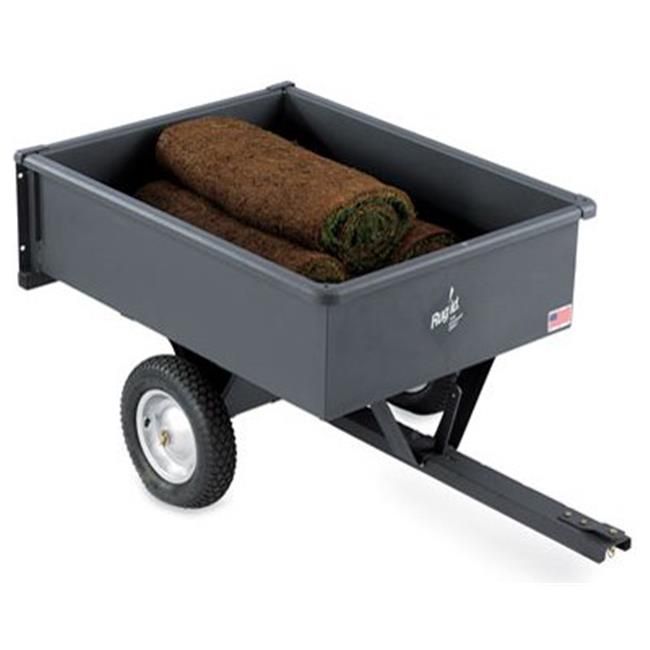
If the tire bead fails to set on the rim using the soap method, a ratchet strap or heavy rope may be used. To do this, wrap the strap around the tread of the tire and tighten it. Add air until the bead sets on the rim. Remove the strap, and continue to add air until the tire is fully inflated.
Some companies have begun manufacturing wheelbarrow tires that never go flat.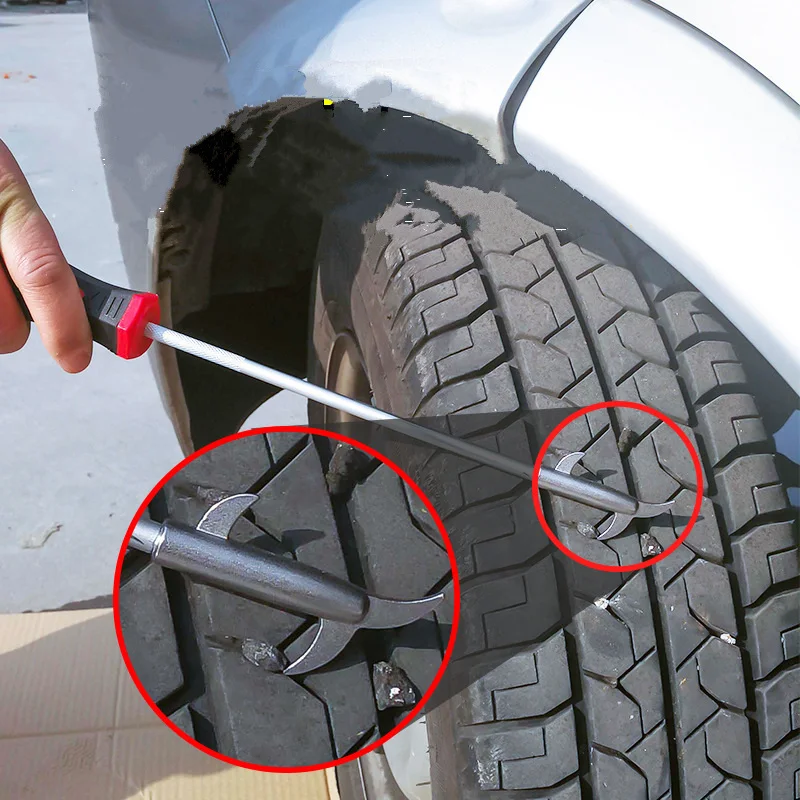 These are typically made from polyurethane foam with tiny air pockets throughout, and they are sold with or without the rim. A flat-free wheelbarrow tire is designed to let you go about your yard work without the risk of putting damaging holes in the tire.
Often, spending very little time, you can avoid additional costs, which are already enough for those who spend the summer in the country and in country houses, taking care of buildings, gardens and gardens.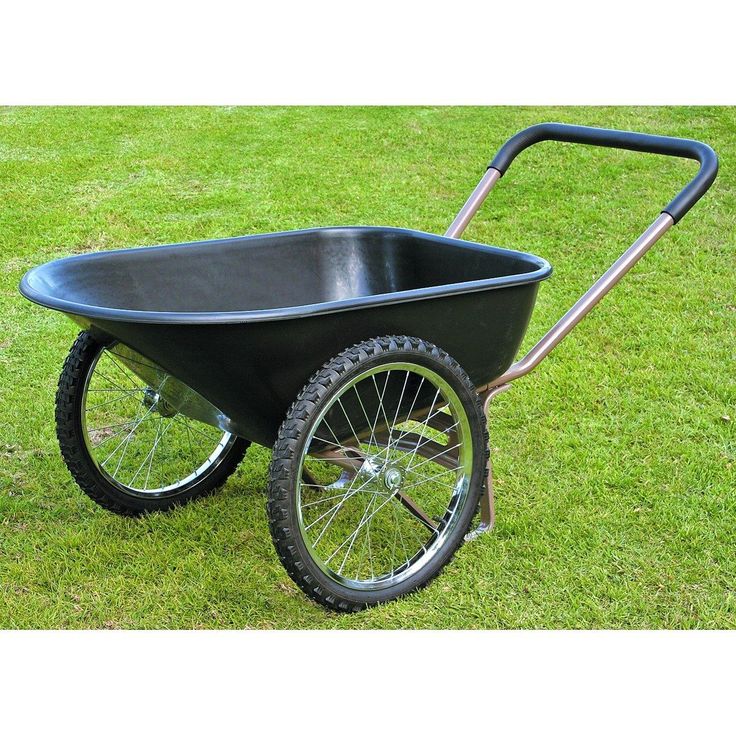 In this particular case, the conversation, or rather, the video sequence, will be about how to bring the wheel of a garden cart back to life in a few minutes. A garden wheelbarrow in the country is never idle: take out the garbage, then bring building materials, then transport the crop. And, of course, with such intensive use, the wheel periodically fails: the tire is punctured, the chamber bursts, etc. But, before you go to the market and buy a new wheel, see how quickly you can disassemble the wheel, patch it, or, in case of significant damage, replace the tube and tire, and return everything to its original form.
We want you to see how easy it is to replace a punctured, cracked, or simply worn tube wheelbarrow wheel . Of course, we do this job every day, and we boarded several hundred thousand of these wheels before we decided to post this video. The video lasts only a couple of minutes, but after watching it and following the simple sequence of actions we perform, you will be spared unnecessary time costs.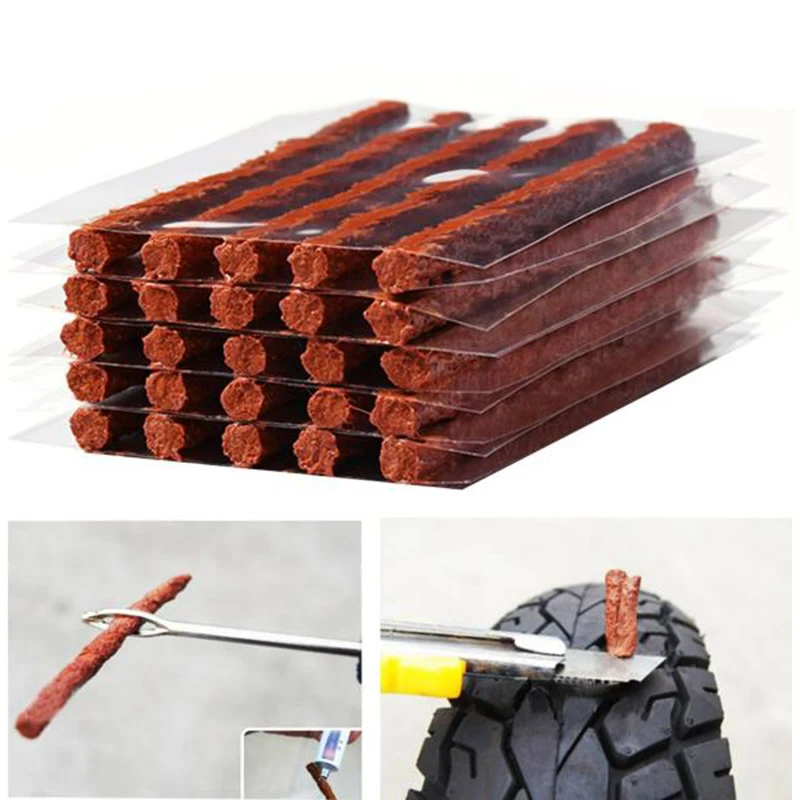
Wheel mounted on garden wheelbarrow is typically 3.25-8, slightly smaller in diameter than wheelbarrow for construction wheelbarrow .
First you need to unscrew the spool and completely deflate the wheel to make it easier to remove the tube tire from the rim.
Then we insert the new tube into the tire, be sure to carefully straighten it around the entire circumference inside the tire.
Once, on a video about the repair of a construction wheelbarrow wheel, we received a comment from a man in which he assured us that our inner tube with a tire was made of soft rubber, while his was made of oak and it was impossible to do what was shown in the video. So, if you carefully distribute the tube inside the tire before you put all this on the rim, any tire set, of course, if it is matched to the size of the rim, regardless of the softness of the rubber, will definitely fit on the rim.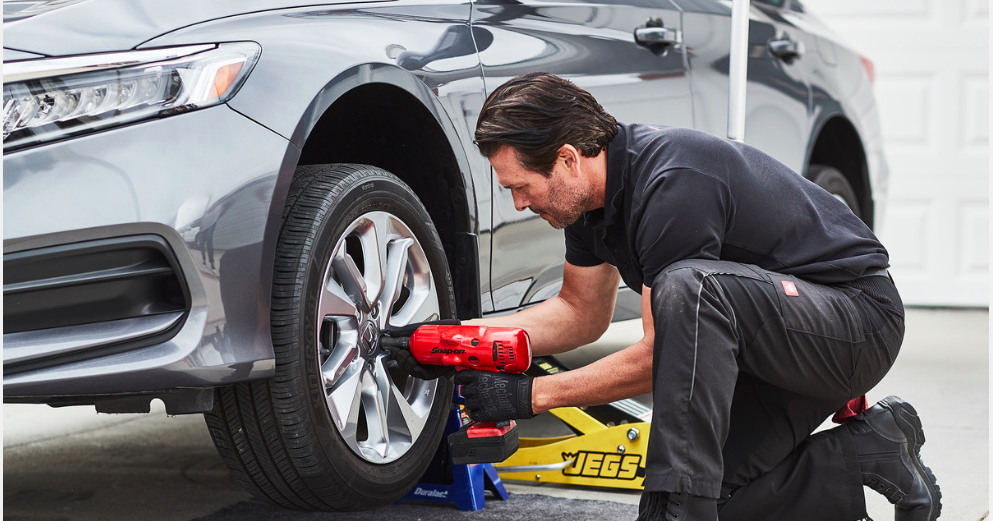
If we don't do it with due diligence, then we won't put the kit on the disk. There is no need to watch how quickly the person in the video does this work, he does it all the time, just pay attention to how carefully the tire set is prepared before putting on the disk.
The next step is to insert the nipple into the hole on the disk and insert the pre-assembled tire kit with the inner chamber with force in a circle.
Inflate the wheel and close the nipple with a cap. That's it!
In the video, we use a compressor to inflate a tire, but it can be inflated almost as quickly with a conventional car pump. Everything else is done exclusively by hand and does not require any improvised means.
And in conclusion, once again I would like to draw your attention to the fact that if something does not work out for you, then this happens not because the rubber is “oak”, but because the sequence of actions is violated.
We often have to bead the wheels in winter, at minus 15.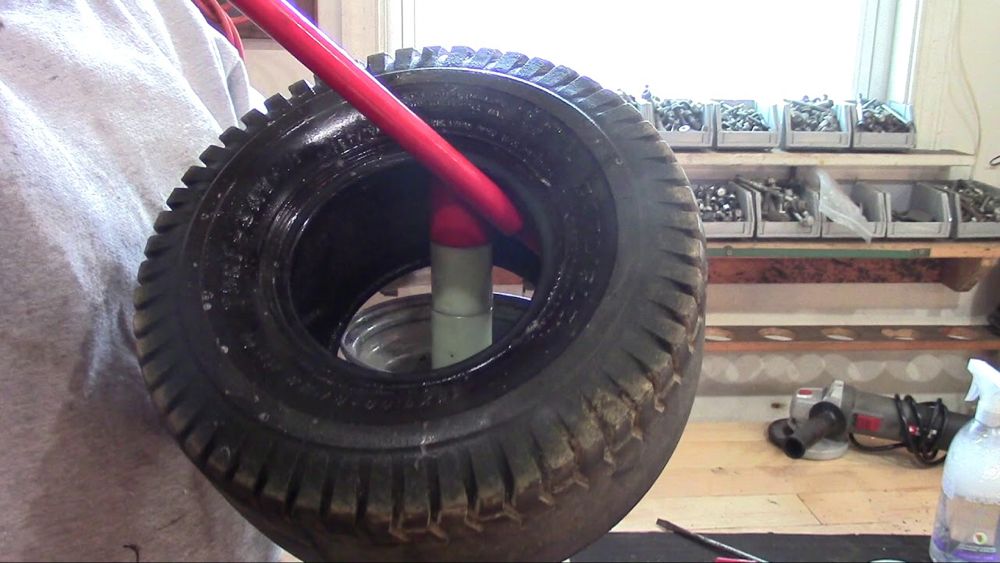 Knowing the properties of rubber, you can easily guess that any rubber will be “oak” at such a temperature, but we spend exactly the same amount of time as in this video.
Wheel bearing replacement
We select a wheel for a garden wheelbarrow
Modern passenger cars are equipped with tubeless tires. Tires with rubber chambers inside are extremely rare today, only on super-budget vehicle options. Car owners have long appreciated all the convenience and benefits that tubeless tires have. Unlike chambered rubber, they keep air in the wheels by being sealed to the rim. The tightness of tubeless tires is ensured by a two-millimeter layer of rubber applied to the tire from the inside. It is he who prevents the passage of air. The coating of soft rubber layer provides tightness at the junction of the tire with the rim of the rim. The tire bead sits on the so-called rim shelf, which is equipped with a special rounded ledge.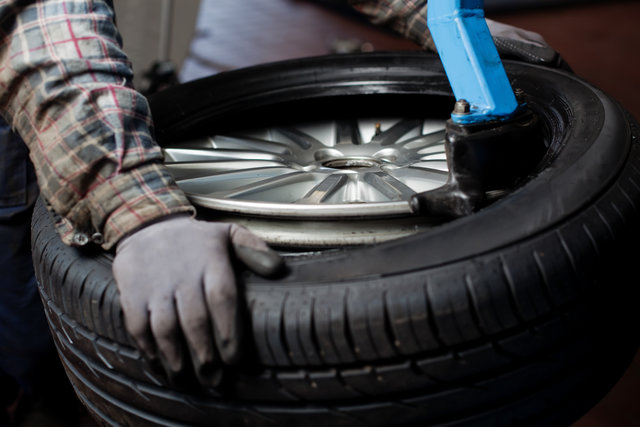 Thanks to him, the tire is securely connected to the wheel rim, and complete tightness of the joint is achieved. A tubeless tire is filled with air through a valve installed on the rim, on its rim.
Why did tubeless tires become so popular that they gradually replaced tubed tires? First, tubeless tires are much lighter. This is a very important and great advantage, because heavy weight enhances the inertial movement of the wheel when driving on, to put it mildly, imperfect road surfaces, which we still have much more than smooth autobahns. As a result, this affects the condition of the chassis, accelerates its wear. In addition, tubeless tires do not heat up during driving in the same way that chamber rubber heated up, in which the inner cylinder rubbed against the tire while driving. Such friction led to its rapid wear, and also increased the likelihood of tire rupture during movement. When a tube is punctured, the tube tire loses air very quickly, since it escapes not only from the puncture site, but also through leaky tire beads that do not fit snugly against the rim flange. In addition, if such a tire is punctured, you will not be able to stop the car immediately, it will travel more than a dozen meters by inertia until it comes to a complete stop. During this time, the tube and the tire can be damaged more thoroughly, the rubber of the inner cylinder will “chew”. With tubeless tires, this option is excluded. Even if a puncture occurs, thanks to the tightness of the chamber and its periodic pumping, you can get to the tire service.
Tubeless and tube tires also differ in how they are mounted / dismantled. If chambered rubber can be freely disassembled or, conversely, installed at home, then such a number will not work with a tubeless one - the risk of damaging the side flanges is too high, damage to which will lead to depressurization of the tire. Due to the peculiarities of installation and dismantling, many motorists find it impossible to repair a tubeless tire with their own hands, especially on the road, not in a comfortable garage, but on the side of the road. And in vain. Of course, it will not be possible to completely eliminate the problem at a professional level without special equipment. But to make sure that the damaged tire still travels, and sometimes not only reaches the tire fitting center, but goes more than one hundred kilometers after an impromptu repair, is quite realistic.
To do this, use special tire repair kits, which can be purchased everywhere today by going to any car shop. Better yet, buy everything you need to repair a tubeless wheel yourself separately and always have it ready. By doing this, you will save some money, which is always nice. The fact is that manufacturers of ready-made repair kits, in an effort to make their kits more expensive and solid in appearance, include in them both really useful tools and materials, as well as those that you can easily do without. Using repair kits or separately purchased harnesses and tools, you can repair tubeless tires not only for cars, but also for trucks. This can also be regarded as one of the advantages of tubeless tires over tube tires.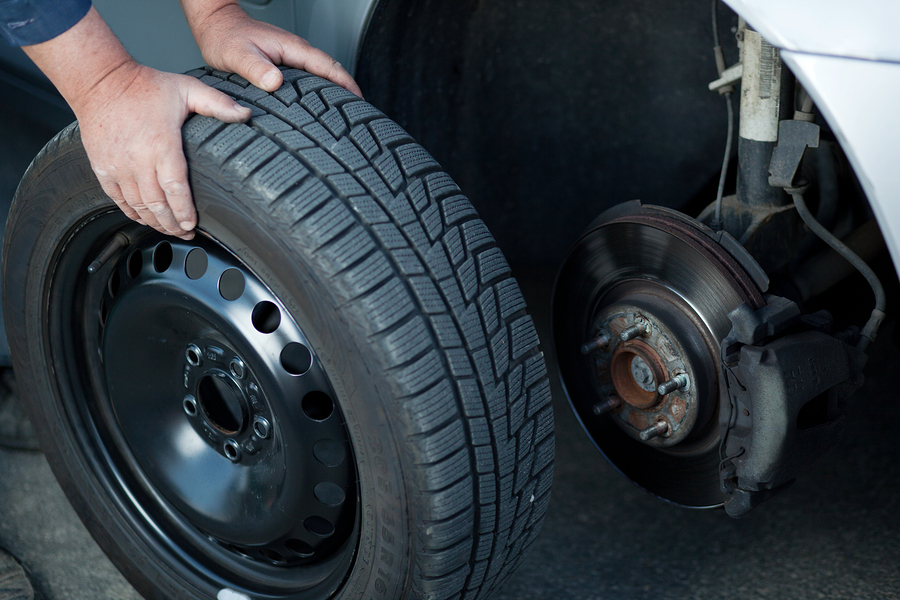 It is much more difficult to repair it with a puncture. It is necessary to disassemble the wheel, remove the chamber, find the puncture site, and then degrease the working area, cut out the patch, and seal the rubber balloon. After drying, the camera is installed in place, and the wheel is beaded. With a tubeless tire, everything is much easier.
RUNWAY Tubeless Tire Repair Kit, 7-Piece
If you find that your car's tubeless tire wheel is damaged, first assess the severity of the situation. If, in your opinion, you can do without repair, having reached a reliable tire service on periodic pumping of the wheel, then it’s better to do so. Tubeless tires were designed to hold air even with foreign objects sticking out of the cord. But do not forget that riding with a nail or other object in the tire causes the puncture to gradually expand and the tire around the damaged area begins to gradually collapse.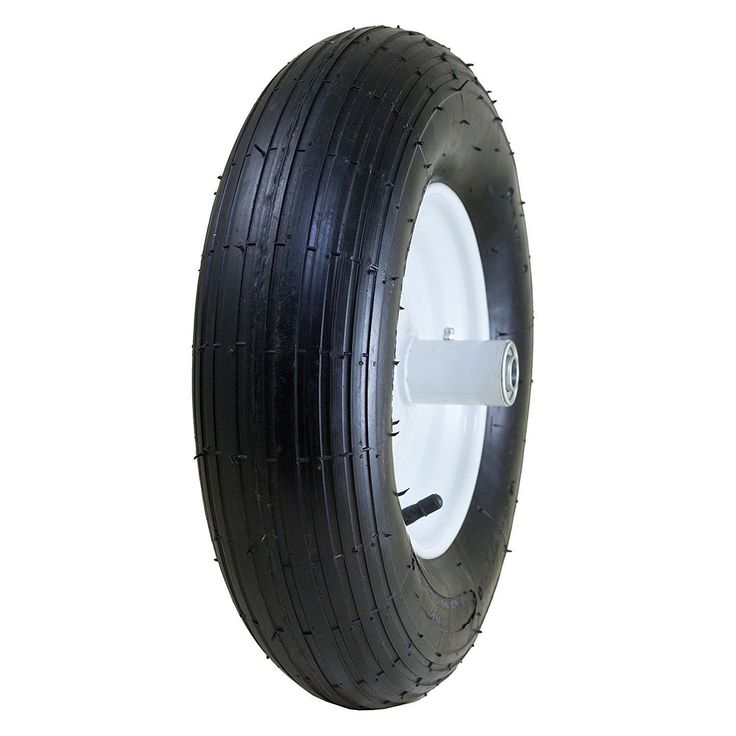
But, if it so happens that the damage to the wheel received on the road is too extensive, the chamber does not hold air and it will not be possible to complete the journey while inflating the tire, you need to choose the best method of temporary repair and start it immediately. A tubeless tire is repaired in the following ways:
When choosing a repair using a tourniquet, you need to decide what type of material will be used. The harness can be cord or rubber. Let's consider both of these options.
Wheel repair kit, 6 pieces
Cord harness has found wide distribution as a repair material for tubeless tires. With this harness, you can carry out repairs in any conditions: on a city street or on the side of a country road. It is a strip of high-strength nylon, which is richly impregnated with high-quality rubber-based adhesive. Such harnesses are supplied to the domestic market by many manufacturers, they have certain differences in technical characteristics and cost. But all cord harnesses are installed according to the same type of scheme:
First of all, they find the place of damage and mark it with wax crayon or another marker.
Remove the item that damaged the tire if it is stuck in the cord.
Then you should check the tire pressure, it should not fall below 0.5 atmospheres.
Take a spiral awl and use it to determine at what angle the tire is damaged.
Apply vulcanizing glue to the awl.
Using the awl inserted into the puncture, coat the puncture site with glue in the most thorough way, for which you need to rotate the tool lubricated with it clockwise. Perform this action three times - lubricate the awl and insert it into the puncture, then leave the tool in the cord for the time being.
In the meantime, select the desired harness and carefully remove the protective film from it.
Insert the tourniquet into a special needle, focusing on the center.
On both sides, cover the surface of the tourniquet with vulcanizing glue.
Remove the helical awl from the tire where you left it at the puncture site.
Install a pen with a needle and a tourniquet placed inside into the puncture.
By pressing the handle, install the needle with the tourniquet into the puncture, advancing to the stop at a given angle.
Remove the pen with the needle from the puncture site without rotating it.
Carefully cut off the parts of the tourniquet sticking out on the surface.
Then you need to determine how tight the tire is repaired. This can be done with the help of a special liquid, which is used to determine the puncture site. If, after applying such a liquid, no air bubbles appear, then the tire is temporarily repaired and can be used further.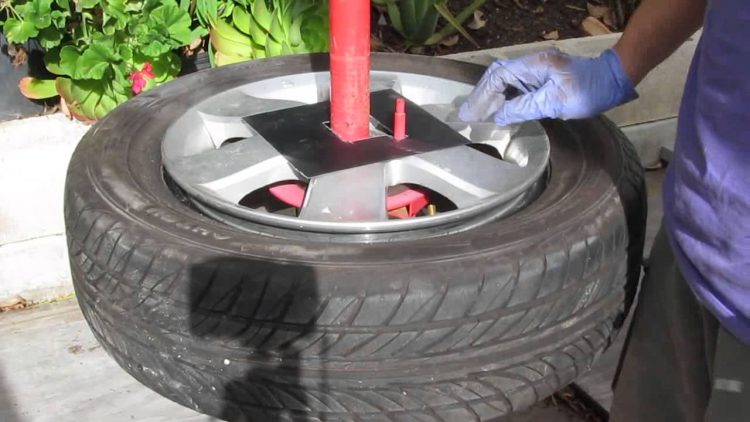 If air bubbles appear, try installing an additional tourniquet in the place of damage to the tire.
This method of temporary repair is inexpensive, but it has proven its effectiveness more than once. A tire repaired in this way without repair will serve you for a long time - up to 6 months.
A rubber harness costs more than cord, but it is also more reliable. They install it in much the same way as the cord one, but there are still some differences. For example, when installing a rubber band, do not use an awl in the form of a rasp, since it can damage the rubber band during installation. In addition, the rubber band must be mounted on the adhesive specified by the manufacturer in the instructions for the repair kit.
Raw rubber band for repairing RUNWAY tubeless tires, 5 pcs
In this case, an anchor is a special type of bundle, one end of which ends with a small patch.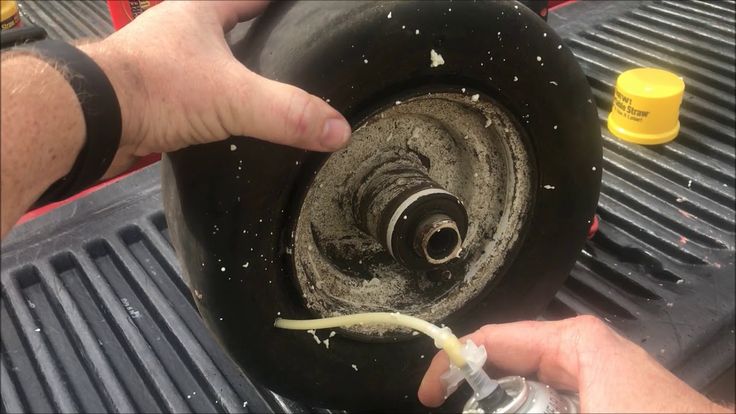 The anchor is installed in the same way as other types of harnesses, but in addition, it glues the puncture site with an internal patch. To do this, the tourniquet is pushed inward, and then pulled a little in the opposite direction. Anchor can only be installed using a special cutter with a diameter of 6 mm. It is purchased separately from the set. But your efforts will surely be crowned with success, because the anchor is considered the most reliable option for repairing a tubeless tire with a harness. But with the help of harnesses, you can not repair side punctures. And in any case, even if the repair is successful, it is necessary in the coming days to choose the time to visit the tire service. Remember that prolonged use of the harness will cause irreversible damage to the tubeless tire. And until the problem is fixed, constantly monitor tire pressure.
The second option for repairing tubeless tires involves the use of sealant. This option cannot be called optimal, but it has become widespread, since tire repair in this way is carried out very quickly, literally in a matter of minutes. And the result of its implementation is guaranteed to allow you to get to the intended purpose of the trip, without first stopping by the tire service you met along the way.
The sealant is very easy to apply. In this case, it is not necessary to remove a nail or other object from the cord, due to which the tire was damaged. Simply attach a bottle filled with sealant to the valve on the rim of the wheel and see that the contents of the bottle are pumped into the wheel. Keep in mind that repairing a tire with sealant will significantly disrupt the balance, so choose a moderate speed. But on the other hand, repairs with the help of a sealant are easy, simple and very fast. You can use it even while standing in a traffic jam.
Today, you can easily buy different types of sealants. The most widely used gel, liquid, aerosol formulations. Gel ones are good because they can be used all-season, both in the summer heat and in the cold season. But at the same time, they significantly worsen the balance of the wheel.