Knowing how to change a tire is a necessary skill for all drivers. If you rely on a cell phone to save you in a roadside emergency, there’s always that chance you will forget to charge it, be out of range, or leave it at home. Flat tires can happen anywhere, and a cell phone is no substitute for knowing how to change a flat tire.
Thankfully, changing a tire isn’t all that hard! Just adhere to the following guidelines to be prepared in case you have a flat.
These items should have come with your vehicle:
Jack
Lug wrench
Fully inflated spare tire
Vehicle owner’s manual
If you have misplaced any of these items, or if your car did not come with these items, you should purchase new ones right away. And be sure you’re regularly inflating the spare tire to your vehicle manufacturer’s recommended PSI. You should check the spare’s air pressure every time you check your other tires.
Remember to check pressure every month and before long trips or carrying extra load.
Here are some items that don’t come with your vehicle but that you should stow in your trunk or glove box in case you have to change a flat tire:
Flashlight with working batteries
Rain poncho
Small cut of 2"x6” wood to secure the jack
Gloves
Wheel wedges
As soon as you realize you have a flat tire, do not abruptly brake or turn. Slowly reduce speed and scan your surroundings for a level, straight stretch of road with a wide shoulder. An empty parking lot would be an ideal place. Level ground is good because it will prevent your vehicle from rolling. Also, straight stretches of road are better than curves because oncoming traffic is more likely to see you.
Never attempt to change your tire on a narrow shoulder near oncoming traffic. Keep moving (slowly) until you find a safer spot. While driving on a flat risks ruining your rim, replacing a rim is better than being hit by an inattentive driver.
Make sure to consult your owner’s manual and review their specific steps on how to change a flat tire for your vehicle
Your hazard lights or “flashers” will help other drivers see you on the side of the road. To avoid an accident, turn them on as soon as you realize you need to pull over.
Once stopped, always use the parking brake when preparing to replace a flat tire. This will minimize the possibility of your vehicle rolling.
Wheel wedges go in front of or behind the tires to further ensure the vehicle doesn’t roll while you fix the flat tire. If you’re changing a rear tire, place these in front of the front tires. If your flat tire is at the front, put the wheel wedges behind the rear tires.
Bricks or large stones will work just as well as “real” wheel wedges. Just be sure they’re large enough to stop the car from rolling.
If your vehicle has a hubcap covering the lug nuts, it’s easier to remove the hubcap before lifting the vehicle with the jack.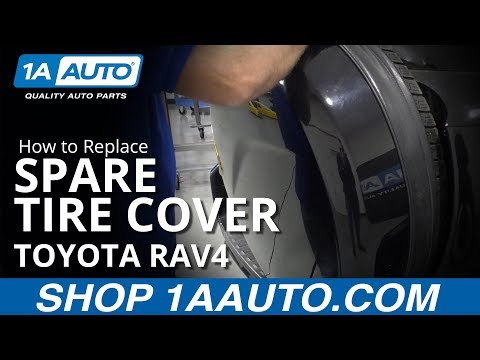 If your lug nuts are exposed, you can skip ahead to Step 6.
Use the flat end of your lug wrench to remove the hubcap. This will work for most vehicles, but some hubcaps need a different tool to come off. Consult your owner’s manual for proper hubcap or wheel cover removal procedures.
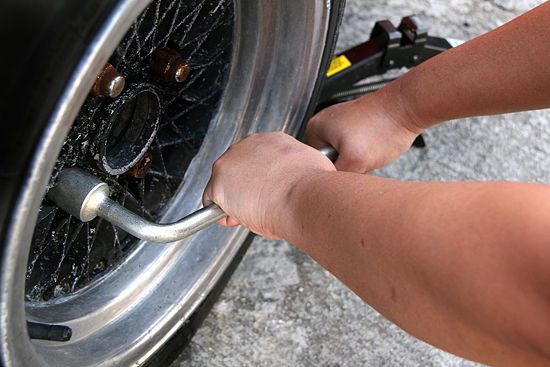
Using the lug wrench, turn the lug nuts counterclockwise until you break their resistance. You may have to use force, and that’s ok. Use your foot or all of your body weight if necessary.
Loosen the lug nuts about ¼ to ½ of a turn, but don’t remove them completely yet. Save that for when it’s time to remove your tire/wheel from the vehicle.
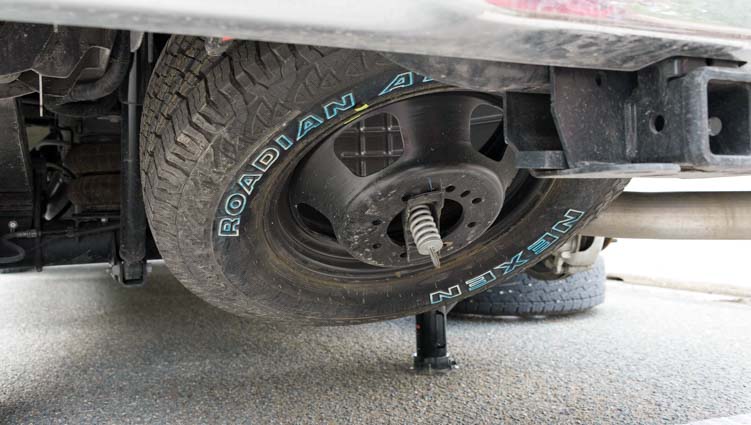
The right place for the jack is usually beneath the vehicle frame alongside the tire that’s flat. Many vehicle frames have molded plastic on the bottom with a cleared area of exposed metal specifically for the jack. To safely lift and avoid damage to the vehicle, follow the instructions for jack placement in your vehicle owner’s manual.
To prevent the jack from settling under the weight of your vehicle and coming off balance, place a small cut of 2x6” wood beneath it before attempting to raise your vehicle. This tactic is especially helpful on asphalt.
With the jack properly positioned, raise the vehicle until the flat tire is about six inches above the ground.
Never put any part of your body under the vehicle during or after raising the vehicle with the jack.
Now it’s time to remove the lug nuts all the way. Since you've already loosened them, you should be able to unscrew them mostly by hand.
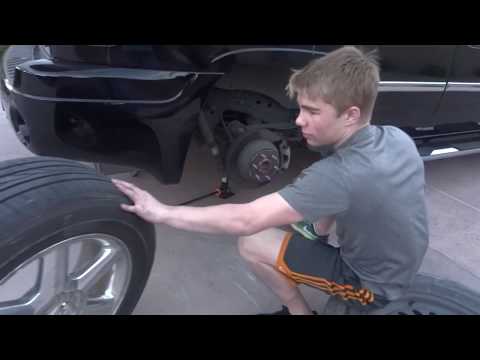
Gripping the tire by the treads, pull it gently toward you until it’s completely free from the hub behind it. Set it on its side so that it doesn’t roll away.
Now place the spare on the hub by lining up the rim with the lug bolts. Push gently until the lug bolts show through the rim.
Put the lug nuts back on the lug bolts and tighten them all the way by hand. Once they are all on, check each one again, tightening as much as possible. You will tighten them with the wrench after lowering the vehicle to the ground.
Use the jack to lower the vehicle so that the spare tire is resting on the ground but the full weight of the vehicle isn’t fully on the tire. At this point, you should tighten the lug nuts with the wrench, turning clockwise, as much as you can. Push down on the lug wrench with the full weight of your body.
Bring the vehicle all the way to the ground and remove the jack. Give the lug nuts another pull with the wrench to ensure they’re as tight as possible.
If the hubcap you took from the flat tire will fit your spare, put it in place the same way you removed it initially. If it doesn’t fit, stow it away with the tire when you stow your equipment.
You have before you a jack, a lug wrench, wheel wedges, your flat tire, and possibly a hubcap. Don’t forget to put all of them in your vehicle before driving away.
You should check the tire pressure of the spare tire to make sure that it is safe to drive on. “T-Type” temporary spares, also called “mini-spares,” require 60 psi (420 kPa). If the tire needs pressure, drive (slowly) to a service station immediately.
Temporary spare tires aren’t made to drive long distances or at high speeds, so drive cautiously until you’re able to visit a tire technician. A professional should be able to determine whether your tire needs a repair or if it’s time to replace it.
Aside from taking your tire to a professional, the above procedure shouldn’t take more than 15 to 30 minutes to change a tire. Just be sure you don’t leave out any steps.
It’s beneficial practice changing a tire in your garage or driveway to ensure you’re ready to handle this situation if it ever happens to you.
Knowing how to fix a flat tire is great, but regular tire maintenance is even more important. In addition to reviewing this guide regularly, remember to do the following:
Keep your tires properly inflated
Rotate your tires according to the manufacturer’s guidelines
Monitor for tread wear
All of these precautions will extend the life of your tires and reduce the likelihood of a flat. While there’s no way to prevent flat tires completely, proper care can improve performance and ensure your tires last as long as possible.
There’s never a good time for a flat. That’s why Bridgestone DriveGuard tires are masterfully engineered to keep you moving for up to 50 miles at speeds up to 50 MPH without disruption.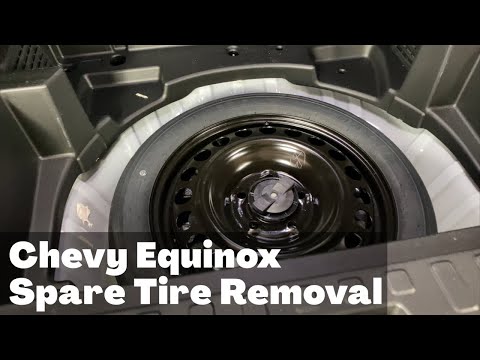
There’s never a good time for a flat. That’s why Bridgestone DriveGuard tires are masterfully engineered to keep you moving for up to 50 miles at speeds up to 50 MPH without disruption.
See Details Find Your Fit
Almost every car on the road has a spare tire, but do you know how to use it? Better yet, do you even know where it is? It seems that many people don’t even realize they have one, and we’ve seen spare tires in 15-year-old vehicles that have never seen the light of day. Chances are you, too, may never need to use one, but it’s a good thing to know. After all, you never know if you might wake up to a flat tire in your driveway or have the TPMS (tire pressure monitoring system) give you a warning out on the highway.
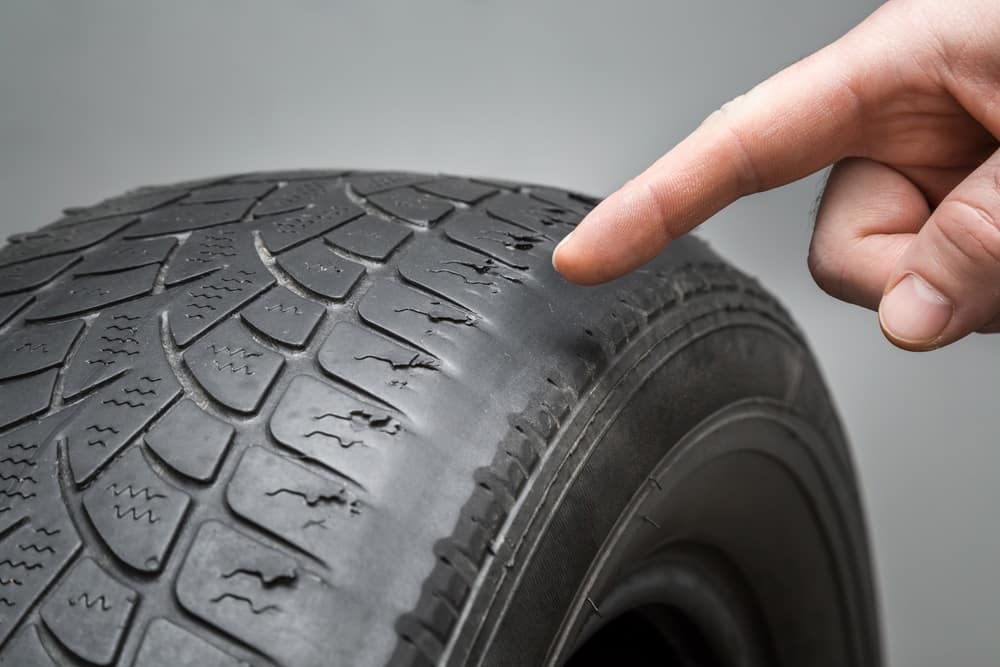
If you think about it, a tire is basically a balloon, albeit a very serious balloon.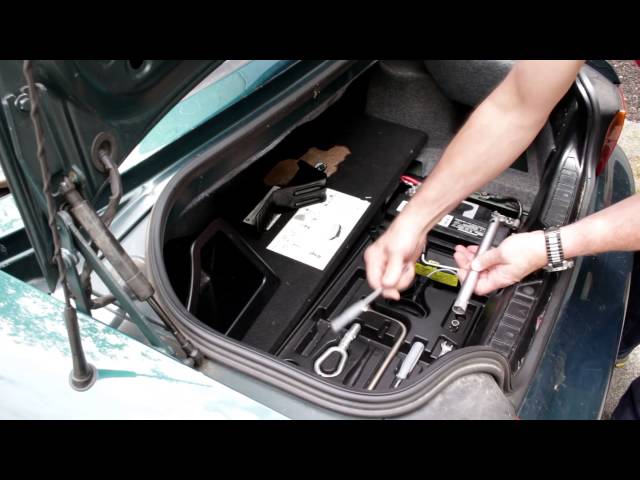 Made of steel and fabric bands encased in rubber, your tires give you traction, control, and a measure of shock absorption. Still, as a balloon, it can be deflated. Road debris, such as stray car parts or sharp rocks, can puncture the tire. The tire may leak from the valve stem or between the tire and the wheel. In some cases, wheel damage, such as a bent or cracked rim, can allow air to leak from the tire.
The result is a flat tire, and they can happen to everyone. It doesn’t matter who you are, what vehicle you drive, or even how you drive it. Still, everything you need to know is right there in your owner’s manual, which you should get to know intimately. If you don’t have your owner’s manual, you can buy one from your dealer or Amazon or eBay. You might be able to download it for free at JustGiveMeTheDamnManual.com. In case you get a flat tire, here’s what you need to know.
There are three kinds of spare tire, depending on the vehicle.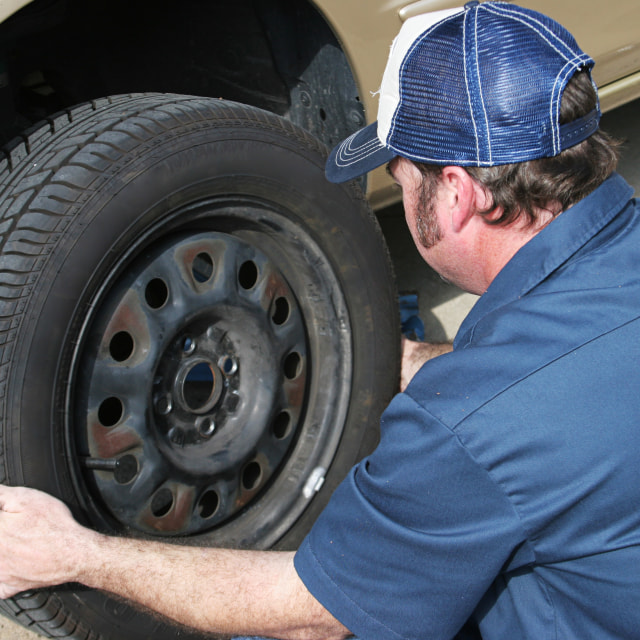 If your vehicle is equipped with a full-size spare, then it works the same as the tires already mounted on your vehicle. If your vehicle has alloy wheels, the spare may be mounted on an alloy wheel or a steel wheel, and different lug nuts may be required.
The temporary spare or compact spare, sometimes referred to as a “donut,” is narrower than the tires mounted on your vehicle and may be of a smaller diameter. As its designation suggests, it is for temporary use only, for a limited distance and maximum speed.
Vehicles equipped with run-flat tires are usually not shipped with a spare tire, and may not even include a space for one. Instead, run-flat tires are built with extra-strong sidewall materials. If a run-flat tire goes flat, you can still drive it but, like temporary spare tires, for a limited distance and speed.
While you can use a full-size spare under all the same conditions, speeds, and distances of the regular tires, use caution when driving with a temporary spare or run-flat tire. The temporary spare and run-flat tire are only meant to be used for a limited distance and speed. Exceed that distance or speed and you could ruin the tire, your car, or lose traction and get into an accident. Replace a temporary spare or run-flat tire as soon as possible.
Once you discover you have a flat tire, you’ll have to replace it with the spare tire. It’s a good idea to practice this on a nice day if you can. Full instructions for your specific vehicle can be found in your owner’s manual, but here are the basic steps you need to follow.

Tires don’t last forever, but we can help you make them last. At Dobbs Tire & Auto Centers, our ASE Certified technicians keep up-to-date on the latest tire maintenance and repair techniques. If you have a tire problem or you’re running on your spare tire right now, come in and talk to one of our experienced technicians about your repair options. With 42 locations, there’s bound to be one convenient to your home, job, or school.
Share
0 A punctured wheel is usually indicated by external noise, as well as loss of speed and poor handling. If the car pulls to the side, and in order to keep it on the road, you have to make an effort, then most likely a puncture on one of the front wheels.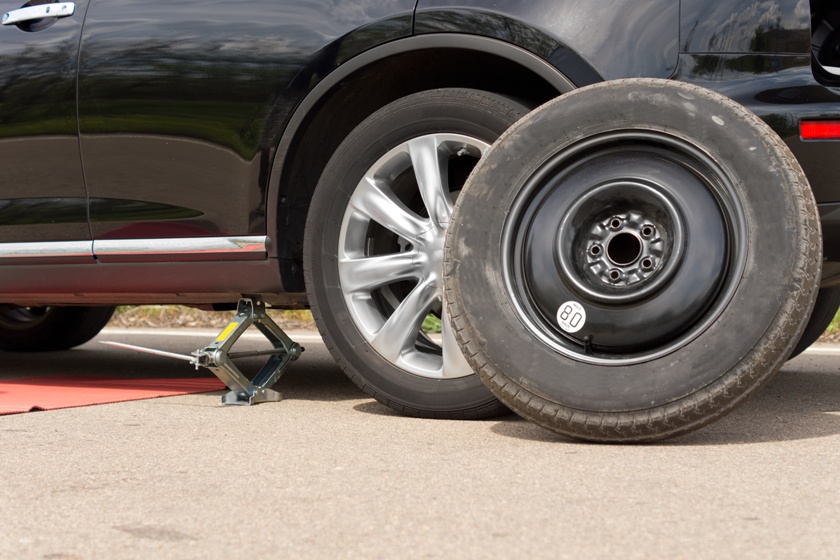 If the back of the car starts to skid, then the problem is there.
When this happens, you will know exactly what it is. Don't panic by any means. Align the car and, gradually reducing speed, pull over to the side of the road.
You can't drive on with a flat tire, but it's also not a good idea to stop in the middle of the road. Therefore, do not be afraid to drive a couple of tens of meters and choose a flat, dry place on the side of the road.
It is best to stay away from moving traffic so as not to cause an accident and risk your life.
Drivers of cars with a manual transmission must engage first gear, and owners of automatic transmissions must shift the lever to the park (P) position.
And in any case, you need to put the car on the handbrake.
After parking the car in a safe place, do not forget to turn on the hazard warning lights and install the warning triangle located in the trunk. In settlements, it is placed 20 meters behind the car, and on the highway - 40 meters.
In the same place, in the trunk, find a spare wheel and a jack with a wheelbrace. Usually the manufacturer places all this in a special niche under the floor, which can be reached by lifting the bottom panel.
It is good if you have a pump and a pressure gauge with you, as well as wheel chocks. And, of course, gloves will not interfere, since you still have to get your hands a little dirty.
After removing all the tools and spare tire, place them next to the punctured tire and ask all passengers to get out of the car. Even if it's freezing cold or pouring rain outside, safety comes first.
Despite the handbrake and the gear engaged, before installing the jack, you must additionally fix the wheels with stops. For them, however, any stones or pieces of brick will do.
If the rear wheel needs to be replaced, the chocks are placed on both sides of the front wheels and vice versa.
You are now ready to remove the wheel. First, remove the disc from the plastic cap and use the wheelbrace to loosen the bolts. To move them from their place, you will need a lot of effort, which can be provided by the weight of your body by simply pressing on the key with your foot. It is not necessary to completely unscrew the bolts: it is enough to unscrew them one turn.
The machine must then be jacked up. In no case should you install it anywhere. Especially for these purposes, there are small reinforced places on the bottom, which are usually located behind the front wheel or immediately in front of the rear. The manufacturer designates them using triangles or cutouts at the bottom of the thresholds. If the weld is covered with plastic pads, they will break at the jacking points.
Place the jack under the bottom and start turning the jack handle clockwise. Be sure to make sure that the jack rises evenly, does not heel.
If under the weight of the machine the bottom leg of the jack sinks into the ground, you need to put something like a piece of board or brick under it.
Do not raise the wheel too much. It is enough to stop 5 cm from the ground. After that, you can completely unscrew the bolts and remove the punctured wheel from the hub. It is better to slide it under the car as insurance, and put the bolts somewhere on a rag so that they are not lost.
It remains to replace the punctured wheel with a spare. To do this, align the holes on the disc with the holes in the hub, put the wheel on and screw on the bolts, completely wrapping them by hand.
It is important to install the nuts that fasten the wheels to the hub with the semicircular side towards the rim, and not outward.
Remove the punctured wheel from under the machine, lower the jack and finally tighten the bolts. You need to do it right. On wheels with four or six holes, opposite bolts are tightened in pairs. If there are five holes, then you need to pull in this order, as if you are drawing a five-pointed star.
It remains to assemble the tool, remove the jack and stops, and also check the pressure in the installed wheel and, if necessary, pump it up. If the pump is not at hand, you can ask for help from passing drivers.
If you are using a small spare tire, the so-called stowaway, then remember to be careful: it can usually be driven at a speed of no more than 80 km/h and for a distance of a maximum of 100 kilometers.
And, of course, try to repair a punctured wheel as soon as possible in a specialized tire shop, so as not to tempt fate and not drive without a spare wheel.
Flat tire on the road, no one around, tire shop far away. Here's what you need to do to put a spare on your own, even if you've never done it before.
Turn on emergency lights.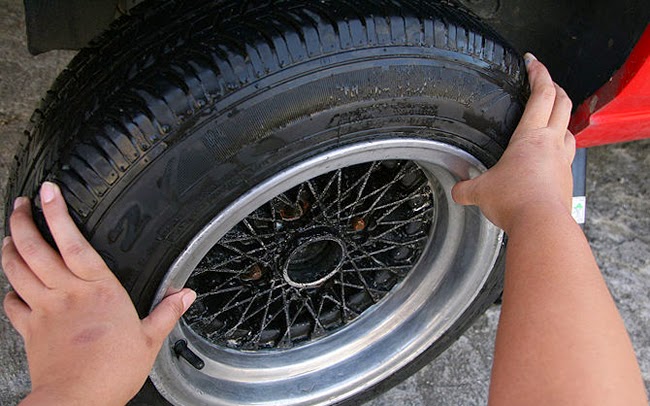
Place warning triangle on the road. Usually it is in the trunk.
The sign must be installed behind the car at a distance of 15 m in built-up areas: this is approximately 22 steps for a person of average height. If the wheel needs to be changed on the track, a distance of 30 m is required - approximately 45 steps. This is especially important in the evening or at night when visibility is much worse. In the dark, you also need to wear a reflective vest.
Put the car on handbrake . Mechanics - handbrake and first gear. A car with an automatic transmission - on the handbrake and in the parking mode.
To ensure that the machine does not start moving, additional wheel chocks or stops can be fitted.
This is what wheel chocks look like under a car wheelNo shoes - stones or bricks of the right size will do.
Install the wheel chocks on the opposite side. For example, you need to replace the rear wheel - the stops are placed under the front wheels.
You will need a jack, a wheel wrench and a spare wheel.
Jack and wheel wrench usually look like thisThe wheel is in a niche under the boot. In some cars, for example, "Niva" or "Oka" - under the hood.
The jack must be installed exactly under the jacks that are in the car . If the jack support is misaligned, the vehicle may roll over onto its side.
If the ground is loose or wet, the jack will fall through, so you need to put something solid under it. Suitable floor mats, boards, bricks or branches.
Properly installed jackRaise the car a little : no more than 1 cm.
SourceRemove punctured wheel . Use the wheel wrench to loosen the wheel bolts. If you can’t do it with your hands, you can stand on the key with your feet.
Raise the vehicle with a jack until the wheels are off the ground . It is necessary to finally unscrew the bolts - with your fingers or a wrench - and remove the wheel.
Place the removed bolts in such a way that dirt does not get on the threaded part, otherwise the threads will be damaged. With a faulty thread, the wheel will not be firmly attached to the car.
Install the spare wheel:
Check that the wheel is correct: