Trying to see how to test a cdi box with a multimeter?
Super, you are in the right place!
In this ToolsGaloreHQ.com blog, we will show you:
Check out the table below before continuing with the rest of the guide on how to test cdi box with a multimeter.
What you need to know about how to test CDI box with a multimeterThe capacitor discharge ignition (CDI) as you know is that black box on your motorcycle that basically functions as the brain of the ignition and motor unit.
This unit is typically found underneath the seat.
It is so common in motorcycles now a days, and has all but replaced the old mechanical trigger mechanisms of the past (before 1980’s).
Before we get into the various steps on how to test your cdi box using a multimeter.
Let's understand a few critical components of the CDI to ensure that your testing is not just theoretical but is backed up by a firm and solid understanding of the underlying electronics involved.
Internal Workings of your CDI
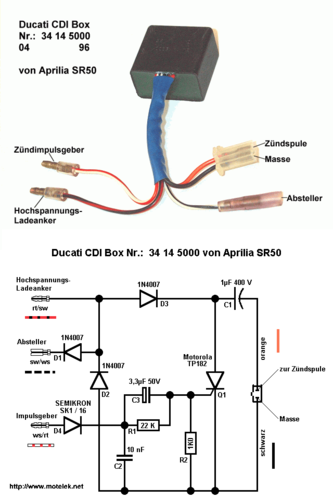
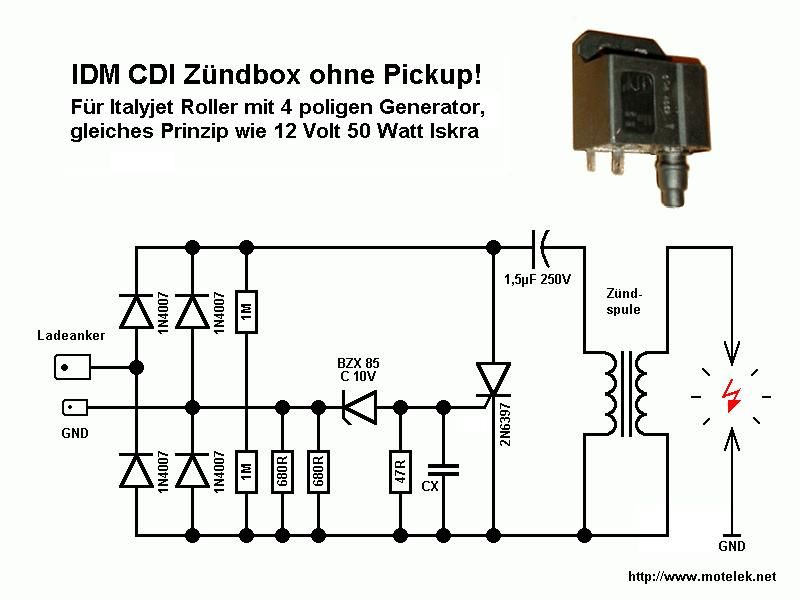
The CDI has the components as shown in the image below
Source: usman032.com
The alternator (exciter) coil is typically powered with an AC voltage ranging anywhere up to 400 Vac.
This passes through a forward biased diode and produces a DC voltage which is inturn fed to the micro-capacitor and the silicon controlled rectifier (SCR).
The SCR is further controlled by a pulse coil which dictates it’s open and close position.
Read More:>> Find the Best Multimeter under $50
When the SCR is closed. This creates a short circuit causing current to flow from the charged capacitor in the direction as shown below.
This charges the ignition coil before releasing the energy to the spark plug, and hence providing energy to the engine.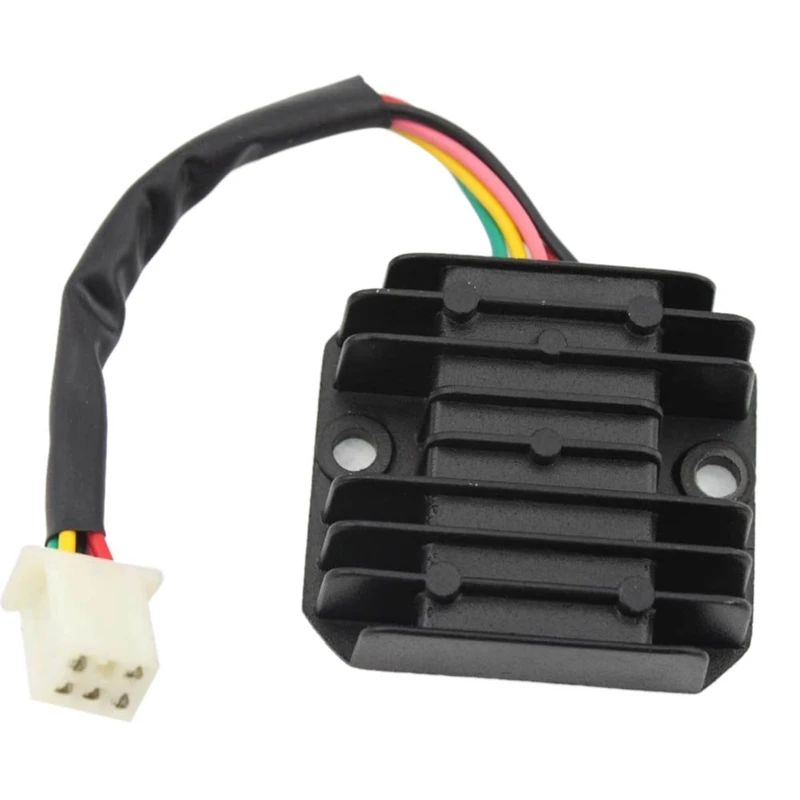
There are various symptoms that can be derived from a defective cdi. Of which you will be able to use a multimeter to test. They are listed here below.
Misfiring engine
There are many reasons as to why an engine could misfire.
Getting the help of a professional mechanic would usually be your best bet. However a worn out ignition coil found within the cdi is a very common issue with misfiring engines.
Dead Cylinder
This occurs when one or more of the cylinders fails to fire properly.
Often what will happen is that the CDI could have a defective blocking/forward diode, creating fuzzy voltage signals which inturn confuse the spark plug’s firing mechanism.
Backfiring
This tends to happen at higher RPMS above 3000. It can be an issue on the stator, but it has been shown that a bad cdi can contribute to backfiring.
SafetyPlease ensure that whenever you are working with cdi parts or motorcycle mechanics you ensure that you use the typical Personal protective equipment.
The minimum that should be use cut resistant and water proof mechanical gloves, protective and protective eyewear.
I can tell you from experience working with electrical equipment that safety and the dangers that come from not protecting yourself adequately can be very dangerous.
CDI’s are active components that have capacitance inside although this is usually minimal (i.e. micro farads). You should not take your safety lightly.
Step 1 -Remove CDI box from motorbike
The CDI is usually connected with insulated leads and pin connectors. Disconnecting this from the motorcycle should not be too difficult.
Make sure that you do not work on the cdi immediately.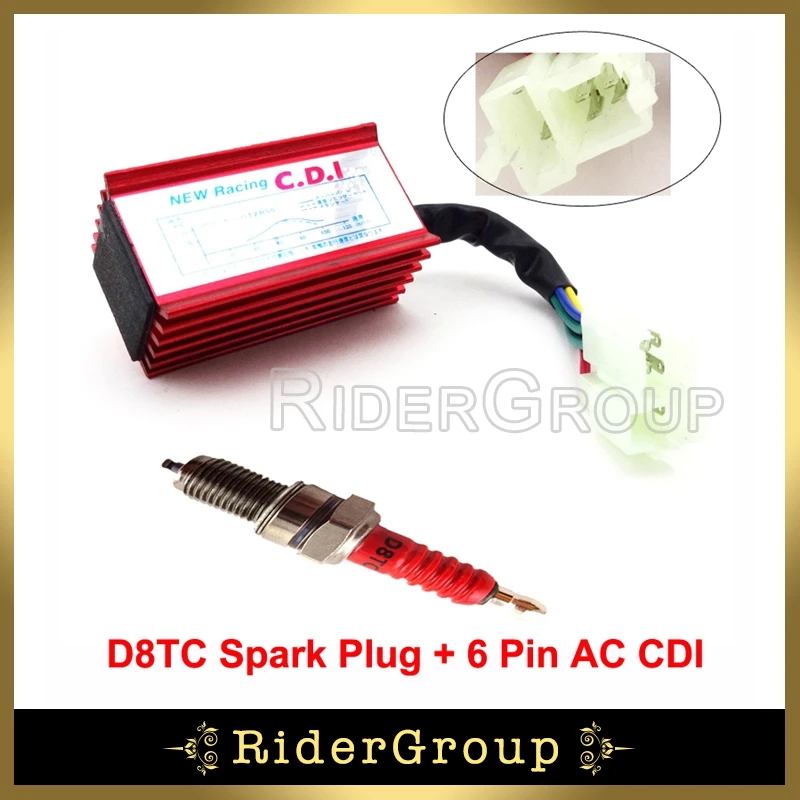 Let it sit for at least 30 minutes to 1 hour to allow the internal capacitance to discharge.
Also during this step, it is important to run a visual inspection of your CDI. Typically damaged CDI’s have some form of mechanical deformation in the form of heat or damaged insulation from the casing.
Read More:>> Testing Purge Valve using a Multimeter
Step 2 – Testing CDI (Cold Test)
Here is the image we used above again as a reminder of the internal circuitry
This method requires us to test the cdi for continuity.
So what you would do is set your multimeter to continuity mode. First take the leads of the multimeter and connect them together.
If you are using a digital multimeter then you should hear a beeping sound.
Measure for continuity between all the ground and the various other points.
If your cdi is working well, you should not hear any sounds. If you do however hear any beeping sound as you are testing, then you cdi is faulty.
All is not lost at this stage, the cdi can still be rectified if you are able to fix the defective component.
Usually on a cdi when you have continuity between ground and any of the other terminal points , it either means that the diode, scr or the capacitor has failed.
Step 3 – Testing CDI (Hot Test)
There is an alternative method to testing the cdi box whilst it is still connected to the stator of the motorbike. Generally cdi boxes have a blue and white wire than comes from the stator to the cdi box itself.
When testing for continuity on the multimeter, it is important to test via the stator end rather than the cdi end.
This is because it is notoriously difficult to get any test lead connection through to a connected cdi box.
The voltage, continuity and resistance is generally the same as on the stator end.
There are a couple of things that you would want to test. Namely:
 Whilst in general the white wire to ground should provide you with a resistance of between 360 to 490 ohms.
This will provide you a genera hot health status check of your cdi box. If the resistance values on your multimeter reading go outside of this range. It is worth checking it with a mechanic.
Read More:>>> Learn more about clamp meters vs multimeters
Final thoughts on how to test CDI box with a multimeterHaving a motorbike that does not fire correctly or produces cracky idling can be a pain to diagnose.
One thing that is often overlooked in checking the cdi for it’s health and functionality with a multimeter.
I hope this guide has provided you with additional insights as to how to test your cdi box with a multimeter.
In your automotive vehicle, the CDI is one of the most important components. What is a CDI box and what does a CDI box do?
In a motorcycle, a CDI is a black box underneath the seat that functions as the heart of your ignition system.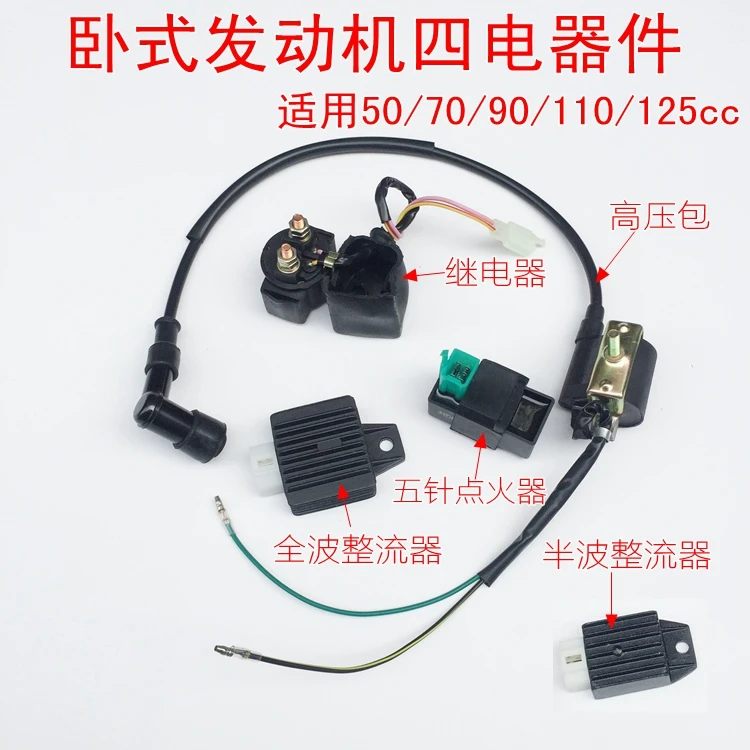 It is an electronic component that replaces the pre-1980 mechanical ignition processes and one that your bike can’t work without.
Nonetheless, just like every other component in your bike, issues arise with it and making a diagnosis may be tough.
This article presents you with all you need to know about a CDI box. Let’s get right in.
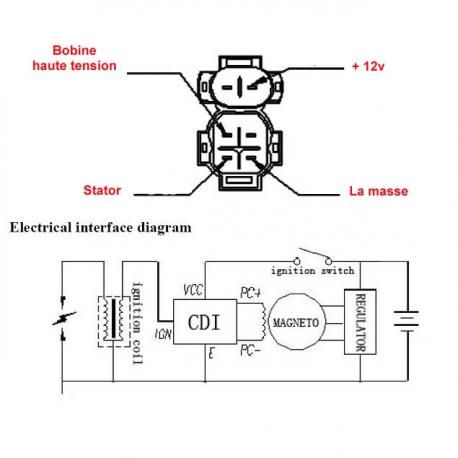
Here is the system of components in a CDI:
Source: Usman032As the key is turned, the rotating magnet induces a voltage of up to 400Vac into the Excitor coil. When this coil becomes positive, the charge is directed to the forward biased diode till the capacitor gets fully charged ( usually after 3 to 4 magnet rotations).
Once the capacitor is charged, the pulse rotor sends a trigger to the SCR which, in turn, initiates a conduction process that discharges the capacitor immediately. This sudden discharge produces a high spike of voltage in the ignition coil.
High current on both contacts of the spark plug is created and this provides power to the engine.
The ignition stop switch grounds all excess voltage.
Of course, before getting into your CDI, you want to be sure that there are problems with it. Here are some of the symptoms your bike may be exhibiting that point you to issues with a CDI.
These symptoms represent problems with particular components of the CDI box. For instance, a misfiring engine may be caused by either worn out spark plugs or a worn out ignition coil. A dead cylinder may also be caused by a bad ignition coil or a bad diode.
Identifying exactly where the problem lies helps you to easily make fixes or replacements and get your ignition systems up and running again.
How do you identify these problems? A multimeter proves useful throughout the whole process and here is how you test your CDI box with it.
All you need is your;
Before moving forward, you also need to take safety measures and protect yourself. These measures include wearing cut and water resistant gloves as well as eye safety equipment.
To test your CDI box, you disconnect it from your bike, use the positive and negative leads of your multimeter to check for continuity, and listen for a beeping sound which signals that it is faulty.
There is a whole lot more to this seemingly straightforward process and here is further details on it.
To test your CDI, you engage in both cold testing and hot testing procedures. Cold testing is when you run diagnosis on the CDI box with it disconnected from the stator, while hot testing has it still connected to the stator.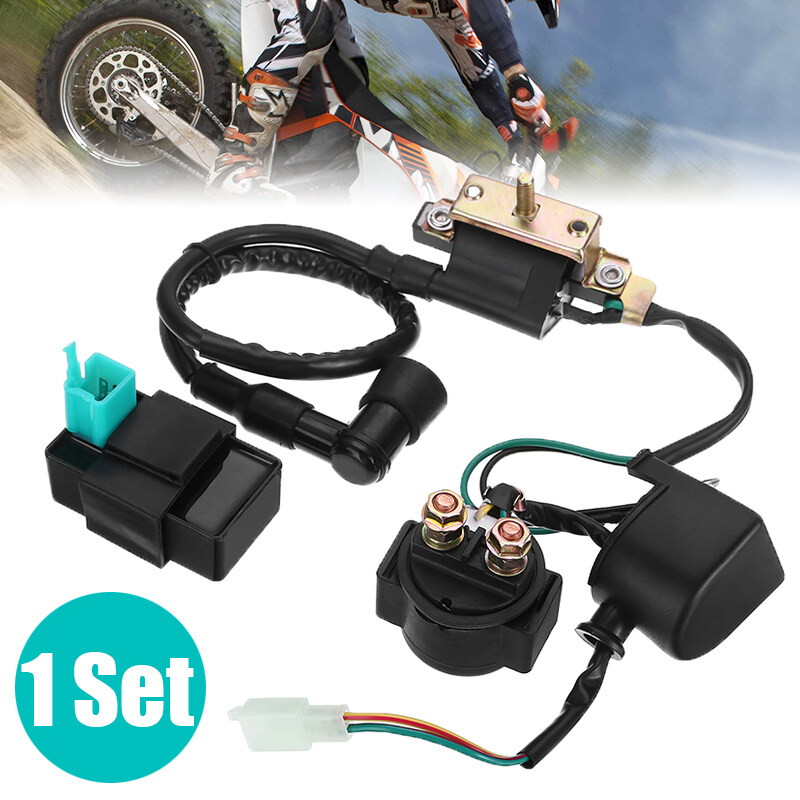
Do the following.
This is for cold testing procedures. The CDI Box is typically located underneath the seat of your bike. As you check, you should see a blue and white wire connecting the stator and black CDI box together through lead and pin connectors.
Once disconnected, you avoid working on your CDI with any equipment for about 30 minutes to an hour. As the internal capacitor discharges during this waiting process, you carry out a visual inspection on your CDI.
Visual inspections may allow you to quickly identify physical deformations on the CDI.
Cold testing involves inspecting the continuity of your CDI box components. What you do is set your multimeter to continuity mode and test the continuity between the ground point and other terminal points within the CDI.
If a problem exists, your multimeter gives off a beeping sound. You know the exact component that has issues and a fix to this component may be the solution.
Continuity issues within a CDI are usually caused by problems with the SCR, Diode, or internal capacitor. If these cold steps prove a little difficult to follow, this video from youtube may help you out.
If you don’t want to disconnect the CDI from the bike, you could run a hot test. Tests are made from the stator end of the blue and white wire that connects it to the CDI.
To do this, you set your multimeter to a 2k ohms resistance and measure resistance between these two points; the blue wire to the white wire and the white wire to ground.
For the blue wire to the white wire, you check for a resistance reading between 77 and 85. With the white wire to ground, you use your multimeter to check for a resistance between 360 to 490 ohms. If any of these don’t match, your stator could be faulty and a professional mechanic could prove useful.
If they match, however, then your CDI is a likely culprit.
You know a CDI box is bad when your bike misfires, has dead cylinders, unusual tach behavior, runs roughly, experiences ignition problems, or its engine stalls.
To bypass your CDI box, you clear your bench, remove the box, check resistance specifications, measure the primary and secondary oil resistance, and compare readings.
A bad CDI box may not cause a spark at all. However, your bike shows symptoms like ignition problems, dead cylinders, and engine stalling.
A bike will not start without a CDI box as it is the component that controls the ignition system.
No. CDI boxes are not universal because ignition systems vary across different vehicle models. They come as either AC or DC.
To test the CDI box for an ATV, you use a multimeter to inspect the fuses, ignition switch, ignition trigger coil, electronic module, and check for loose wires.
The CDI box is an important component of your vehicle’s ignition system and you should take good care of it. No matter how clear these steps may be, hiring the expertise of a professional mechanic seems a better option.
Friends, do not flatter yourself too much. The Internet, in particular, this site is intended only to help you in solving a particular problem. And the rest will depend only on you, or rather, only on your desire and nothing more.
To put it simply, the switch is a certain module (according to Feng Shui - DC CDI or AC CDI module) in which electrical energy is accumulated, which at the right time is supplied in the form of a pulse to the ignition coil, where it is multiplied many times in the form of electrical sparks jump between the electrodes of the spark plug.
The scooter commutator looks something like this
Depending on the type of commutators, the energy needed to form spawn can be stored in the commutator in two ways:
Offal
The switch power coils on the generator look something like this.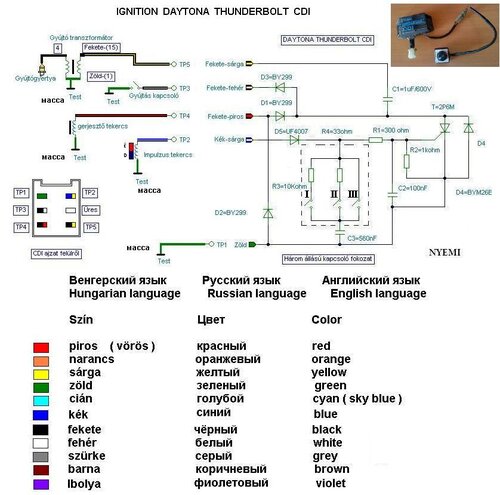 Some alternators have two, some have only one
In order for the spark to pass at the right moment, a magnetic induction sensor was introduced into the design of the generator and the commutator like it (in the collective farm - “hall sensor”). The magnetic induction sensor is essentially a conventional alternator, only in miniature.
On the outer side of the generator rotor there is a small protrusion, when it passes near the sensor - a small alternating pulse is formed in the sensor windings, which enters the thyristor of the switch - the thyristor opens and the energy stored in the capacitor is supplied to the ignition coil
Sensor
For work we need:
In order not to waste time - the test should begin with checking the electrical impulse that accumulates in the switch and enters the ignition coil at the right time.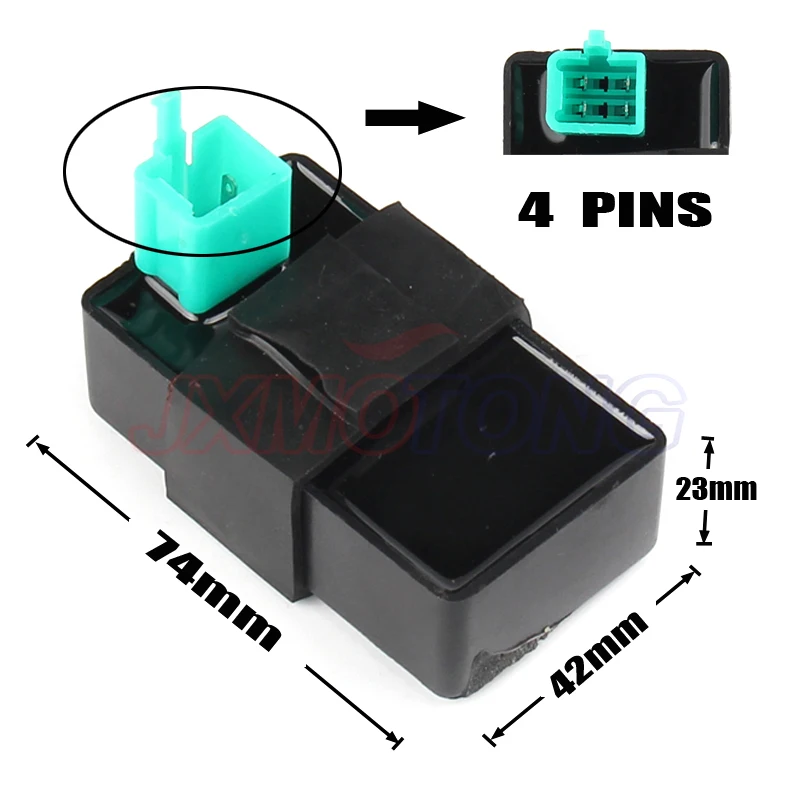
We take a control light and connect it with one end to the green ground wire, the other to the black and yellow wire of the ignition coil. We turn the engine with a starter.
If the switch and the modules that ensure its operation are in good condition, the 3W light bulb in the engine cranking mode with the starter should burn to the floor of the glow
We take the tester, put it into the "dialing" mode (diode icon or sound signal icon), look for green wires on the switch - this is something other than a mass (according to Feng Shui - a negative wire), with any probe of the tester we touch the metal part of the engine , with another probe we poke into the green wires:
Depending on what the tester shows you, fix the problem or continue checking:
An example of a good mass: the tester beeps in the "dialing" mode, solid zeros on the display
In order for a spark to jump between the electrodes of the candle, the switch capacitor must be charged from something.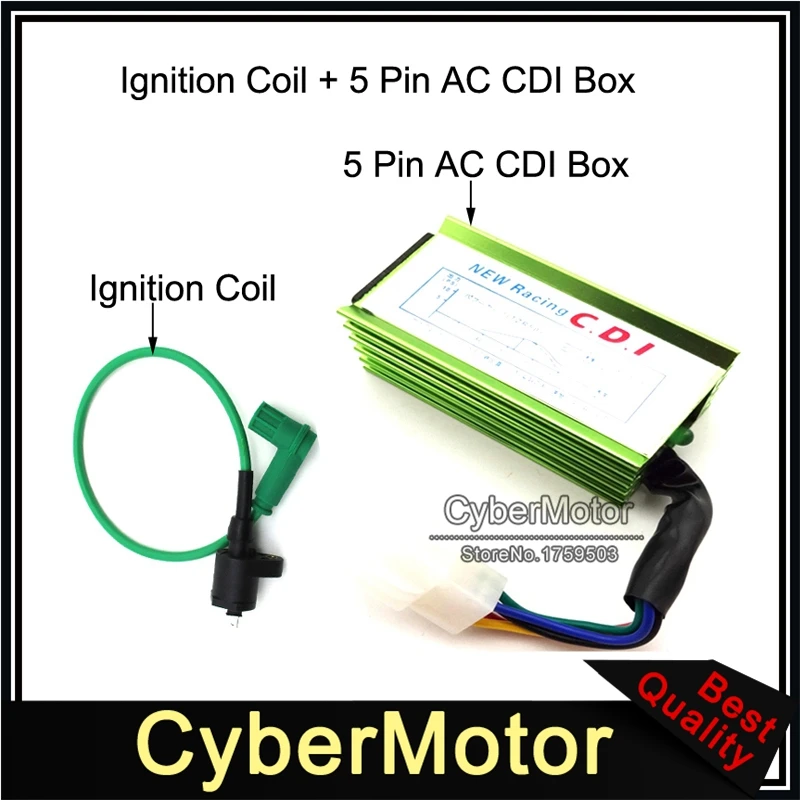 And it is charged either from a battery or from a generator. Means what? Right! Check if power is being supplied to the switch.
Before starting to measure power, we determine what type of switch is on your scooter. If visually, then DC CDI type switches are twice as large as AC CDI. But this is not an exact criterion. The most accurate criterion - see the output of the high-voltage generator coil:
The output of the high-voltage coil of the generator is located in the same place as the output of the generator itself: we are looking for where the wires coming from the generator are connected to the on-board network of the scooter and if one of the two wires with round terminals is not connected, then the coil is not involved
measurement of direct current in the range of 20 V. We are looking for a power wire on the switch. Usually this is a black or gray wire, we touch the ground with one probe, the power wires with the other:
The power supply of this switch is in order
We switch the tester to the mode of measuring alternating current in the range of 200V. We touch the ground with one probe, the power wires with the second and turn the engine with the starter:
 The supply winding of the generator in the mode of cranking the engine with a starter must produce at least 60V, and at medium engine speeds - about 160V
The magnetic induction sensor is a key element of the ignition system. And if there is any suspicion of a malfunction in the ignition system, it should also be checked.
Switch the tester to AC measurement mode on the 2V range. With one probe we touch the mass, with the second probe we touch the white-blue or red-yellow wire coming from the sensor and turn the engine with a starter.
There is an impulse
 And in order to accurately understand that the switch is faulty, we need to check all the modules.
 In conclusion, I would like to warn you against the temptation to take a known-good switch from someone and plug it in instead of your own. Yes, with this express method, a faulty switch will be determined immediately. If it really was faulty, then a spark will immediately appear with a known good one.
But how can we be 100% sure that the scooter's wiring is in perfect order and no one has managed to put their smart personality into it before you? your own way and then the working switch will receive a “full ass”. And then wake up to buy two switches - one to the one you asked for, the second to yourself. And do you need it?
To buy a reliable scooter that will last more than one year, you need to carefully check its components and systems. And it's worth starting with the ignition. This system converts the current, supplies it to the spark plug and ignites the fuel mixture. The action is carried out in several stages, and even the slightest failure can affect the operation of the engine and increase fuel consumption. Therefore, let's figure out how to check the ignition on a scooter.
The first thing to do is to check the lock itself. The assembly will need to be repaired if:
Figuring out how to check the ignition switch on a scooter is pretty easy. You just need to turn the key a few times and start the device. But it is worth remembering that this is the simplest breakdown, and to fix it, you just need to change the lock.
The ignition coil of a scooter is responsible for sparking, and its failure will make it impossible to start the engine. If you find that the candle does not give out a spark, first of all, diagnose this node.
To perform the test, you will need a multimeter that can measure resistance. It is best to use an electronic device, as it is more accurate.
To carry out diagnostics you need:
The coil can also be 'ringed' with an ordinary indicator screwdriver. With it, you can check the candle cap, primary and secondary winding. However, this is a "field" method that does not allow to identify all defects. If you need an accurate check of the scooter ignition coil, then a multimeter is indispensable
When checking the ignition of a 4t and 2t scooter, it is also recommended to inspect the spark plug and its cap. First of all, determine the type of candle. There are two types of element: cold and hot. The scooter documentation indicates which type of candles should be used. But if the component is chosen incorrectly, then:

If the spark plug is correctly selected, the color of its electrode should be light brown. Any abnormality is indicative of component wear or other systems on the scooter not working properly. For example, if the fuel mixture is poor, then the electrode will be white, and if the composition is too rich, a velvet deposit will form on the candle.
But to check the candle cap, you will need additional equipment - a multimeter. Set the device to 20 kOhm, and then connect the probes to the input and contact. The resistance in the working component ranges from 2.5 to 5 kOhm. But if the indicators are higher, then the cap is faulty.
The switch is a key element of the ignition system, which is responsible for the accumulation of energy and its timely supply to the coil. If the component is defective, then the scooter will not start, the motor will stall or run erratically. But in order to accurately determine the source of the problem, you need to check the scooter ignition coil switch for serviceability.