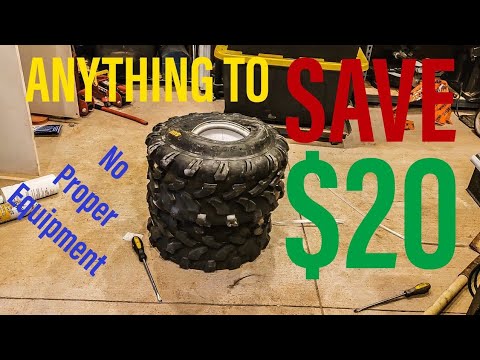
Almost every ATV owner will have to either change or repair a tire on their ATV. Of course, there are tire shops that you can send it to, but once you learn the process of breaking the bead on your tire, you can save a lot of time and money doing it yourself.
How do you break the bead of your ATV tire?
If this is your first time repairing or changing your ATV tire, you might need to know more about the process involved or the tools that you need. We know your ATV means a lot to you, so we provided all this information and more below to make sure you can handle this yourself.
The process of breaking a bead on a tire has been accomplished in many different ways, but this is, we believe, best and safest process to get it done. You don’t need a tire-mounting machine that you would find in a repair shop. All you need is a valve stem tool, some way to spray the tire, and a bead breaker tool.
If you are going to break the bead of a tire, I guess you need to know what the bead is first.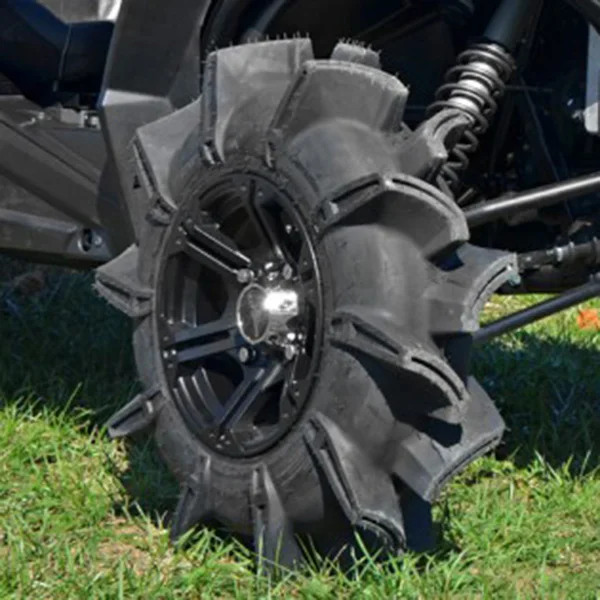
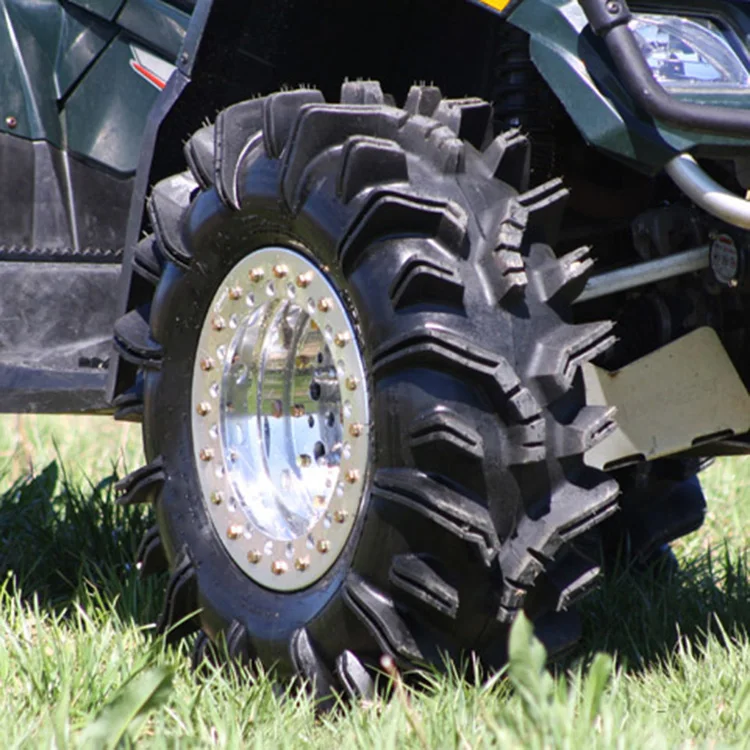
If you’re looking at a tire rim, right next to the lip, there is a bump, which is called the “bead retainer.” This goes around the entire rim to keep the tire in place. It does this by latching onto the tire in what is known as the bead.
If you look at the inside of a tire, the bead is where you see the indent. Inside this indent, there are strong cables that go throughout the tire, which creates an enforced loop connecting the bead to the rim.
When a tire connects to the rim, it gets pressed against that bead retainer and sits against the lip. This ensures that the tire won’t slide in different directions on the rim. I guess I never thought about this happening, but it is a big deal to not have the tire sliding around while you ride!
We mentioned earlier that there are a couple of different options when it comes to tools that help you break the bead. Some are more expensive, and other options are very cheap, but with the cheap options, you will likely find some major disadvantages in safety, risk or ease of use.
As I mentioned above, our favorite tool to use is the BeadBuster. The BeadBuster company created a tool that clamps onto the rim and applies a wedging force to the rim and tire. This forces the bead to go down over the bead retainer.
Many other tools can damage the tire or wheel because they press down on the sidewall of the tire. The BeadBuster presses directly onto the tire bead, which drastically reduces any chance of damaging the tire or rim.
As you would expect, the Beadbuster is the most expensive option of the group of tools we are going to discuss, but it is the closest option we think to getting it done by a repair shop, and this one tool will save you much more on tire repairs over many years riding ATVs. Click here to see the current price of the Beadbuster on Amazon.
You can use a portable bead breaker or tire changer. You’ve probably seen these at hardware stores or auto supply shops. They are usually a bit cheaper compared to other options and work well on some sized tires.
The problem is that they have a tough time breaking the bead of ATV tires. ATV tires often have a much stronger bead than other vehicles because of the extreme use on trails and offroading.
The bead retainer is so much stronger on ATVs compared to others that this tool can just slip down the sidewall of the tire instead of breaking the bead. You can end up risking the tire and get frustrated if your attempts are not successful.
You can help out the process by using the soapy water trick we mentioned earlier, and another tip is to leave a little air in the tire. Don’t leave more than 3-5 PSI in the tire, but this will allow you to use more pressure before the tool starts sliding.
There are many other bead breaking tools on the market, but we haven’t tried them all. If you want something stronger than a bead breaker, but not as expensive as the BeadBuster, explore some of these options on Amazon and let us know if you find one you really like.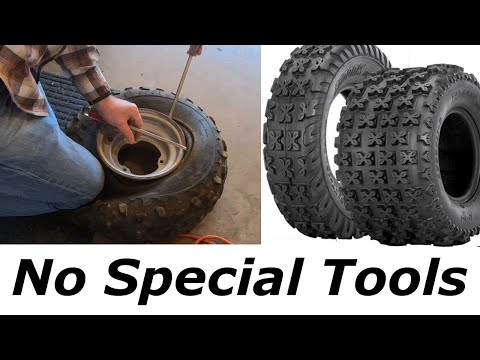
If you search online, you’ll find other ways that have “been known” to break the bead on ATV tires. This can involve things like lodging a board into the tire and driving over it with a truck, getting a bar and a hammer, and just banging on the bar, hoping it comes loose, and many other options in this ballpark.
When it comes to these methods, there are a couple of reasons why we don’t think they should be considered. The first reason is that this could easily damage the tire that you are taking off and the rim inside the tire.
Damaging the old tire might not be a big deal if you don’t plan on using it, but you’re most likely trying to reuse the rim, and you don’t want to have to purchase a new one because you damaged this one with these methods.
Second and most important, this can also be very dangerous to you and anyone else around you. Accidents are more likely to happen if you use methods like these, and that is why we recommend getting one of the designated tools recommended above to do this the safe and right way the first time.
The hardest part of changing out a tire is done once you break the bead of the tire. You will need a couple of tire irons to remove the tire.
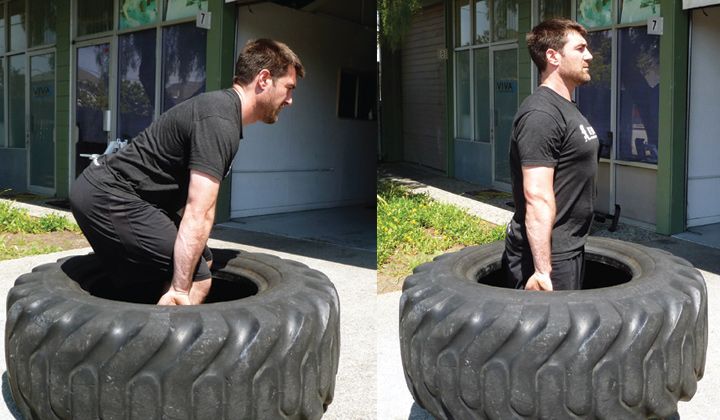
If you own an ATV, at some point you’ll inevitably have to change a tire or two on your ride. Changing an ATV tire can be a simple do-it-yourself job, and you don’t even need to break the bank to buy expensive tools and equipment to accomplish the task safely and efficiently. First, you have to break the bead on the ATV tire—the hardest part of the job. Here’s how to break the bead to change your ATV tire.
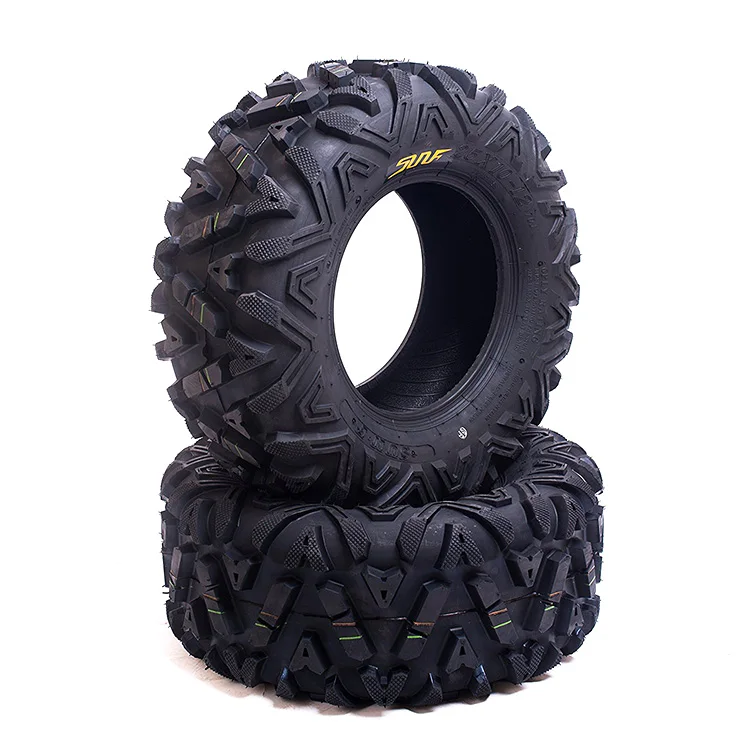
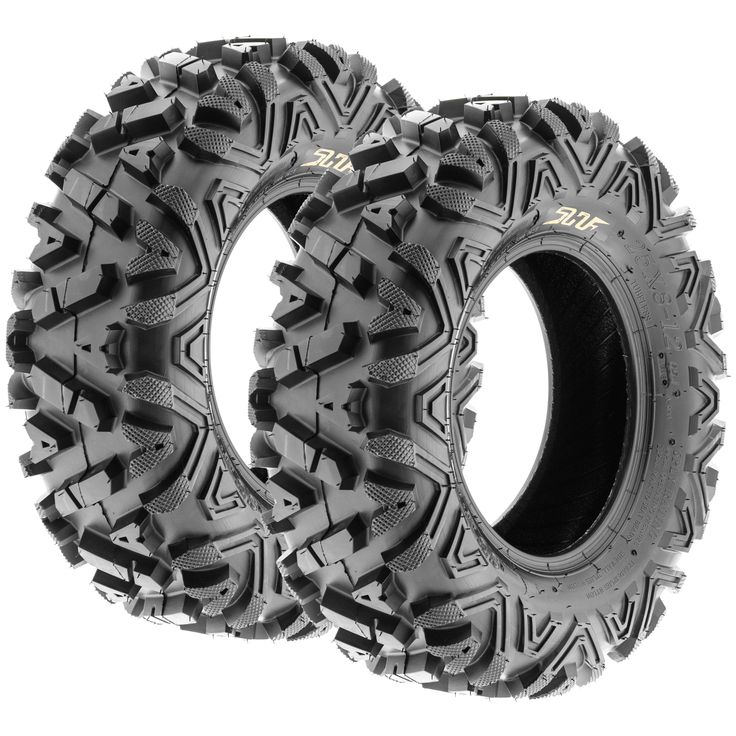
The term “bead” refers to the edge of a tire that sits on the wheel of vehicles, bicycles, ATVs and more. These tires are made with a small groove or slot where the tire bead rests. When tires are properly inflated, the bead stays in the groove due to the air pressure within each tire. In short, the bead exists to firmly adhere the tire to the outer edge of the wheel.
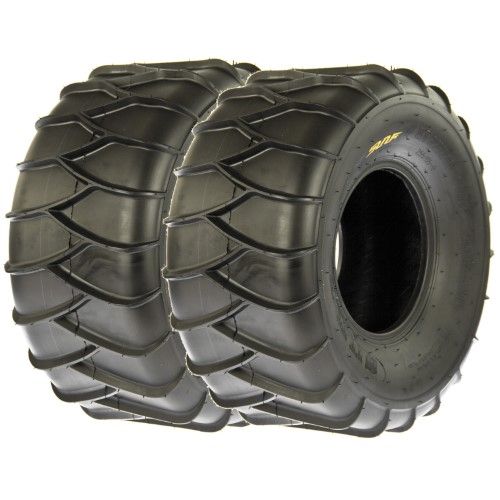
In the case of ATVs and other offroad vehicles, tires run at much lower-than-normal tire pressure, which means there’s less force pushing the tire outwards to keep it beaded. ATV tires need to do a better job at keeping the tire beaded, otherwise you run the risk of getting a flat tire every time you go out for a ride.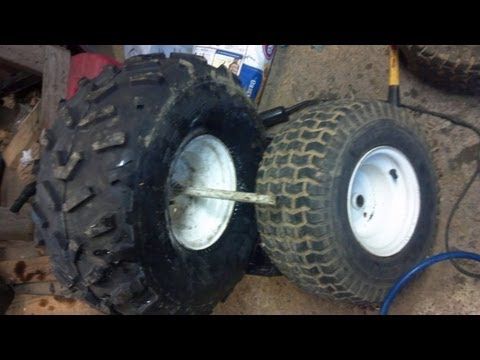 That’s why offroad tires are extra-heavy duty, featuring a bigger bead retainer bump compared to normal tires. While this is ideal for keeping the tire seated while riding, it makes breaking the bead of an ATV tire much more challenging.
There are several different methods for breaking the bead of an ATV tire, but there’s one process that stands above the others in terms of both safety and efficiency. You don’t even need a tire-mounting machine to do the job—all it takes is a valve stem tool; a spray bottle of soap and water and a bead breaker tool, like the Black Widow Tire Bead Breaker. Here’s how to do it:
Once you’ve broken the bead, it’s time to remove the tire with a couple of tire irons. Here’s how:
 You’ll use the second tire iron to lift the tire over the lip.
Once you learn how to break the bead on an ATV tire, you can save time and money doing DIY tire changes. Not to mention, you can always count on the job being done right. With the right equipment, especially Black Widow Pro’s Tire Bead Breaker, you can accomplish this simple task safely and efficiently. Know of a better way to break the bead on your ATV tires? Let us know in the comments!
When buying an ATV, every motorist expects to get a reliable and high-quality vehicle that can give a lot of positive emotions and impressions during operation. However, buying an ATV is only half the battle. In order for it to really give a lot of pleasant impressions, it still needs to be serviced regularly, including engine repairs. Why?
Why?
Under the influence of external factors or due to untimely maintenance, some motor components may fail. It is far from always possible to drive an ATV to a service center for engine repair, and therefore it will be useful to learn how to put an iron horse on its feet on its own, without resorting to the help of professionals.
Do-it-yourself repair of this bulky motorcycle is not only possible, but also extremely exciting. That is why many ATV owners prefer to resort to outside help only in the most critical situations. You can independently carry out not only minor repairs, such as replacing tires, bearings, oil seals or brake hoses, but even repairing a vehicle engine.
Since ATV riding involves extreme conditions and off-road conditions, you should always have tools with you to quickly repair your motorbike in the event of a breakdown. Luckily, everything you need can easily fit into a small box.
To repair an ATV engine and other components, you need the following tools:
Armed with the tools listed above, you'll be ready to fix almost any motorcycle problem. ATVs 125cc and over are no exception. Consider, as an example, the symptoms and troubleshooting procedure for a Stealth 500 ATV engine.0003

Haisan stealth 500 ATV engine will need to be removed and disassembled before repair. At the initial stage, you need to drain all the oil while the engine is on the frame. Then you need to disconnect all functional components from the ATV engine, such as the fuel system, electrical equipment and muffler. When you disconnect the attached technical equipment from the engine, you can unscrew the fasteners with which the motor is attached to the frame and remove it. On some Stealth motorcycle models, for example, on the 700, only two people can remove the engine.
Check for serviceability, and in case of failure, replace the following ATV engine components:
After all the ATV engine repair work is completed, it remains only to reassemble the engine and return it to its original position. Pay special attention to ensure that all nuts are well fastened. If you are afraid of making a mistake in the process of installing or assembling an ATV engine, then take a picture of each step of the work before dismantling it.
Owners of Chinese ATVs with a 139 fma engine most often encounter the following types of breakdowns:
If you do not have experience in repair and maintenance of ATVs, then it is best to drive the vehicle to a service center, where highly qualified specialists will help you diagnose a breakdown and return the vehicle to working condition. It is recommended not to forget about the regular maintenance of the motorbike in order to avoid its breakdowns at the most inopportune moment.
05/29/2021 1233
Unfortunately, the violation of the integrity of tires and bicycle tubes is far from rare, so the topic of our article today is how to remove a tire from a bicycle wheel and put it back on. To successfully cope with this task, you need to at least superficially know the design of a bicycle tire and know the special terminology. So let's get started.
Bicycle tire includes 4 elements:
Its purpose is to securely fasten the tire in the wheel rim of the bike. The materials for its manufacture are Kevlar (most often), synthetics or steel wire. Steel beading cable - the most budgetary. The cost of Kevlar cables is much higher, they have less weight, they are easy to store when rolled up. Kevlar cable can be taken with you on a trip as a backup. It won't take up much space.
This is its frame, or base. This element largely determines the strength of the tire. This is a diagonal weave of nylon threads. Weave density is determined by the number of threads per 1 inch. This figure is in the range of 24-130. Naturally, the higher this figure, the better the strength qualities of the tire.
This is a rubber cover. There are two varieties.
This is the part of the tire that is in direct contact with the road. The performance of tires depends on the tread depth and type of pattern.
Bicycle tires are made from conventional rubber or polymeric materials. Rubber has a better grip on the surface, but in terms of wear resistance it is inferior to the compound. The cost of the compound is lower, but when driving off-road, it has proven itself better than rubber. By type, 4 main types of tread can be distinguished: slick, semi-slick, mountain, winter. Each of them behaves better in the environment for which it was created. Slick on the road, semi-slick off-road, dirt road, the winter tread has a spike for ice.
You may need to remove the bike tire in the following cases:
If desired, the tire can be removed and replaced without the use of tools (this will be discussed in detail). But, if you follow all the rules, you may find it useful:
 This is an oblong plastic plate equipped with a hook;
 To remove a tire from a bicycle wheel, proceed as follows:
 As a rule, it is now much easier to work.
 To mount, proceed as follows:
It remains to mount the wheel and apply the brakes. When working with a tire, do not forget that the camera is made of soft and thin material. All actions must be carried out so as not to damage the camera.
The possibility of a tube puncture always exists. The situation when you need to remove a tire can be taken by surprise, so that you do not have any tools with you. It's almost impossible to do this without tools. To replace it, you must have a spare kit if you took it and what kind of tool you still have. By default, we will assume that you still took the wheel repair kit for a bike ride. So, if you don't have montages, how can you deal with this problem?
For a comfortable ride on a bicycle, an important point is the optimal tire inflation. With insufficient inflation, the cyclist has to exert more force while riding, the bicycle tires wear out faster. Over-pumping reduces traction, makes the ride harder, and increases the risk of tube puncture.
To minimize the risk of punctures, look for tires with good side coverage when purchasing. Another indicator is cord weaving. The denser it is, the better the product. A useful device is a special anti-puncture tape located between the tire and the chamber.
Be sure to take a tire repair kit with you when you travel. This will allow you to quickly deal with the trouble.
To repair tubeless tires bikers typically use:
The most common repair tool is cord harness. This is a nylon strip impregnated with an adhesive compound. The harness is mounted using two awls: a spiral and an adjusting one. This method is cheap, but quite effective. The results of the repair are enough for about 6 months.
Rubber band - more expensive, but quite reliable option. Before installation, it is lubricated with glue, which is recommended by the manufacturer.
"Anchor" - the same tourniquet, but ending with a patch.
In any case, the use of harnesses is not the final repair. Only masters from tire fitting can qualitatively repair a bicycle wheel.
The use of sealant is a quick but short-term tire repair that will allow you to get to the tire shop without any problems. The ease of use is just phenomenal. It is only necessary to pump the composition through the tire valve. Of course, such actions are fraught with a large imbalance of the wheel, but repairs are ensured in record time.
Removing and replacing a bicycle tire yourself is no big deal. Most cyclists do this job successfully the first time. A careful approach to the job and the availability of handy accessories are all you need to successfully complete a tire removal.
To post a comment you need to log in
There are more and more fans to ride with the breeze on a two-wheeled iron friend. The number of those who are faced with the everyday problem of a tire puncture is also increasing. Changing them is not the most difficult thing, but skills are needed here and there are some rules. This article will help you figure it out.
Get off the bike as soon as you notice that the wheel has “flattened”. Further long movement on the iron horse in this form will damage its moving parts even more. It is better to repair the wheel in a special room. There it doesn’t rain on you if it rains, and there is all the necessary tools.
Ideally, there should always be a repair kit, a spare tube, a pump. All together it makes an impressive weight and takes up a lot of space. For a small bike, this is inconvenient, but it is not always possible to limit yourself to ordinary gluing. What you definitely can not do without:
All of the above will help to dismantle the damaged wheel and install a new one, with the installation of the camera.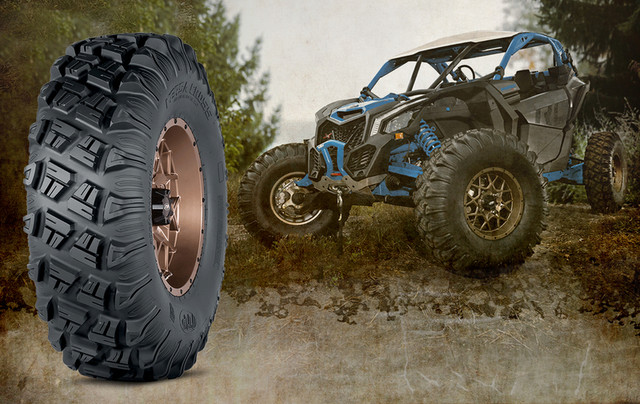
Buy a kit from a specialist shop or make your own. Choose a more convenient option. Set consists of:
Cyclists, especially inexperienced cyclists, have problems with bending the tire bead using only their hands (disassembly process) In this case, a special tool made of plastic or metal, small in size, is used, it is called a pry bar or a beading blade. It helps to cope with this task and put the tire in place.
Everything you need for the repair is ready, let's start:
 To do this, loosen the screw and raise the chain.
  We take out the spool (nipple) and then the chamber itself.
The wheel repair process is completed and you can go on.
Any cyclist can change a tire. Be prepared for the necessary repairs, have tools and materials with you. Having repaired the bike with your own hands once, you can also help your friends with advice and deed.
What could be easier than replacing an old bicycle wheel tire with a new one? This is what a novice cyclist thinks when he is going to do this procedure for the first time. And it predictably faces difficulties, because it can be difficult to “catch” the bend of a bicycle circle. This requires experience, physical strength and knowledge of some secrets, which we will reveal today. But first, let's look at situations in which parsing is required.
 How to dismantle a wheel without fittings
 Experience shows that rear tires wear out 3 times faster and more often than front tires. This happens because the rear wheels are the driving wheels of the bike. In addition, they have a much greater burden. This distortion is especially observed in bicycles equipped with rear brakes.
Important! Some cyclists swap front and rear tires in the mistaken belief that this way they can "align" them. In fact, wear and tear is a natural and inevitable process. You can try to move it a little in time, but it is not possible to prevent it completely with intensive driving. Tire damage can be repaired in only 2 ways: by sealing the inner tube or by replacing it (if the bike tire is unrepairable).
The tire is most vulnerable to external mechanical impact if the wheel is not sufficiently inflated. Cracks in the tread are not dangerous.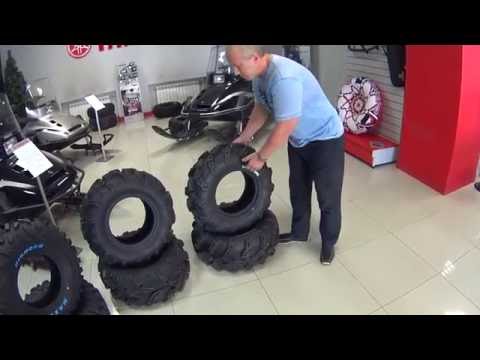 We list types of tire damage :
Externally, wear manifests itself in the form of tire hardening, loss of elasticity and subsequent cracking. Tire wears out prematurely due to a whole range of reasons, among which are the following:
Important! It is not always possible to avoid the influence of these factors.
If wear or damage to the tire is already taking place, it is necessary to solve the situation by replacing or repairing it. To do this, the tires must be removed from the wheel. If you use the mounting blades, the process is greatly simplified.
Bicycle pliers.
To remove a tire from a bicycle wheel without any tools at hand, you need to be an experienced bike mechanic. If you are not one, then it makes sense to use montages. These are special plastic spatulas sold as a set of several pieces. Their main advantage is the material from which they are made. The fact is that the use of metal improvised means (keys or screwdrivers) will most likely lead to damage to the rim or cord of the camera. Mounting blades avoid such negative consequences. How to use it to disassemble, we will now find out.
Beading with crowbars.
For the work you will need tools that can be purchased at any specialized store. Consider a step-by-step sequence for removing a tire.
Important! After removing the tire, it is necessary to make its external inspection, chambers and wheels for defects and damage, check if there are protruding spokes or other sharp objects on the rim that must be removed.

Tire removed. Now the wheel needs to be checked. When damage is found, a decision is made as to whether the tubes and tires should be replaced or repaired. In the first case for wheel repair will require a bicycle tool kit. Sealing the bicycle chamber is as follows:
Now that we have made sure that the tube and tire are in order, we can begin the reverse process - beading.
Beading machine .
If you are an avid cyclist and expect that in the future you will remove / replace tires on the wheels of your bicycle more than once, then it makes sense to purchase or make your own beading machine. He greatly simplifies the matter . However, if it is not at hand, and you need to assemble the wheel urgently, you can do without it. The sorting is performed in the following sequence.
We examined the main nuances and "pitfalls" of the process of disassembling / beading a bicycle wheel, and also analyzed the causes of wheel wear and learned how to seal the bicycle inner tube.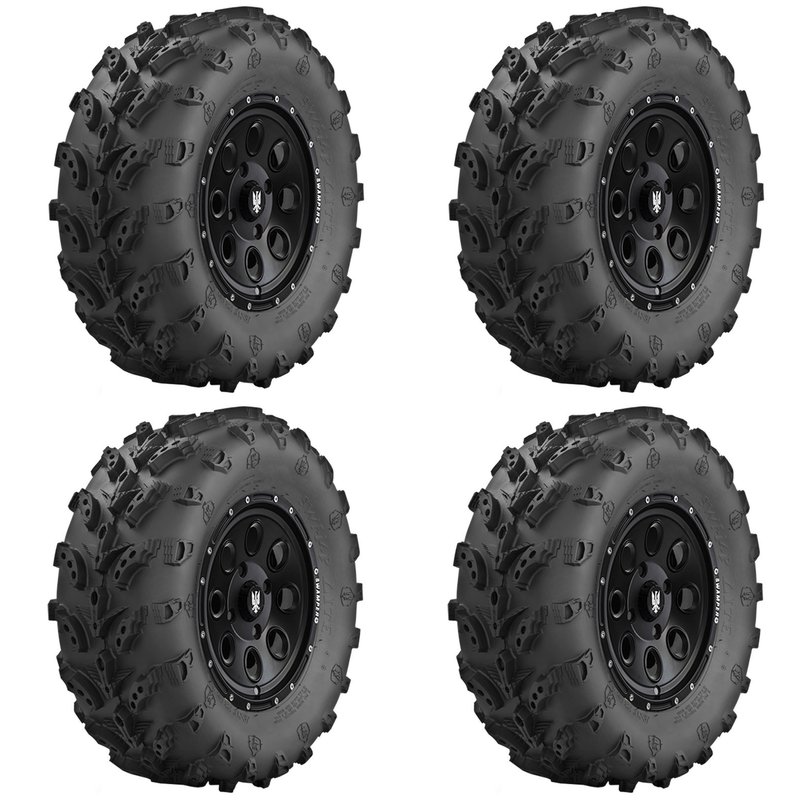 Finally, I would like to give one more important advice. To make your bike trip truly cloudless and not overshadowed by anything, take a repair kit and mounting blades with you on the road just in case. Good luck!
All cyclists are constantly faced with the problem of replacing tires on a bicycle. Of course, you can contact the workshop, in which, in addition to the fact that they can replace parts, they will also repair the entire chassis. But most experienced cyclists are advised to be able to do repairs on their own. So you gain experience in maintaining and repairing a bicycle and in an unforeseen situation you will be able to eliminate the breakdown. Changing the tires on a bike is easy, it takes much less time than in the workshop, and saves money.
 To glue or replace it, you need to remove the tire. It is advisable to inspect it for the presence of stuck glass or other small sharp objects.
 Removing a tire on the road is harder than at home or in the garage. Especially if you don't have the right tools. It is possible to do this, but very difficult. Especially when the rubber stuck to the rim like a glove. Therefore, it is best to take a puller and other tools for bicycle repair with you on the road.
Dismantling bike wheels with tire pliers. This puller will not damage the disc and rubber. The hook on the other end of the puller clings to the spoke, and thus the first blade is fixed. Another puller performs circular movements around the perimeter.
Carefully remove the wheel
There are many manufacturers that offer a large number of tire models. Tread patterns are either symmetrical or asymmetrical. In the first option, you can put them on the bike in any direction. In the second, the protectors usually have a direction in one direction or another.
Some manufacturers mark tires with arrows and the inscriptions Front (forward) and Rear (back). They show direction immediately. There are also front-only or rear-wheel-only models. This is indicated by the corresponding inscriptions and arrows. If the recommendations of the manufacturers are not followed, then this leads to poor traction, poor control of the bicycle and rapid wear of the bicycle tires.
Installing a tire on a rim
Some V-type models are missing markings and arrows. Then experts recommend putting tires with a point back (/) on the front wheel, and with a point forward (/) on the rear wheel. This is due to the fact that the rear wheels perform the function of traction, and therefore must rest on the road with "legs". And the front ones perform more braking process, and the “legs” in the figure should look forward.
These recommendations are for cycling on unpaved roads. If you drive on the highway, then the arrow direction options have a minor function. With an increase in patency and grip, you can put both rubber tips forward.
 First, put one side inside the rim. Then we press the valve in the spool, bleed the air and put the tire on the other side with a spatula. It is necessary to check whether the chamber has become correct, and slowly pump it up, paying attention to whether the tire has become even.
 Replacement is easy. Even beginners can handle it. The main thing to remember is to do everything carefully. Tires constantly require replacement, and punctures, in general, are difficult to protect against. Therefore, a little effort and time, the availability of the necessary tools - and replacing the tire is not difficult.
If the nipple fails, it is not necessary to change the inner tube: you can repair the bicycle nipple yourself and free of charge. The cost of a new part is low. Let's figure out how to change the bicycle nipple and what to do if the breakdown caught you away from home.
We talk about how to ride a bike correctly: the rules of the road and ways to effectively lose weight.
Even the most careful cyclists sooner or later face the need to change the brake disc pads for the bike. This work, although simple, requires certain knowledge.
Some beginner cyclists ask how to remove a tire from a bicycle. Moreover, difficulties arise, as a rule, with the rear wheel. Quite often you can hear such phrases: “Oh, I’m afraid to remove the rear wheel, there are so many things screwed up, wound up, I’ll never put it back on and I’ll definitely break something. I'll go to the service center better.” Of course, you can do this, but rather than repeatedly wasting your time and money to go to a bicycle repair, it’s easier to just figure out how to do this operation yourself, especially since such a need may arise somewhere in the forest outside the city, and a bicycle workshop there will definitely not be found.
 If you have disc brakes, then go straight to step 2. If your bike has a rim brake, then you need to release it. This procedure is approximately the same for all types of rim brakes. For example, to release the V-brake brake, you need to squeeze the pads with your hands (this is easier to do at the point where the cable is attached to them) and pull out the arc, as shown in the figure.
 Now carefully turn the bike upside down. At the same time, it turns out that he stands on the steering wheel and saddle quite steadily. At this stage, you should carefully monitor so that the equipment mounted on the handlebars (bicycle computer, bell, bicycle headlight, etc.) is not damaged. In addition, it is better to put a rag under the gear shifters so as not to scratch them. If your bike has hydraulic disc brakes (a hose with brake fluid comes from the brake lever, and not a regular shirt with a cable), then it is not recommended to keep the bike upside down for a long time, in order to avoid air getting into the hydraulic line, because if this happens, you will need to pump brakes (the process, although not complicated, is quite laborious).
Next, we look at how your wheel is fixed: is it a regular nut or an eccentric (a small lever).
3.1. If your wheel is fastened with a nut, then you need to take two suitable keys. Throw one on one side, the second on the other, and turn one of the keys counterclockwise, holding the second in place. It is not necessary to unscrew the nuts to the end, but simply loosen them until the wheel can be safely removed.
3.2. If your wheel is fastened with an eccentric, then everything is simple here - no tools are needed. We pull this eccentric towards ourselves, as shown in the figure, after which it is necessary to unscrew it a little more counterclockwise, holding it on the back side with your hand until it becomes possible to pull out the wheel.
At the last step, just pull the wheel up, and if you did everything right, it can be easily removed. On bikes with disc brakes, you shouldn't apply the brake lever with the wheel removed, as this can compress the pads and require you to fiddle with them as well.
As you perfectly understand, the process of installing the front wheel is the reverse of removing it and it makes no sense to describe it in detail.
Reinsert the wheel as it was. Do not confuse the direction of rotation of the wheel (written on the tire). Remember that your bike is turned upside down and you should think about the direction of movement. In the case of disc brakes, it is difficult to confuse, since it is necessary that the disc hit exactly between the pads.
Tighten the nuts or tighten the eccentric
If you have rim brakes, then you need to return them to their original state. We check that the wheel does not hang out, spins freely and the brake functions, otherwise we check everything again point by point.
Removing the rear wheel is EXACTLY the same as removing the front wheel. You don’t even have to look at the equipment hung from the back (you only have to remove the chain from the axle if it catches).