You’ve reached for the bottle to fix or prevent flat tires – smart choice! Whether this is an emergency repair (yellow label bottle), or you are preventing flats for up to 2 years (red, blue or black label bottle), the Slime installation process is the same.
Slime tire sealant is easy to install, cleans up with water and will get you back on the road quickly. All you need is the bottle and a tire inflator. Let’s get started:
Step 1: Position the TireSlime can be inserted with the valve stem located in any position, but it works best if you position the valve stem so it sits in the upper half of the tire.
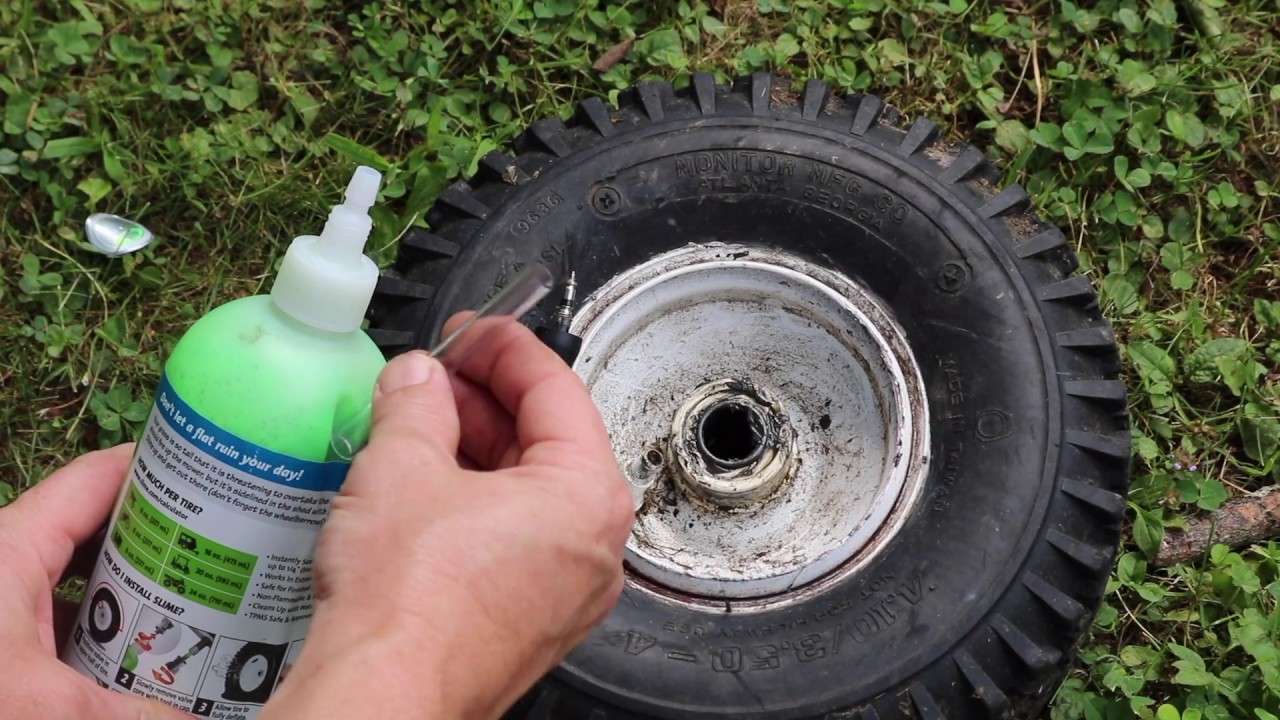
Step 2: Remove the Valve Core
Take the valve cap off your valve stem. When you look inside the top of the tire valve stem, you will see a metal cylinder in the very center. This is the valve core and it needs to be removed in order to install Slime.
The black cap on your bottle of Slime is a valve core removal tool. Twist it off the bottle and use the knobby tool in the center to engage the valve core. Slowly twist the tool counter-clockwise to remove your valve core. You will know you are successfully removing the valve core when air starts hissing out of your tire.
Your tire must be as flat as possible to inject the Slime. Allow the air to slowly escape from the tire and set aside the valve core (you will need this piece again later).
Step 4: Remove the Puncturing ObjectLocate the screw, nail or other offending object that caused your tire to go flat. If possible, remove it from the tire.
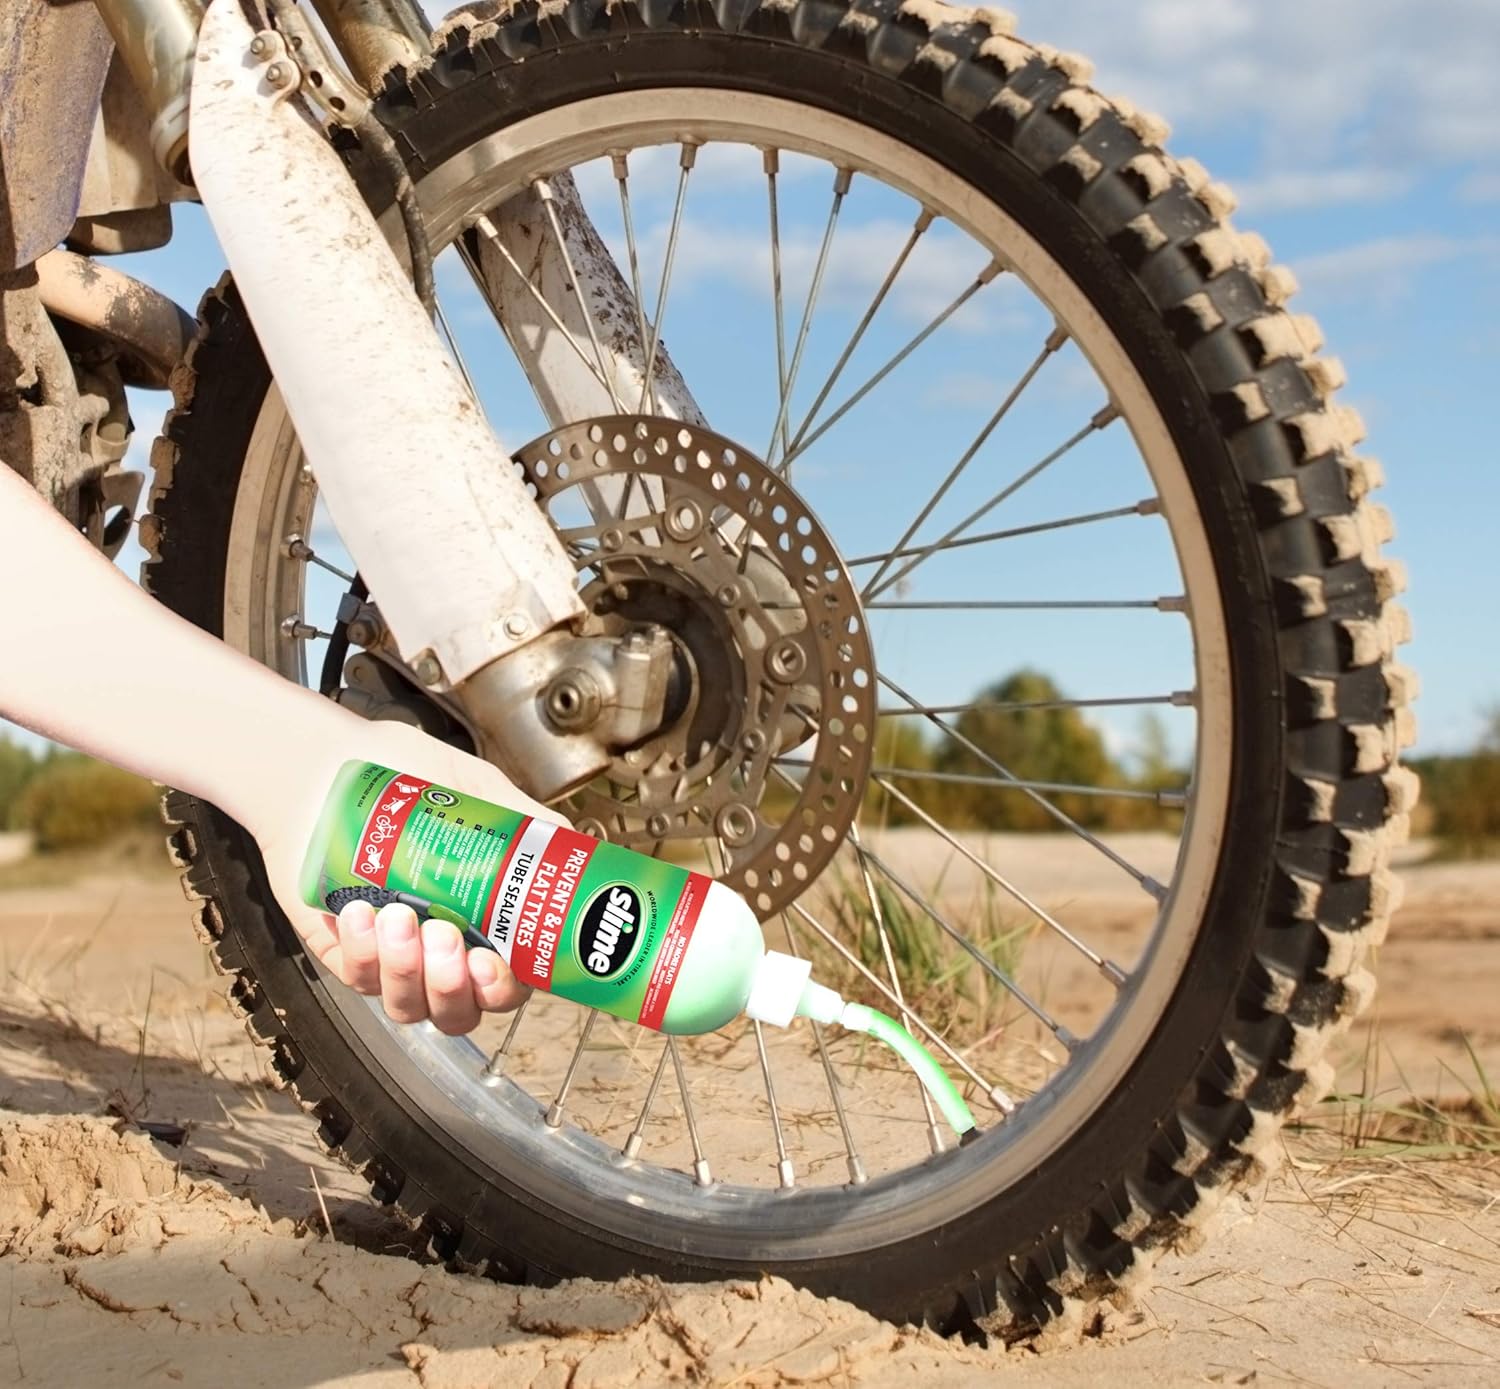
Step 5: Inject SlimeUnscrew the white cap from the top of the bottle, peel off the white seal and then re-attach the white cap. Remove the clear tube from side of the bottle and attach one side to the top of the white bottle cap.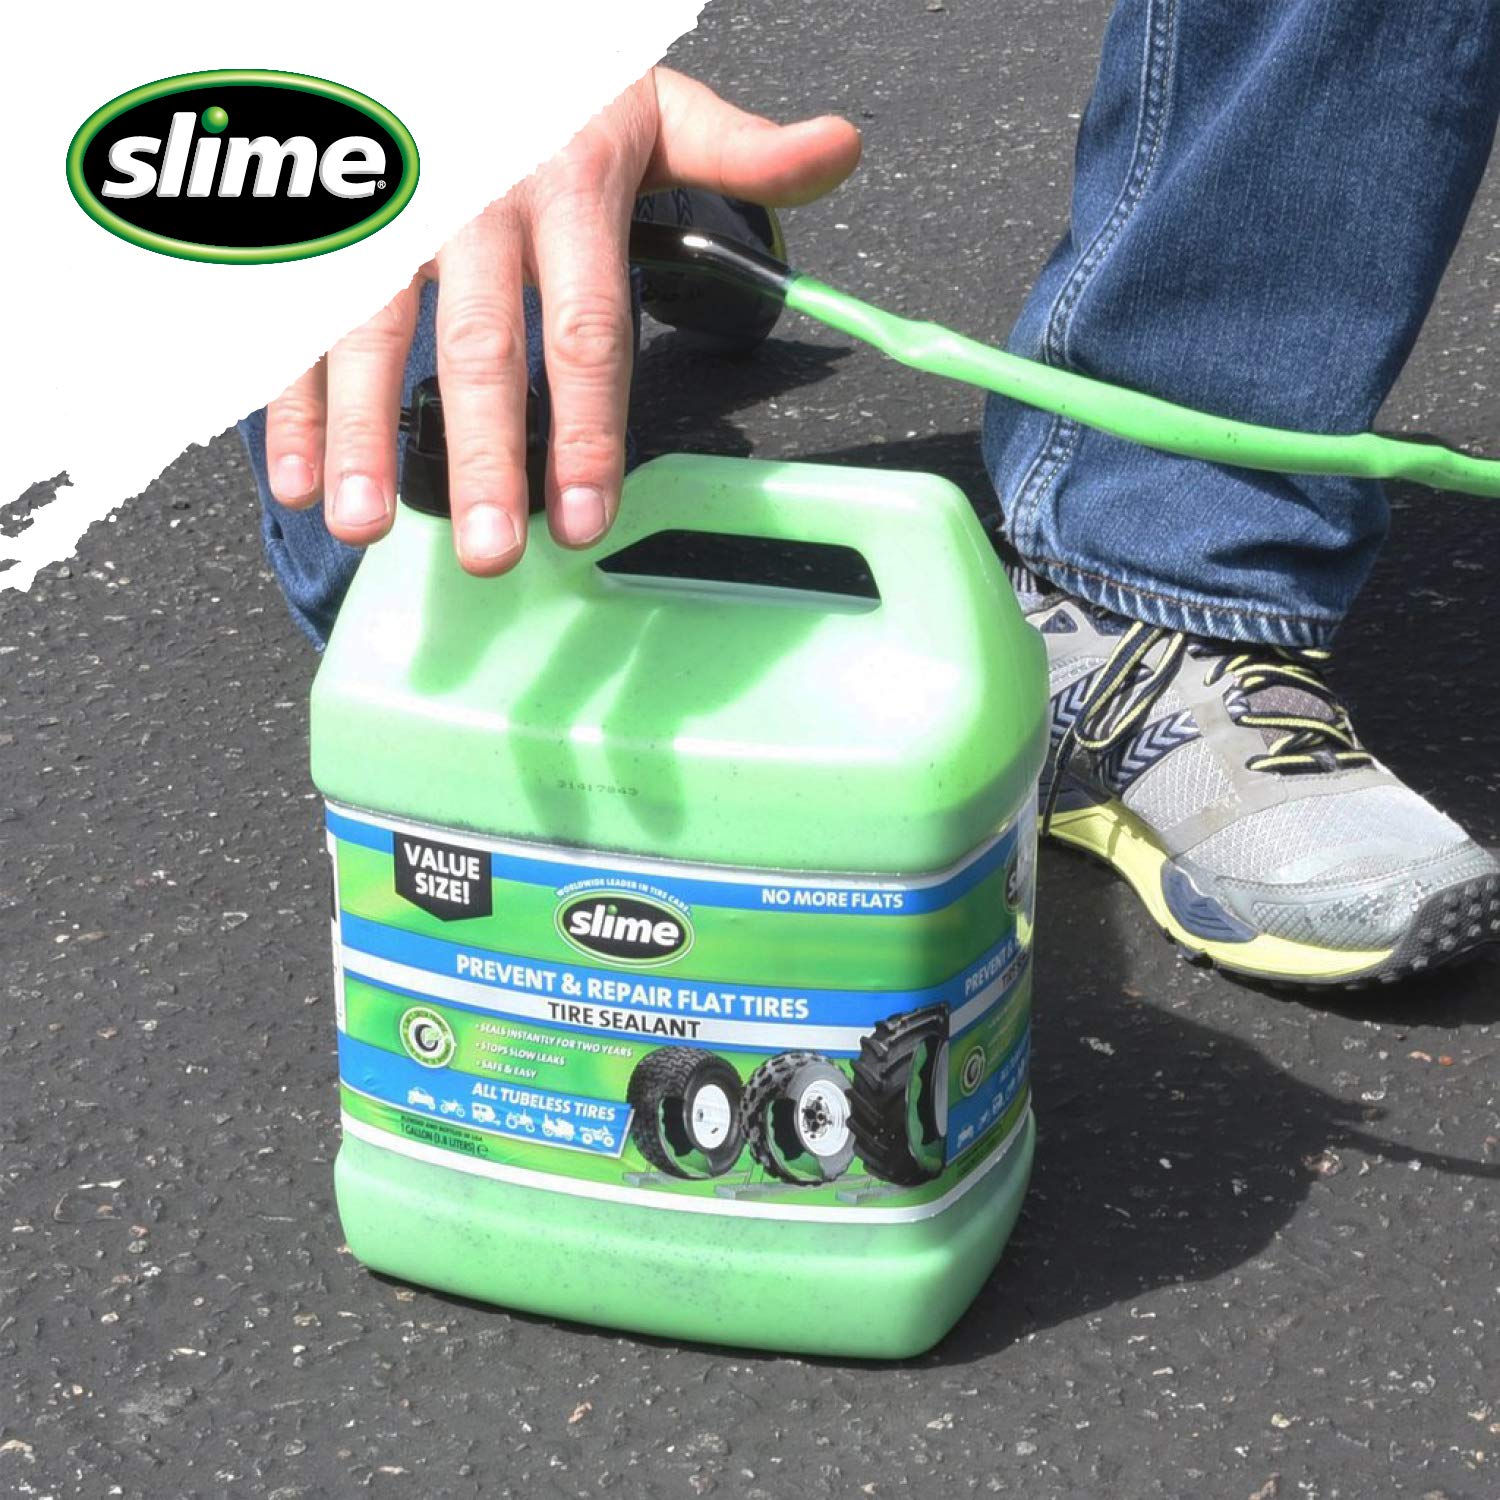 Attach the other side to the valve stem on your tire.
Squeeze in the appropriate amount of Slime. You can use the chart on the back of your bottle to determine how much Slime you need, or you can use our Slime calculator. If you are using the gallon product of Slime, then one pump equals approximately 1 oz of Slime.
If your tire has tubes (like on a bicycle or dirt bike), you can inject the sealant directly into the tube before inserting the tube into the wheel, or you can inject the sealant into a tube that is already pre-installed into the wheel.
Remember that little valve core you removed in Step 2? Time to put it back in! Using the same black tool from the cap of the bottle, screw the valve core back into the valve stem by turning clockwise until tight. If any Slime has oozed out while installing the valve core, simply wipe away with a cloth.
Using your favorite tire inflator, air up the tire to the manufacturer’s recommended air pressure. You can find this measurement on a label typically located on the inside door jamb of the driver or passenger seat.
Step 8: Rotate the TireTo properly spread the sealant around the inside of your tire, drive approximately 0.2 miles, then stop and verify that the sealant plugged your puncture and that the tire is holding air pressure. If you are installing Slime in a bicycle, simply spin the tire to evenly distribute the sealant.
Congratulations! You have successfully installed Slime and repaired your flat tire.
If you installed the yellow label Emergency Tire Sealant formula, then please seek a professional repair within 3 days or 100 miles.
By Natalie Martins / January 11, 2017 August 23, 2022 / Gear
Spend $10 and 15 minutes in your garage and save hours repairing and patching flats.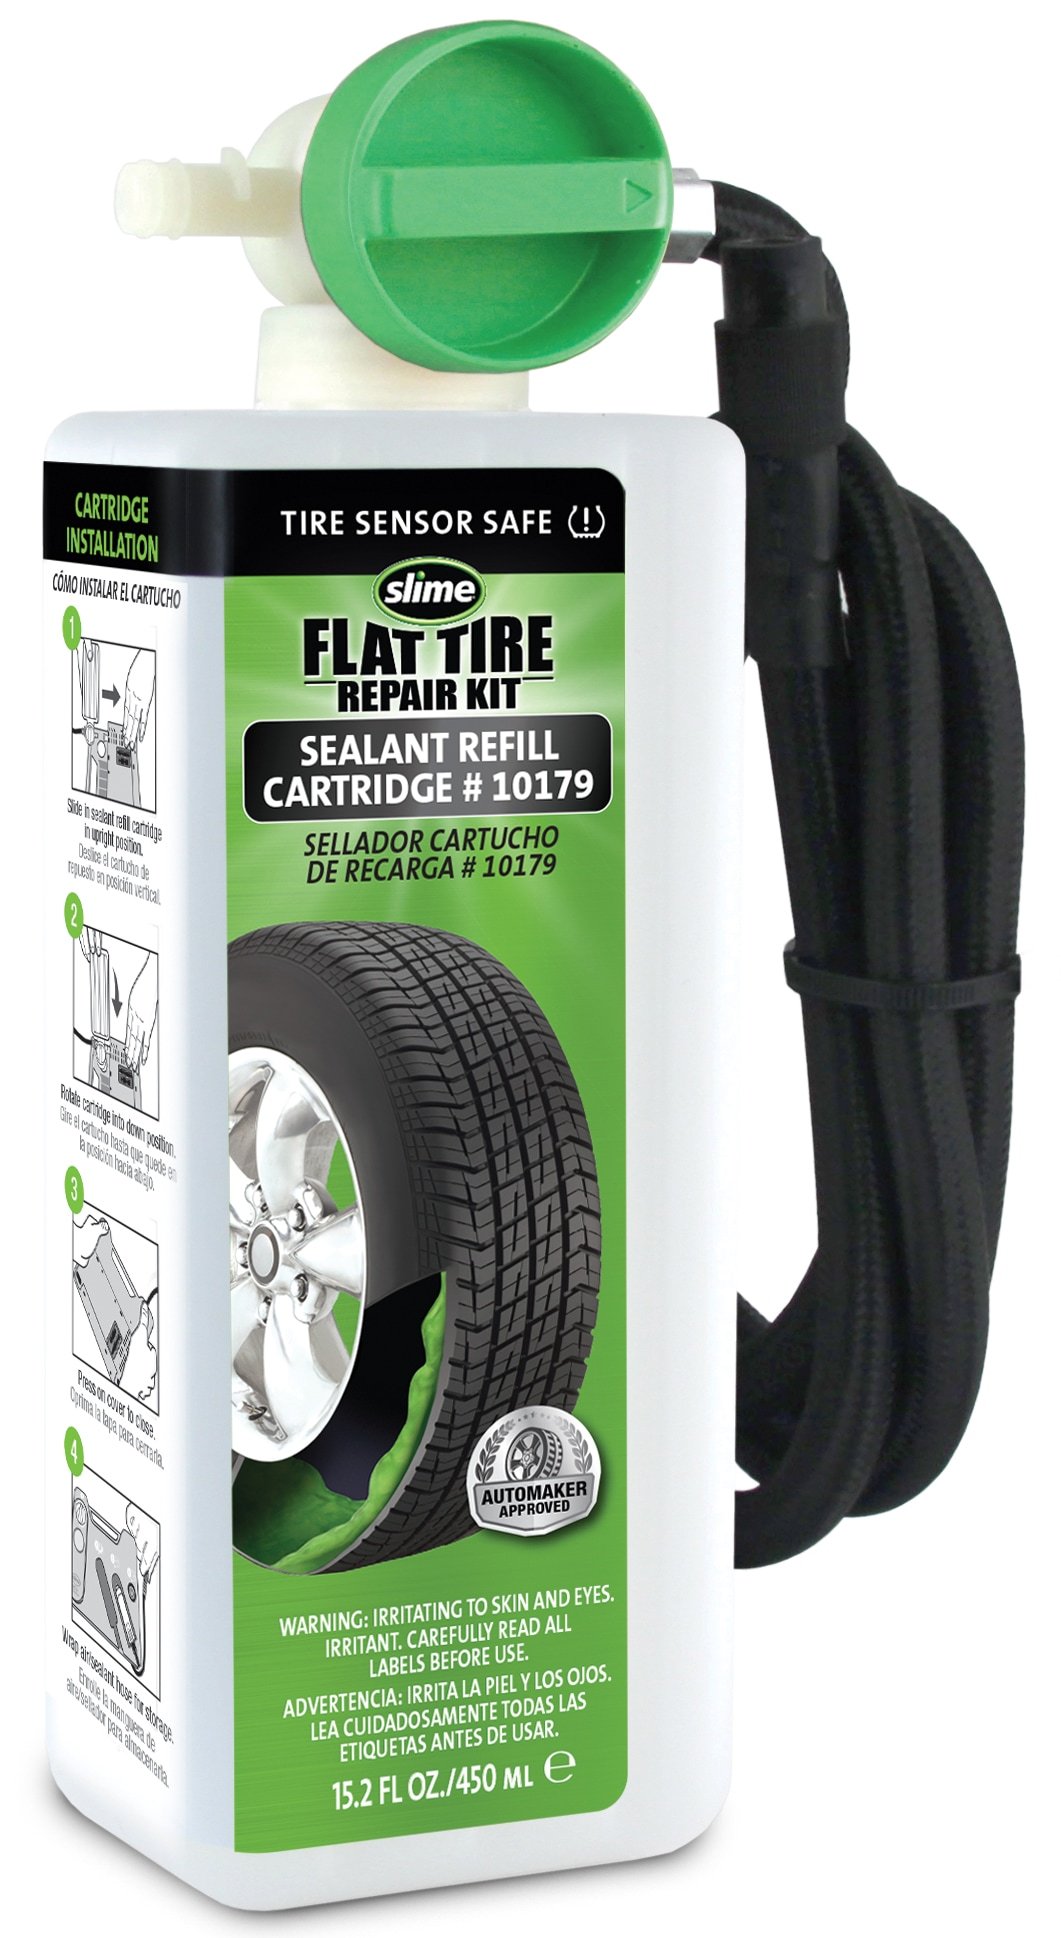 Slime Tire Sealant is a lifesaver.
RATING: Exceptional
MSRP: $10
BEST FOR: Everyone! Spend $10 and 15 minutes in your garage and save hours repairing and patching flats.
View on Amazon
PROS:
CONS:
Flat tires are a pain. Not only are they frustrating for kids and parents, they often sideline a bike for weeks. Fortunately, preventing flats is as simple as spending $8 at Walmart (or $10 on Amazon) and 15 minutes in the garage. Tire sealants is essentially a fiber-filled “slime” that coats the inside of a bike tube to quickly and efficiently repair and prevents flats. In most cases, Slime only needs to be added to a tire once and prevents flats for essentially the life of the tire or tube.
In the four years we have been using Slime in our kid’s bike tires, we have only experienced one flat after our son rode through a field of thorny weeds. Honestly, with all the bike riding that gets done around here, I can’t imagine life without tire sealant! The most widely available brand is Slime and is sold at Walmart, Target, most automotive parts store and Amazon. You only need about 2 oz. of slime per 12″ tire, so the 8 oz. bottle sold in the bicycle section is sufficient for two bikes. If you have several bikes to seal, consider heading over to the automotive department where the Slime tends to be cheaper by the ounce.
In order to add the Slime you will need to remove all the air out of the tire, so be sure to have a bike pump nearby before you start.
The inner valve of the tire stem valve must first be removed before you can add any slime. While it sounds daunting, it is actually quite easy to remove using the included tool.
Once the valve is out, it’s time to add the Slime. You will need to add about 2 oz. to a 12″ tire (1/4 cup) and about 2.5 oz. for a 16″ tire. For larger tires a chart is given on the back of the slime container.
Once the Slime is in place, use the tool to re-insert the core. Next, inflate the tire to the correct PSI (listed on tire sidewall) and then spin the wheel to allow the Slime to evenly distribute throughout the tire.
Repeat steps with the second tire and then you are ready to ride. Slime does not require any waiting period, allowing the bike to be used right away.
FTC Disclosure:Affiliate links are included in this review. No monetary compensation was provided for this review. The product reviewed was purchased by Two Wheeling Tots and not supplied by the manufacturer. All opinions and images are that of Two Wheeling Tots LLC.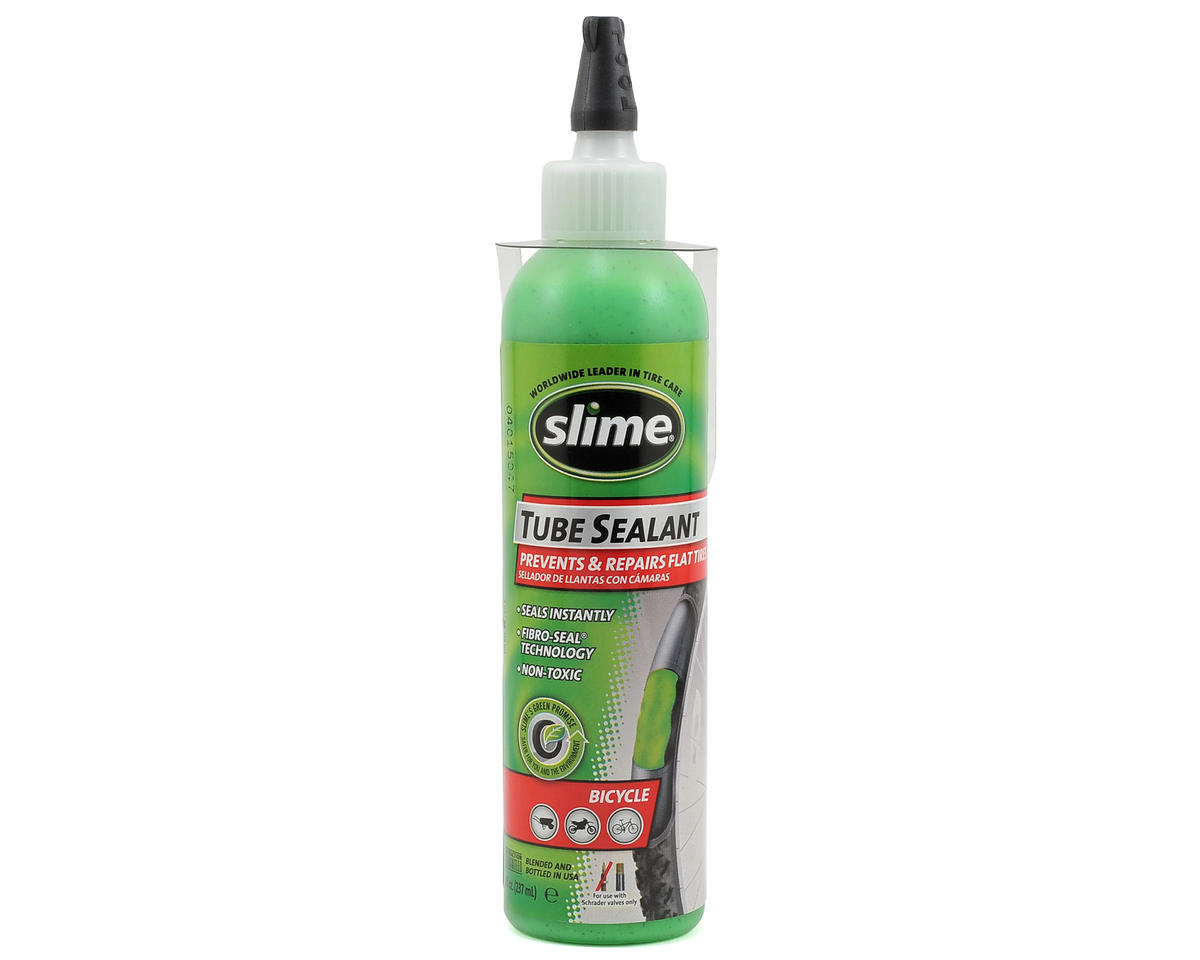 All content and images are copyrighted and should not be used or replicated in any way. View our Terms of Use.
Don't let a flat tire put you off your path. Learn how to repair a tire in the field.
By Joey Nickisher, OFFGRIDWEB.COM
Translation and adaptation by Artyom Kostin, LASTDAY.CLUB
A few years ago, my colleagues and I conducted a search and rescue operation. We successfully found the "lost", but halfway out of the forest, we suddenly realized that the wheel of our SUV was punctured. Another transport for the evacuation of the victim was not suitable, and he needed medical assistance urgently. So I had to repair the tire in the field. Happened. The victim was taken to the hospital, and we were enriched by the experience of field repairs. But what would we do if we didn't have the right skills and tools? Do you have them?
Therefore, to begin with, let's talk about the simplest and most banal option for “repairing a tire” . ..
..
Yes, some motorists are very lucky and they never had the need to change a flat tire on their own. Others were less fortunate, and they know perfectly well what kind of hemorrhoids it is to change a wheel right in the middle of the road. Worse, perhaps, only to do it in the middle of a dense forest. So, it is worth figuring out by experience how to do it yourself. No kidding, because at least in theory anyone can do it - “ It's business - to jack up, unscrew the nuts / bolts with a balloon, raise the car, remove the wheel, put the dock, tighten, lower, tighten ... ", but in practice it always begins" Where to put the jack? key?”, “How to unscrew the spare wheel?” etc.
It is better to study and practice in advance than to try to do something in an emergency with difficulty and obscenities. And after you learn how to do it yourself - be sure to teach this to your household and the people you regularly carry in your car - just in case.
In addition to the relevant knowledge, you will also need tools. And, of course, the spare tire itself. Without him, you understand, it is difficult to do anything at all. So, it is worth figuring out where in your car it is stored. And is there any. Spare parts can be located in different places of the car - under the floor, under the seats, in a plastic casing at the back, in the trunk, suspended from the back with cables or mounts, etc.
The latter case is particularly difficult, as the fasteners can only be removed using the special tools supplied with the purchase. In addition, when working with them, you may need to study the instructions. And it is better to do this in a garage or a quiet environment, and not in the middle of a forest. It is also worth regularly checking the degree of inflation of the spare tire and pumping it up if the pressure is low. Keep in mind that many vehicles are shipped with flat tires or repair kits, rather than wheels that are ready to be installed.
You will also need a jack to lift the car, a wheel wrench or other wrench that fits the nuts and bolts that hold the wheels. If all of the above is not present, then this is a sure path to disaster. Or - to a long and expensive wait for a tow truck.
The simple wheel replacement algorithm looks like this.

Read the vehicle manual before starting work. The fact is that on modern vehicles there are two main ways to fasten the wheel - using nuts or bolts. And it's better to know this in advance. A mechanical jack (left), which you will find in the trunk of almost every car, despite its not the most convenient principle of operation and a small footprint, is an excellent choice for emergencies. The hydraulic jack (right) is compact and robust. Wider bases improve stability, but may be too high for vehicles with low ground clearance.
Everything seems to be clear with this, right? But what if the wheel is not replaced?
The first thing to do is fill the flat tire with compressed air. If the leakage rate is low, then this is quite enough to reach the service center. Most often, air compressors powered by a 12-volt power source are used for this. Or - compressed air cylinders of various sizes, ranging from simple CO2 cartridges, which may need several pieces per tire, to large portable cylinders.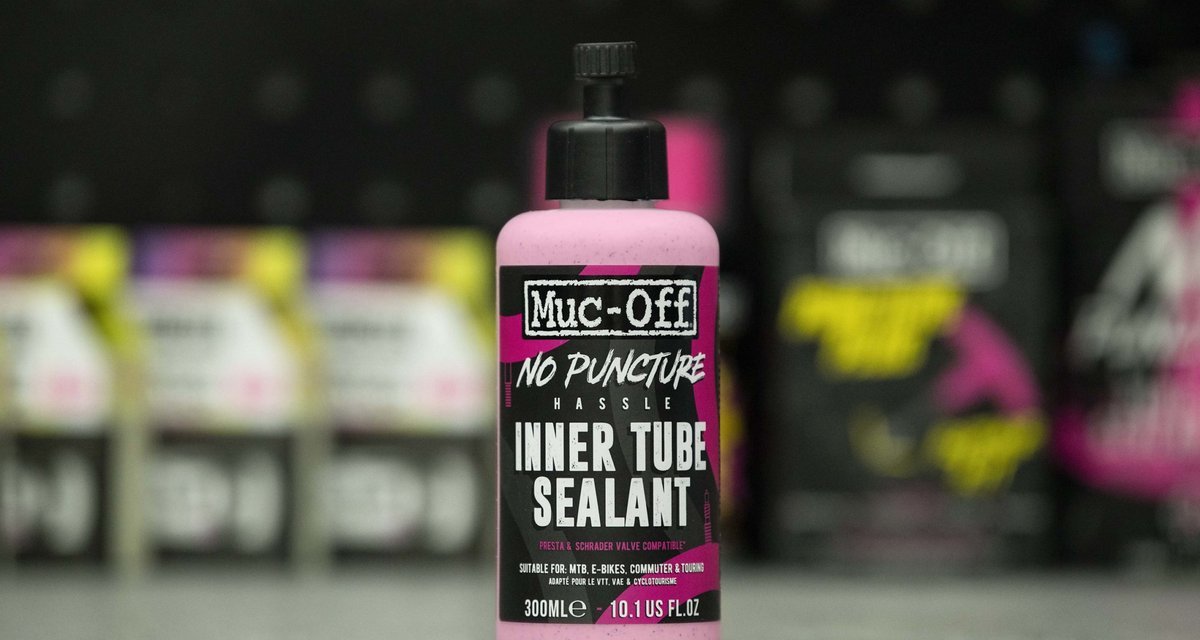 The most extreme case is a bicycle pump. It is hard, long and not rational if the air flows out faster than you replenish it. So if the damage is extensive, other repair methods are needed. There are many ways to inflate a tire, from compressed air and CO2 tanks, electric compressors and a good old hand pump.
There are various tools and accessories available to help you repair your tire. U.S. Tire Manufacturers Association - U.S. Tire Manufacturers Association (USTMA), has developed its own criteria for such products. They are discussed in the text "Puncture Repair Procedures for Passenger and Light Truck Tires" - "Repair of tires for cars and light trucks." According to these recommendations, you can work with holes not larger than ¼ inch, which are located directly in the tread area (but not on its edge or on the side surface). Under normal circumstances, this standard should be maintained, but you may find yourself in a situation where even some tire repair can make the difference between life and death!
So, the best tool for repairing a tire is “fungus”, a kind of cork with an internal patch.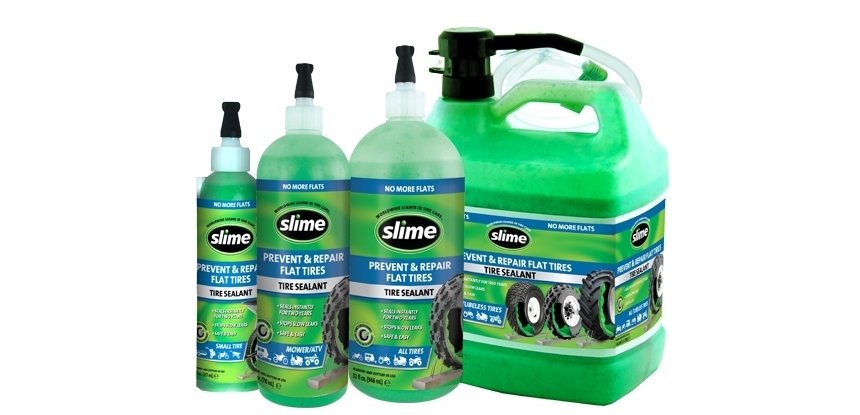 They are used at service stations. This repair involves widening the hole, plugging it in, applying an activator adhesive and a patch on the inside of the tire.
The average person can install a simple harness patch without removing the tires from the rim. First, locate the location of the damage. Then - remove the debris and the damaging element (nail, screw, etc.). Then, using a spiral awl - a tool that resembles a file or rasp, clean the walls of the hole. Then - install the tourniquet (strip of rubber) on the harness installation tool, (a tool with an eye that resembles a huge sewing needle). Apply glue to the hole and the patch cord, and then push it directly into the hole, leaving no more than a centimeter sticking out. Turn the plug tool and pull it out, leaving the patch in the hole. Wait a few minutes - let the glue grab. If the damage is not particularly serious, this should be enough. This tire repair has been practiced for quite a few years.
Although this is not officially recommended, if the puncture is not sealed, then you can try to insert additional plugs into the hole. In addition, this method should not be used with a punctured side of the tire. However, I myself have seen similar patches on the side surfaces of the wheels of ATVs, tractors and SUVs. But only in really emergency situations. And if you find yourself in such a patch, then, of course, you will have to insert such a patch, but you will need to drive slowly - at the speed of a pedestrian. And only to the place where it will be possible to change the tire normally. This applies to both off-road and the roadway - otherwise the risk is too high that the plug will be knocked out by pressure.
There are many varieties of stoppers, plugs, patches and fungi, but I would single out Stop & Go International. They work on the same principle as similar tire repair fungi, but offer a number of additional benefits:
You may ask me: “Why any plugs and fungi when you can seal the hole with Fix-a-Flat tire sealant?”. You can, of course, but this is far from the best and most successful option. Yes, sometimes it works, but it has significant drawbacks that interfere with normal use. Let's start with the fact that before the change in the formulation of Fix-a-Flat in 2016, the past mixture, according to the safety protocol of 10/15/2000, was corrosive. So older Fix-a-Flats have the potential to cause further tire damage and, in severe cases, serious wheel problems.
Therefore, this method is a quick but temporary solution to the problem. And the chemical sealant should be removed from the inside of the tire as soon as possible. And for this, many service stations charge an additional fee. What's more, even with the new formulation, the instructions still say to remove the mixture after 3 days or 100 miles.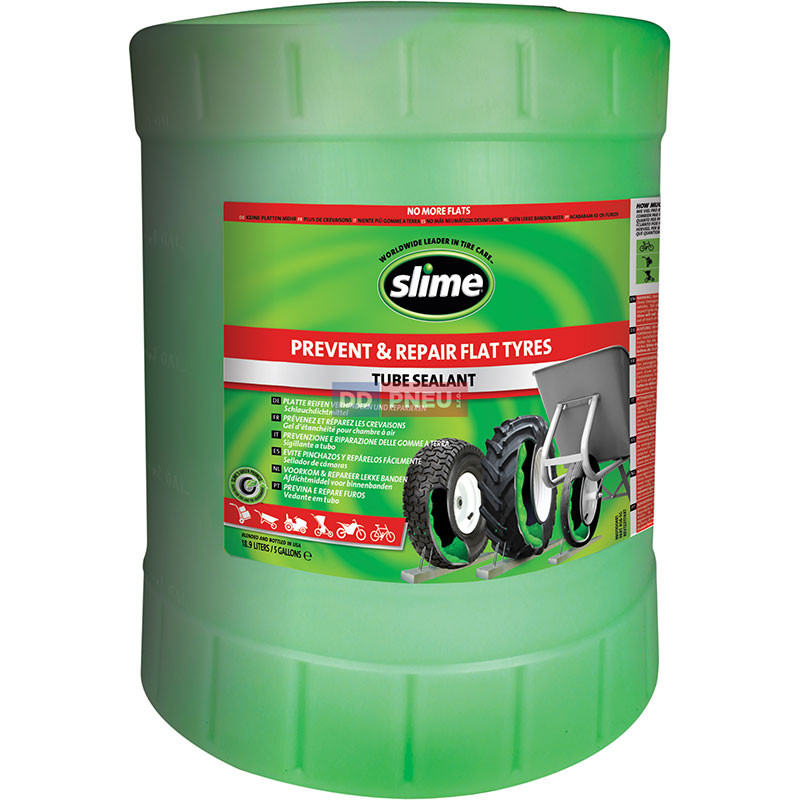 Otherwise, problems can begin. Slime tire sealant (which is injected inside the wheel and closes the puncture), and more “traditional” tire repair kits.
The old Fix-a-Flat formula contained tetrafluorothane, heavy aromatic solvents, amorphous polyolefin, various aromatic resins, an inert filler, and a trade secret "proprietary" substance. The new formula contains tetrafluoro-1-propene, glycerin and cellulose. Just in case, check what is written on the can of sealant.
You may also have heard of Slime Tire Sealant, a thick green slurry that could be injected into the inside of a tire to repair minor damage and prevent further deflation. The manufacturer claims that this product is safe for TPMS (tire pressure monitoring system), contains rust inhibitors and lasts for several years. Based on my personal experience, it's true. Tires really last more than one year after such a repair. Plus, it is extremely easy to use - you need to pull the spool out of the valve (the valve through which the wheel is inflated), then - using a special tool, introduce the sealant into the tire.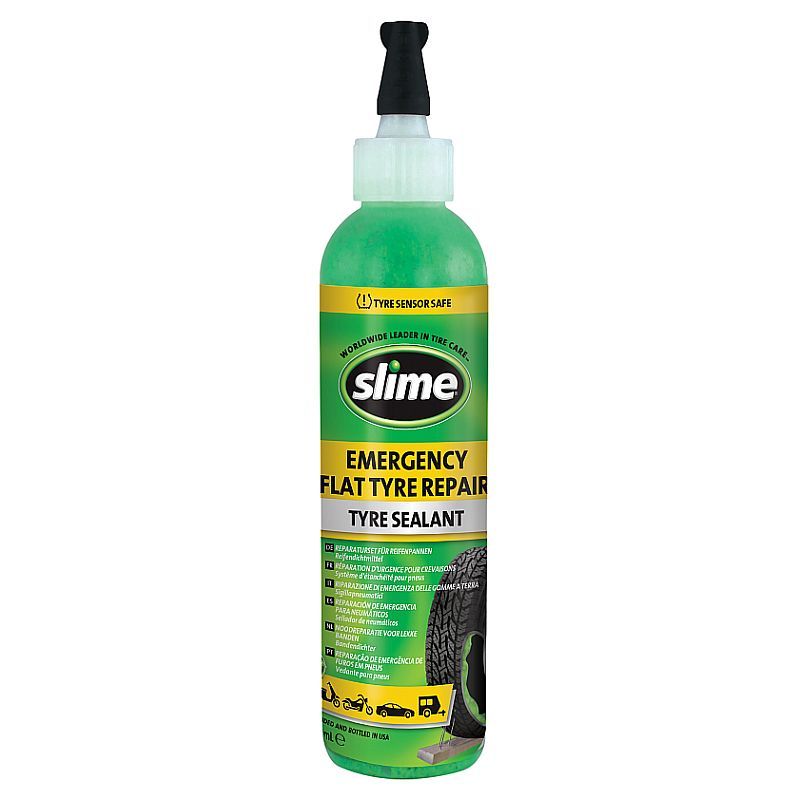 Slime contains glycerin, attapulgite, cellulose and quartz. Tire repair - installation of a patch cord.
TireJect Sealant is similar to Slime - this liquid also needs to be introduced into the chamber through a valve and is also effective for two years. But at the same time - much more liquid and is available in two versions. "Automotive Sealant" works on sidewall holes and projector punctures up to ¼" while remaining safe on tires, rims and pressure gauges. "Off-Road Sealant" works with holes up to 3/8 inch, which are also located on the side, and with tires that have already begun to rot and let air through purely due to age. It is made from liquid rubber, sealing particles and armid (Kevlar) fiber. However, it is harmful to pressure sensors. Personally, I tried it on my old land aerator tires that didn't hold pressure for more than two days. It's been 30 days since using TireJect - and they still held air! The main ingredients are propylene glycol and natural rubber latex.
While researching, I came across another tire repair sealant called FlatOut Multi Seal. I haven't used it myself, but I feel it's worth a mention. Just like the two products mentioned above, this is a liquid that needs to be injected into the inside of the wheel through a valve. According to the manufacturer, this substance lasts for 10 years, but is only suitable for off-road tires, as it harms pressure sensors. Multi Seal Pro HD 2500 handles holes up to ¾" and Multi Seal Armor 3500 up to 1 ¼". Such holes, for example, leave bullets on impact. The chemical ingredients in the FlatOut Multi Seal are 50% Propylene Glycol and the rest are low dose proprietary ingredients. You can use the External Patch Kit to repair a tire without removing it from the wheel. The process involves removing the punctured tire, cleaning the hole, then installing a tourniquet and applying an activator adhesive. It is wise to then go to the service, disassemble the wheel and install a fungus patch on the inside of the tire to reduce the risk of air leakage.
A friend of mine was riding a quad bike over rough terrain and blew a tire. The hole was too big for normal fixing methods, and there was no spare tire. What did he do? He sewed up the hole. That's right - he took a thick canvas needle and a thick nylon thread, put a bunch of seams on the hole, placed a patch on the tire from the inside, and then filled everything both outside and inside with activator glue. That was enough to get to the workshop.
In some Third World countries, damage is still being repaired with a torch and pieces of rubber that are melted directly onto the damaged areas. This, of course, requires very skillful hands, but a lot of tires have been repaired in this way. There is also the old "school trick" that allows you to put a flat tire back on the wheel - any flammable aerosol. You inject it in, ignite it, the gas expands, the tire straightens out and back onto the wheel. But we do not recommend that you use this method - it is quite dangerous, as the explosion can tear the rubber into pieces. Damage to the side of the tire is almost beyond repair.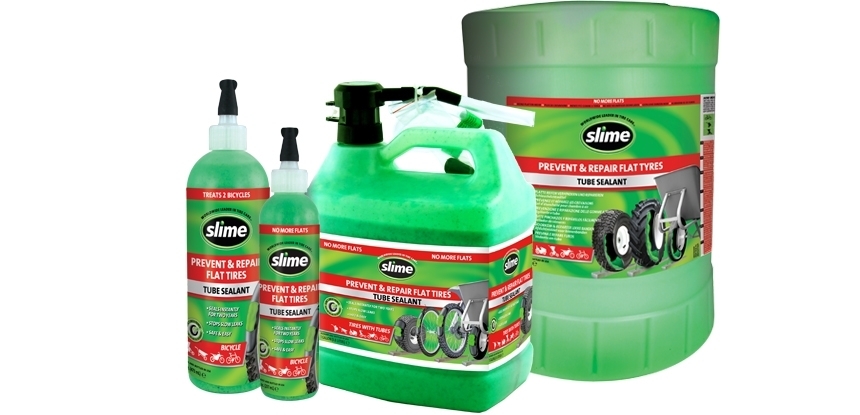 Patching the sidewall is highly discouraged, but it can be done as a temporary measure in an emergency.
At the beginning of the article, I said that my comrades and I had to repair a tire during a rescue operation. Of course, we could install a patch or a fungus, but first we would need to find the damage, and then also spend time on repairs. We could have just changed a wheel, but no one had a spare at all.
We could take the tire off and put a new tube in it. But for this it would be necessary to find a wrench, a jack, lift everything, disassemble the wheel and replace the chamber. But we didn't have a wrench or a jack. High jacks are especially useful off-road for vehicles with high ground clearance. such jacks have a wide range of travel, and in addition to lifting, they can push, pull, lift and clamp.
I had to do the following. Two cars went ahead - for a jack, a key, a spare wheel and tools. And we just started pumping up the punctured wheel with a compressor.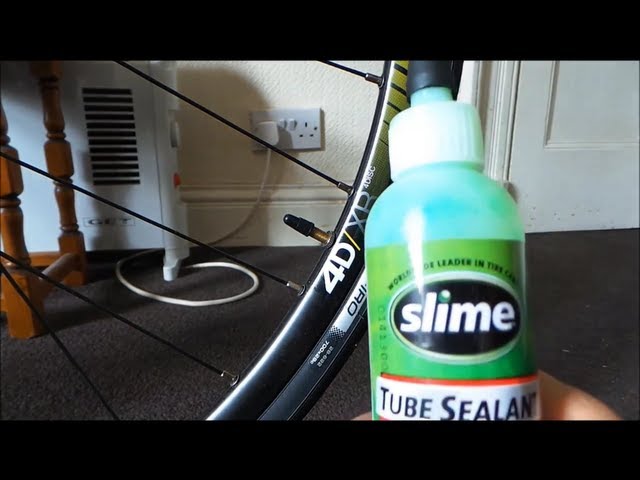 5 minutes download - 3 minutes drive. Repeat until done. In any case, this was enough to deliver the victim to the hands of the ambulance staff.
Yes, everything would be much easier, faster and more convenient if we took everything we needed with us right away. But alas, I had to use what was at hand. And it's good that we at least had a compressor. So I sincerely advise you - learn how to repair tires yourself and always carry the necessary tools with you.
bnas.ru 0 Comments car, outdoor survival, repair, emergency
Don't let a flat tire put you off your chosen path. Learn how to repair a tire in the field.
Contents of the article
Author – Joey Nickisher, OFFGRIDWEB.COM
Translation and adaptation – Artyom Kostin, LASTDAY.CLUB
Several years ago, my colleagues and I conducted a search and rescue operation.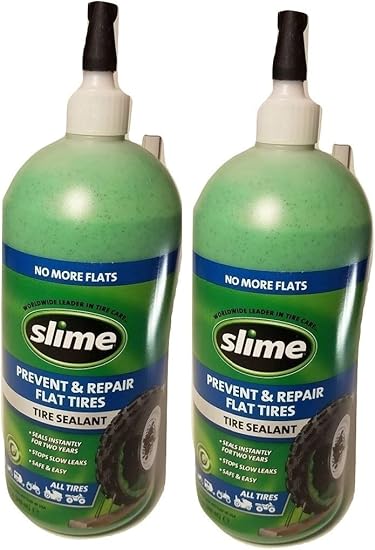 We successfully found the "lost", but halfway out of the forest, we suddenly realized that the wheel of our SUV was punctured. Another transport for the evacuation of the victim was not suitable, and he needed medical assistance urgently. So I had to repair the tire in the field. Happened. The victim was taken to the hospital, and we were enriched by the experience of field repairs. But what would we do if we didn't have the right skills and tools? Do you have them?
Therefore, to begin with, let's talk about the simplest and most banal option for “repairing a tire” ...
Yes, some motorists are very lucky and they never had the need to change a flat tire on their own. Others were less fortunate, and they know perfectly well what kind of hemorrhoids it is to change a wheel right in the middle of the road. Worse, perhaps, only to do it in the middle of a dense forest. So, it is worth figuring out by experience how to do it yourself. No kidding, because at least in theory anyone can do it - “ It's business - to jack up, unscrew the nuts / bolts with a balloon, raise the car, remove the wheel, put the dock, tighten, lower, tighten .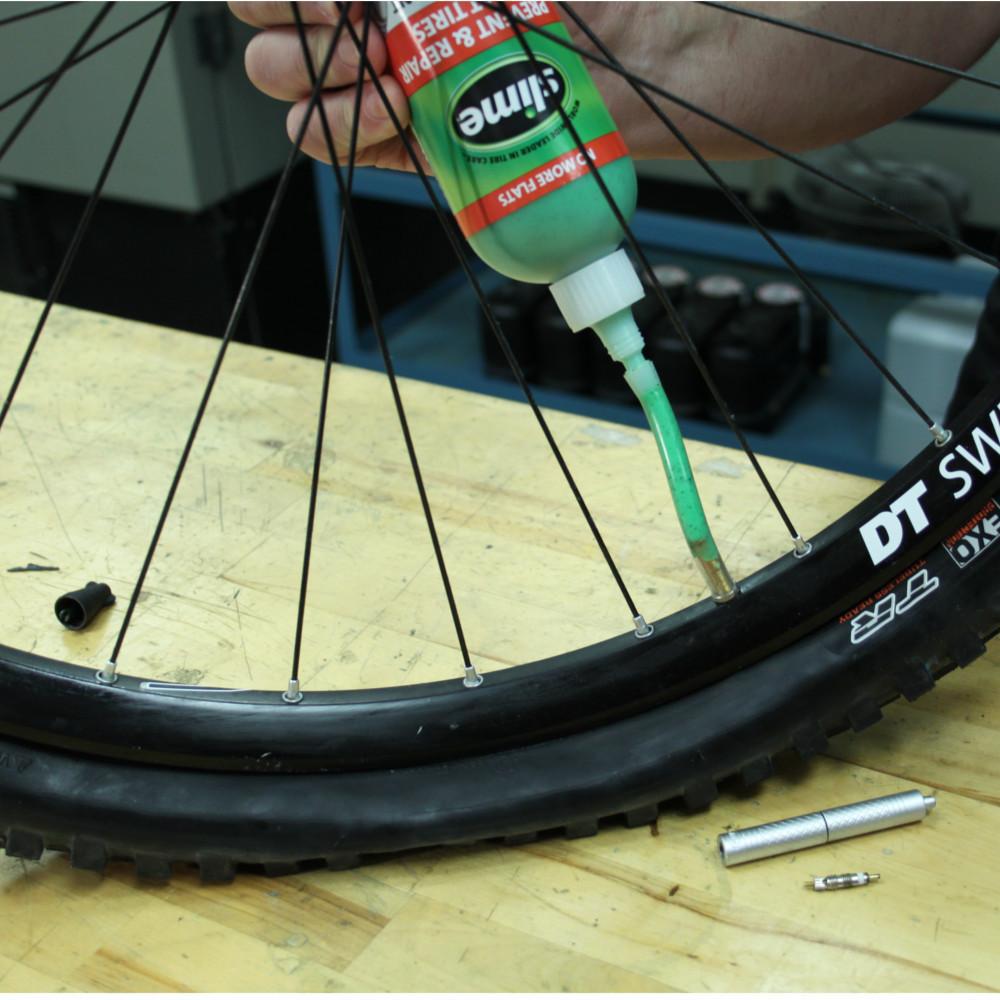 .. ", but in practice it always begins" Where to put the jack? key?”, “How to unscrew the spare wheel?” etc.
It is better to study and practice in advance than to try to do something in an emergency with difficulty and obscenities. And after you learn how to do it yourself - be sure to teach this to your household and the people you regularly carry in your car - just in case.
In addition to the relevant knowledge, you will also need tools. And, of course, the spare tire itself. Without him, you understand, it is difficult to do anything at all. So, it is worth figuring out where in your car it is stored. And is there any. Spare parts can be located in different places of the car - under the floor, under the seats, in a plastic casing at the back, in the trunk, suspended from the back with cables or mounts, etc.
The latter case is particularly difficult, as the fasteners can only be removed using the special tools supplied with the purchase. In addition, when working with them, you may need to study the instructions.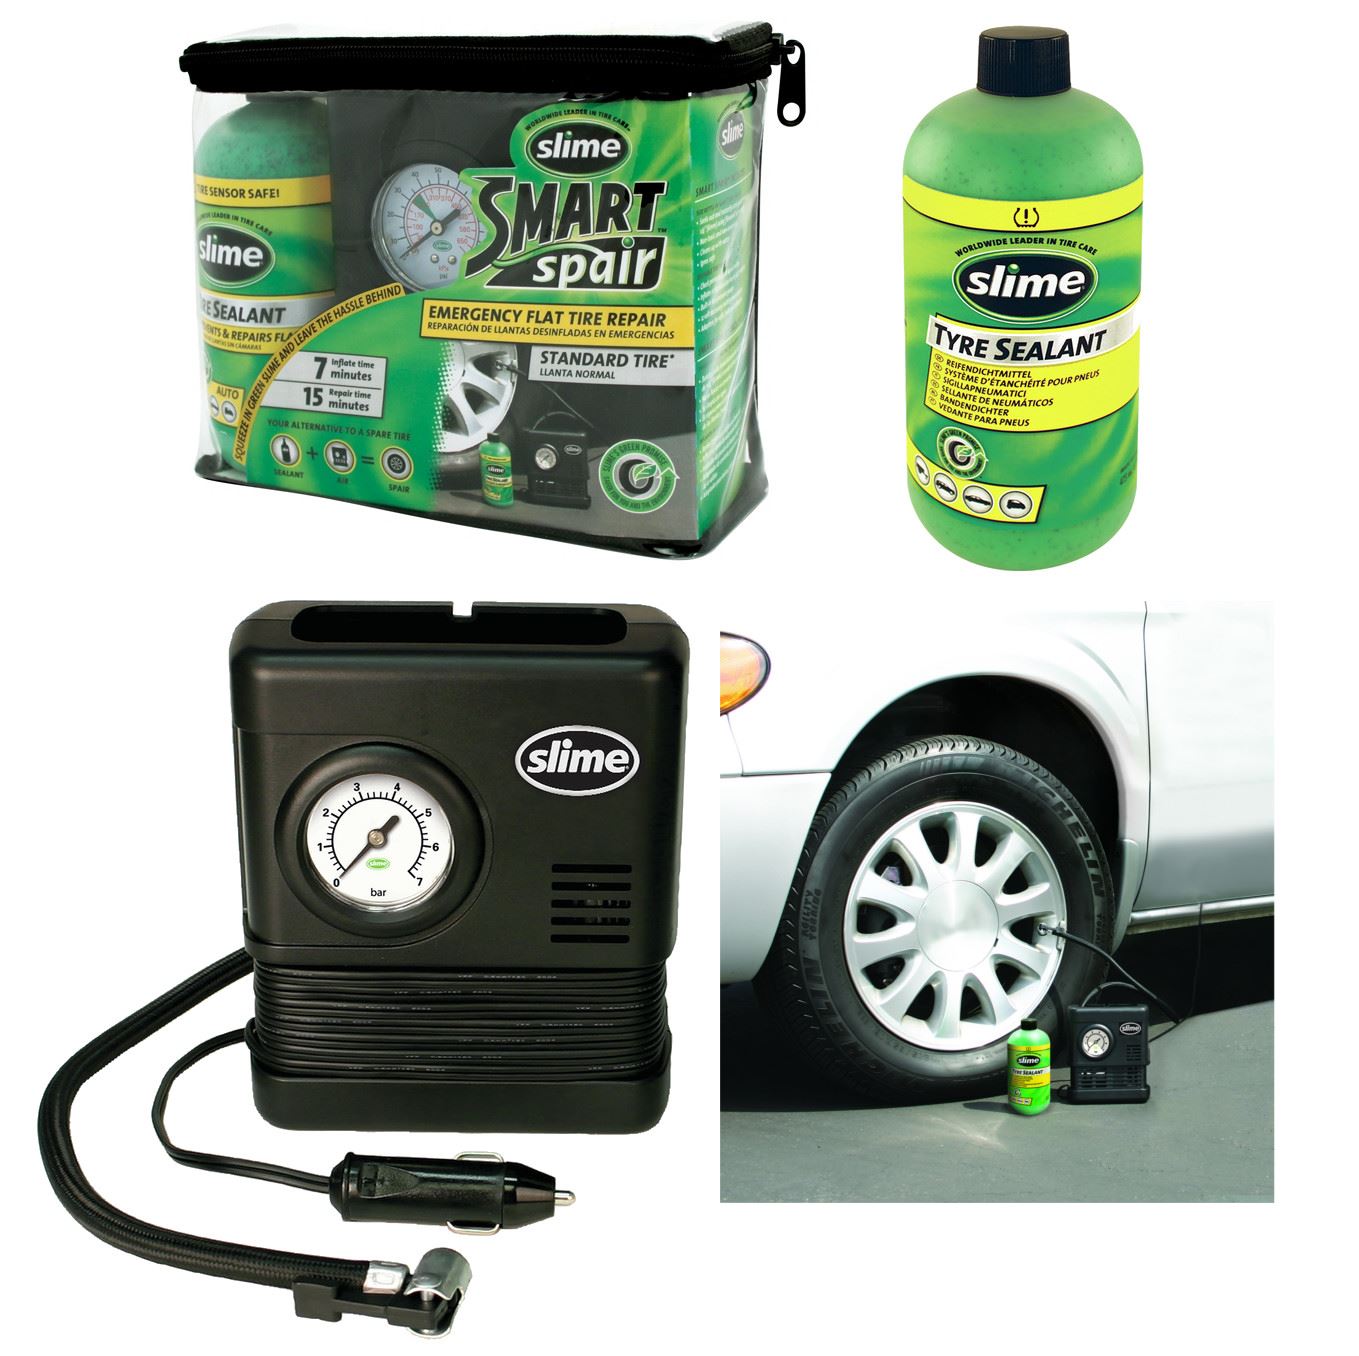 And it is better to do this in a garage or a quiet environment, and not in the middle of a forest. It is also worth regularly checking the degree of inflation of the spare tire and pumping it up if the pressure is low. Keep in mind that many vehicles are shipped with flat tires or repair kits, rather than wheels that are ready to be installed.
You will also need a jack to lift the car, a wheel wrench or other wrench that fits the nuts and bolts that hold the wheels. If all of the above is not present, then this is a sure path to disaster. Or - to a long and expensive wait for a tow truck.
The simple wheel replacement algorithm looks like this.
 But you only need to loosen the nuts, and not unscrew them completely.
 Read the vehicle manual before starting work. The fact is that on modern vehicles there are two main ways to fasten the wheel - using nuts or bolts. And it's better to know this in advance. A mechanical jack (left), which you will find in the trunk of almost every car, despite its not the most convenient principle of operation and a small footprint, is an excellent choice for emergencies. The hydraulic jack (right) is compact and robust. Wider bases improve stability, but may be too high for vehicles with low ground clearance.
Everything seems to be clear with this, right? But what if the wheel is not replaced?
The first thing to do is fill the flat tire with compressed air. If the leakage rate is low, then this is quite enough to reach the service center. Most often, air compressors powered by a 12-volt power source are used for this. Or - compressed air cylinders of various sizes, ranging from simple CO2 cartridges, which may need several pieces per tire, to large portable cylinders. The most extreme case is a bicycle pump. It is hard, long and not rational if the air flows out faster than you replenish it. So if the damage is extensive, other repair methods are needed. There are many ways to inflate a tire, from compressed air and CO2 tanks, electric compressors and a good old hand pump.
There are various tools and accessories available to help you repair your tire. U.S. Tire Manufacturers Association - U.S. Tire Manufacturers Association (USTMA), has developed its own criteria for such products. They are discussed in the text "Puncture Repair Procedures for Passenger and Light Truck Tires" - "Repair of tires for cars and light trucks.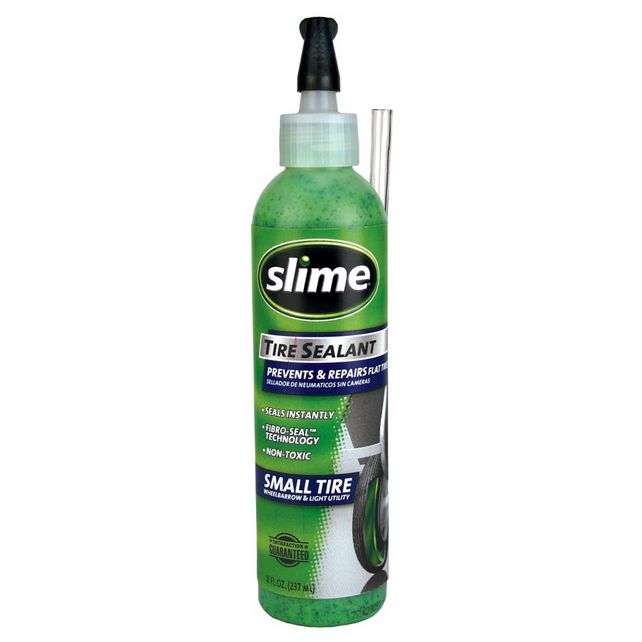 " According to these recommendations, you can work with holes not larger than ¼ inch, which are located directly in the tread area (but not on its edge or on the side surface). Under normal circumstances, this standard should be maintained, but you may find yourself in a situation where even some tire repair can make the difference between life and death!
So, the best tool for repairing a tire is “fungus”, a kind of cork with an internal patch. They are used at service stations. This repair involves widening the hole, plugging it in, applying an activator adhesive and a patch on the inside of the tire.
The average person can install a simple harness patch without removing the tires from the rim. First, locate the location of the damage. Then - remove the debris and the damaging element (nail, screw, etc.). Then, using a spiral awl - a tool that resembles a file or rasp, clean the walls of the hole. Then - install the tourniquet (strip of rubber) on the harness installation tool, (a tool with an eye that resembles a huge sewing needle).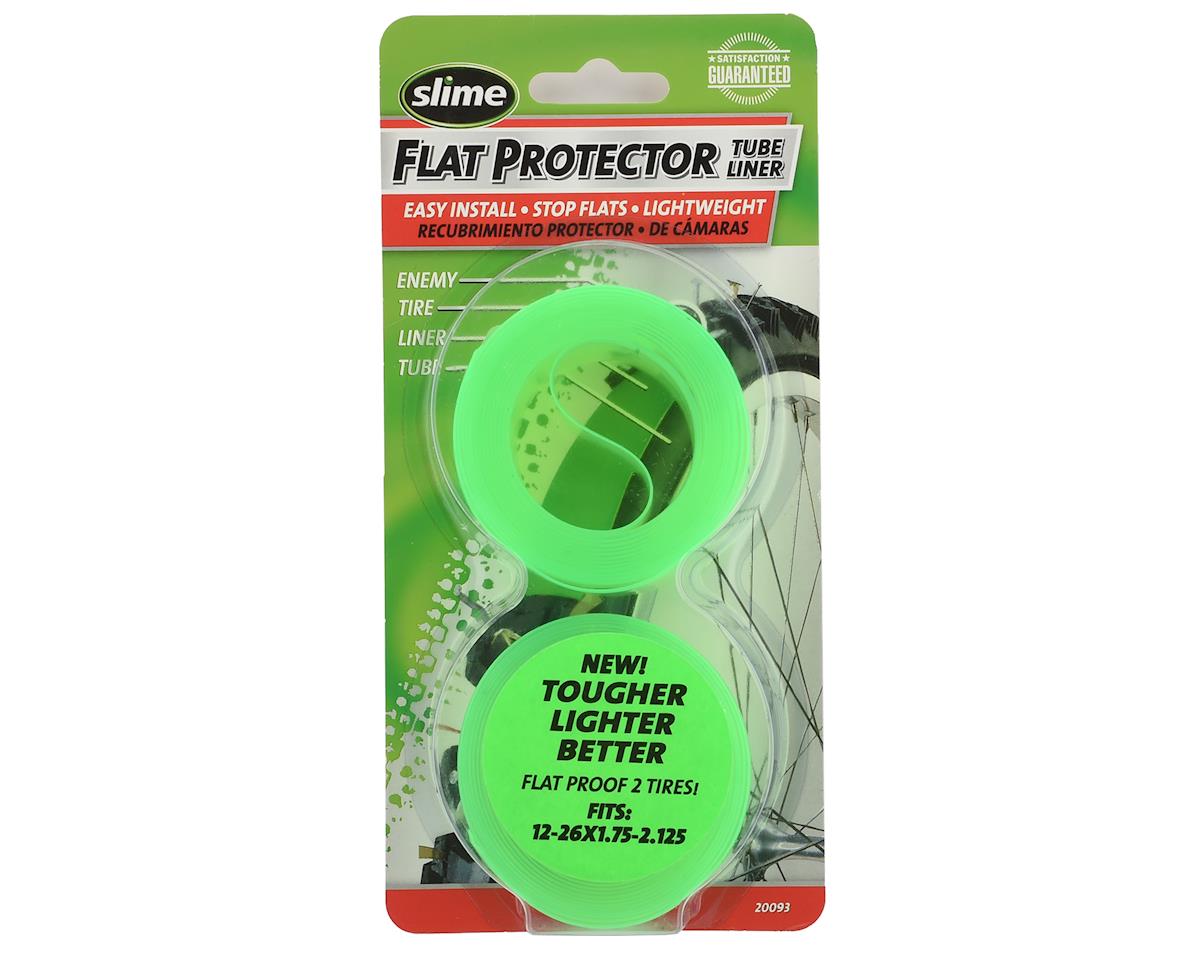 Apply glue to the hole and the patch cord, and then push it directly into the hole, leaving no more than a centimeter sticking out. Turn the plug tool and pull it out, leaving the patch in the hole. Wait a few minutes - let the glue grab. If the damage is not particularly serious, this should be enough. This tire repair has been practiced for quite a few years.
Although this is not officially recommended, if the puncture is not sealed, then you can try to insert additional plugs into the hole. In addition, this method should not be used with a punctured side of the tire. However, I myself have seen similar patches on the side surfaces of the wheels of ATVs, tractors and SUVs. But only in really emergency situations. And if you find yourself in such a patch, then, of course, you will have to insert such a patch, but you will need to drive slowly - at the speed of a pedestrian. And only to the place where it will be possible to change the tire normally. This applies to both off-road and the roadway - otherwise the risk is too high that the plug will be knocked out by pressure.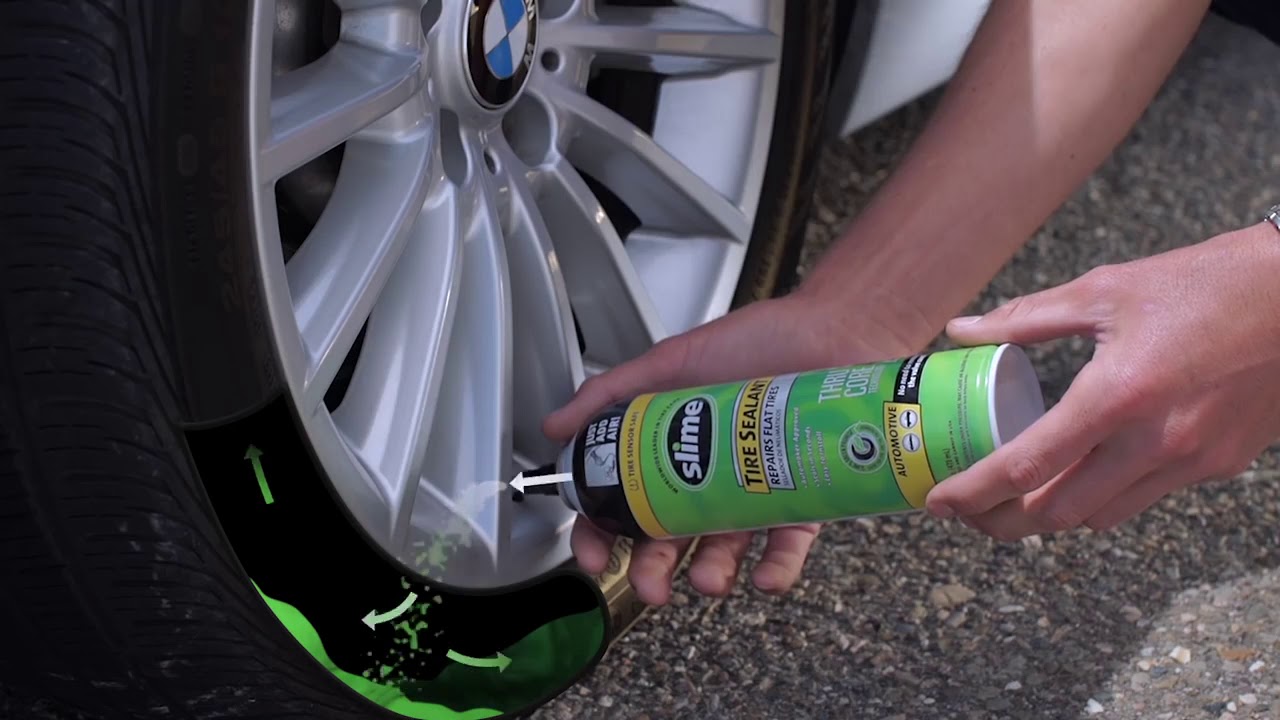
There are many varieties of stoppers, plugs, patches and fungi, but I would single out Stop & Go International. They work on the same principle as similar tire repair fungi, but offer a number of additional benefits:
You may ask me: “Why any plugs and fungi when you can seal the hole with Fix-a-Flat tire sealant?”. You can, of course, but this is far from the best and most successful option. Yes, sometimes it works, but it has significant drawbacks that interfere with normal use.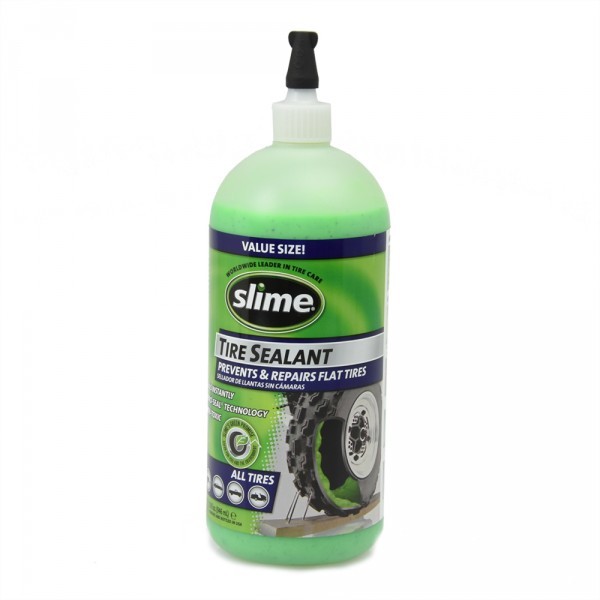 Let's start with the fact that before the change in the formulation of Fix-a-Flat in 2016, the past mixture, according to the safety protocol of 10/15/2000, was corrosive. So older Fix-a-Flats have the potential to cause further tire damage and, in severe cases, serious wheel problems.
Therefore, this method is a quick but temporary solution to the problem. And the chemical sealant should be removed from the inside of the tire as soon as possible. And for this, many service stations charge an additional fee. What's more, even with the new formulation, the instructions still say to remove the mixture after 3 days or 100 miles. Otherwise, problems can begin. Slime tire sealant (which is injected inside the wheel and closes the puncture), and more “traditional” tire repair kits.
The old Fix-a-Flat formula contained tetrafluorothane, heavy aromatic solvents, amorphous polyolefin, various aromatic resins, an inert filler, and a trade secret "proprietary" substance. The new formula contains tetrafluoro-1-propene, glycerin and cellulose.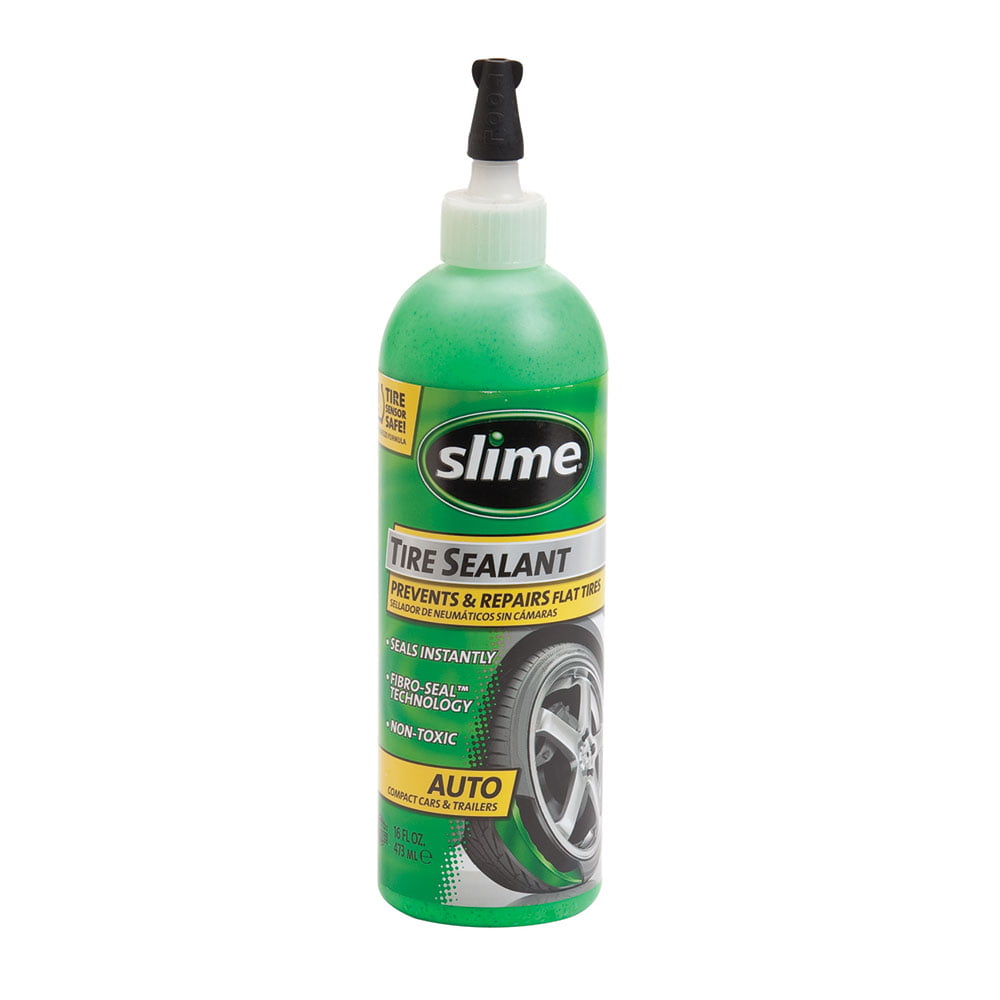 Just in case, check what is written on the can of sealant.
You may also have heard of Slime Tire Sealant, a thick green slurry that could be injected into the inside of a tire to repair minor damage and prevent further deflation. The manufacturer claims that this product is safe for TPMS (tire pressure monitoring system), contains rust inhibitors and lasts for several years. Based on my personal experience, it's true. Tires really last more than one year after such a repair. Plus, it is extremely easy to use - you need to pull the spool out of the valve (the valve through which the wheel is inflated), then - using a special tool, introduce the sealant into the tire. Slime contains glycerin, attapulgite, cellulose and quartz. Tire repair - installation of a patch cord.
TireJect Sealant is similar to Slime - this liquid also needs to be introduced into the chamber through a valve and is also effective for two years. But at the same time - much more liquid and is available in two versions.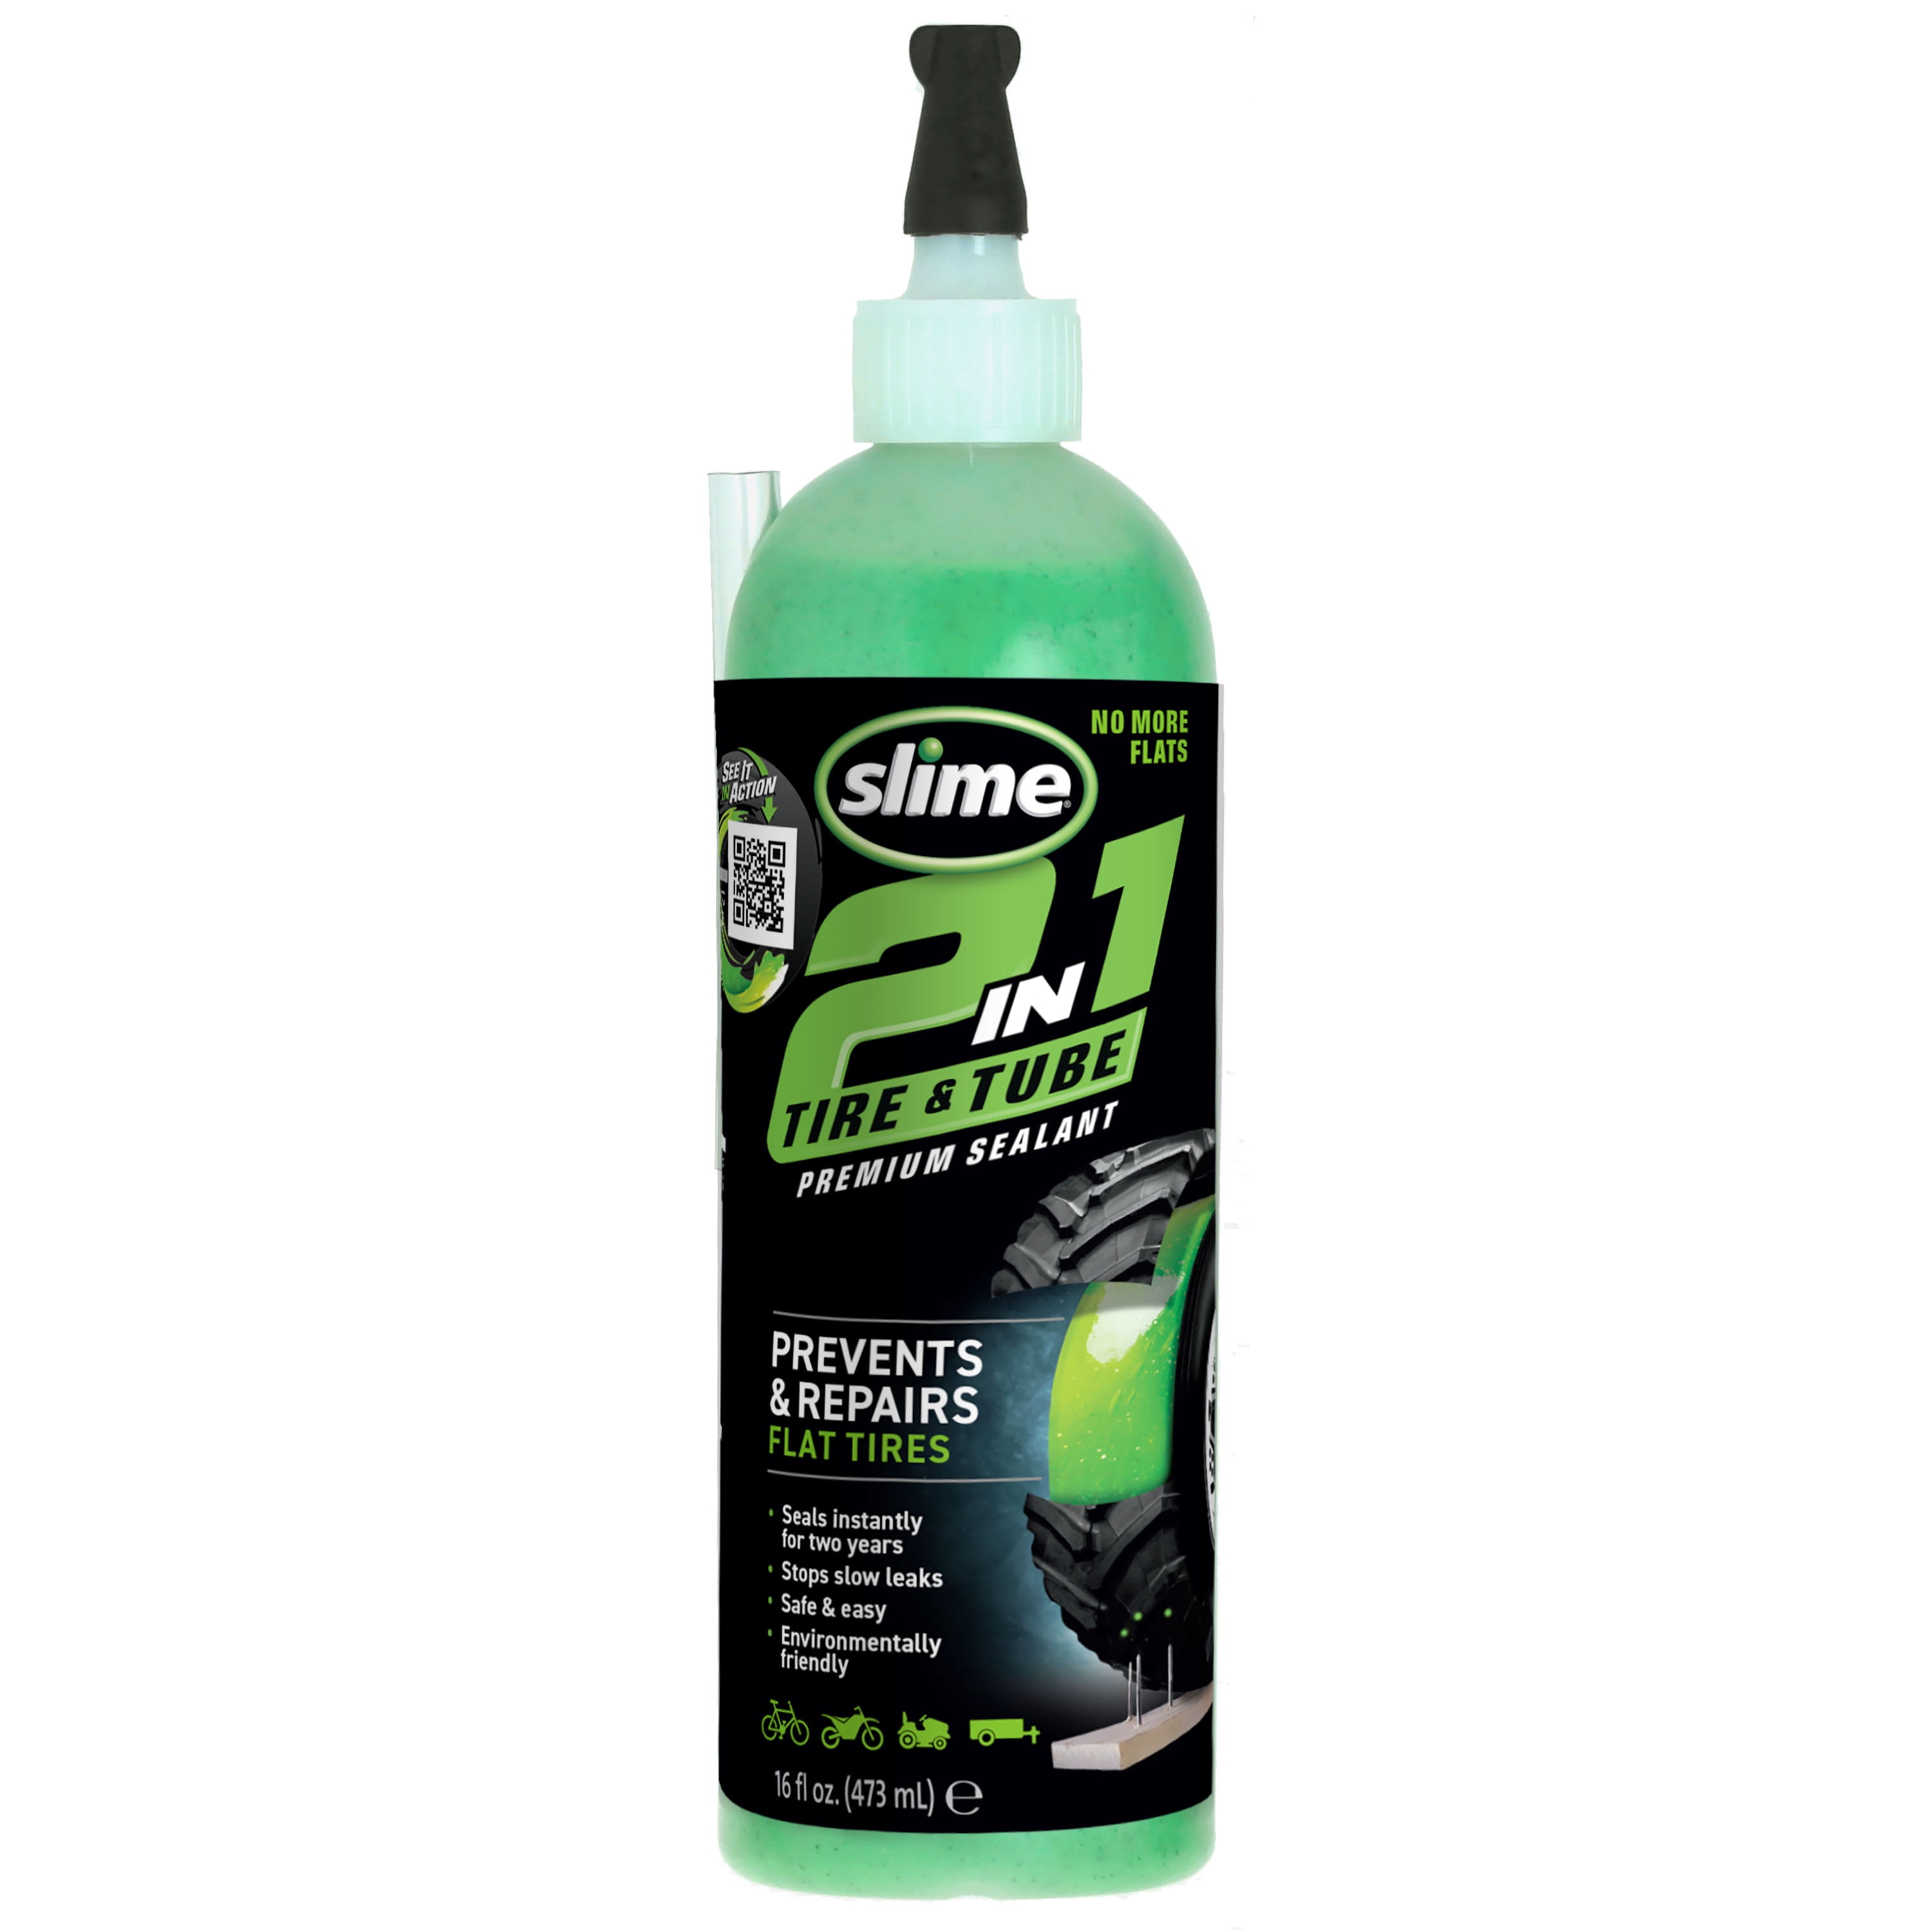 "Automotive Sealant" works on sidewall holes and projector punctures up to ¼" while remaining safe on tires, rims and pressure gauges. "Off-Road Sealant" works with holes up to 3/8 inch, which are also located on the side, and with tires that have already begun to rot and let air through purely due to age. It is made from liquid rubber, sealing particles and armid (Kevlar) fiber. However, it is harmful to pressure sensors. Personally, I tried it on my old land aerator tires that didn't hold pressure for more than two days. It's been 30 days since using TireJect - and they still held air! The main ingredients are propylene glycol and natural rubber latex.
While researching, I came across another tire repair sealant called FlatOut Multi Seal. I haven't used it myself, but I feel it's worth a mention. Just like the two products mentioned above, this is a liquid that needs to be injected into the inside of the wheel through a valve. According to the manufacturer, this substance lasts for 10 years, but is only suitable for off-road tires, as it harms pressure sensors.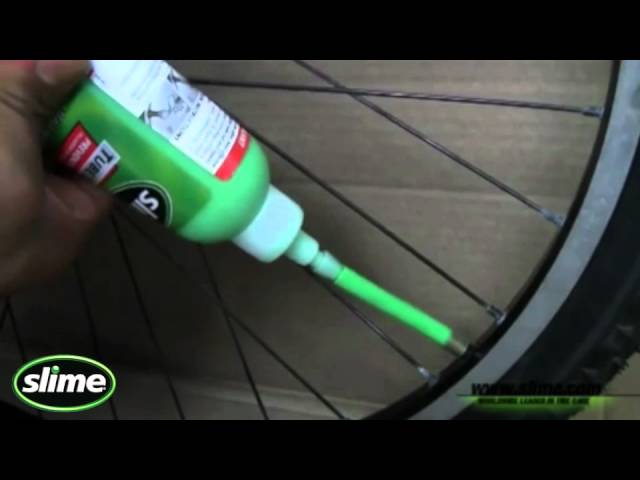 Multi Seal Pro HD 2500 handles holes up to ¾" and Multi Seal Armor 3500 up to 1 ¼". Such holes, for example, leave bullets on impact. The chemical ingredients in the FlatOut Multi Seal are 50% Propylene Glycol and the rest are low dose proprietary ingredients. You can use the External Patch Kit to repair a tire without removing it from the wheel. The process involves removing the punctured tire, cleaning the hole, then installing a tourniquet and applying an activator adhesive. It is wise to then go to the service, disassemble the wheel and install a fungus patch on the inside of the tire to reduce the risk of air leakage.
A friend of mine was riding a quad bike over rough terrain and blew a tire. The hole was too big for normal fixing methods, and there was no spare tire. What did he do? He sewed up the hole. That's right - he took a thick canvas needle and a thick nylon thread, put a bunch of seams on the hole, placed a patch on the tire from the inside, and then filled everything both outside and inside with activator glue.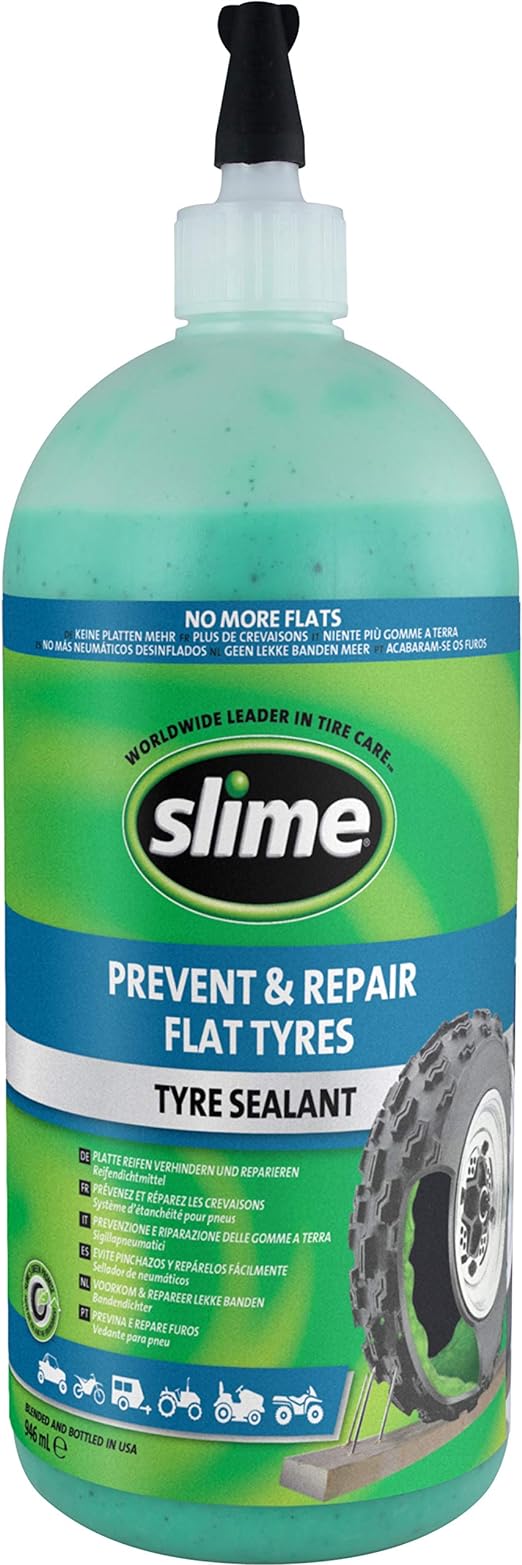 That was enough to get to the workshop.
In some Third World countries, damage is still being repaired with a torch and pieces of rubber that are melted directly onto the damaged areas. This, of course, requires very skillful hands, but a lot of tires have been repaired in this way. There is also the old "school trick" that allows you to put a flat tire back on the wheel - any flammable aerosol. You inject it in, ignite it, the gas expands, the tire straightens out and back onto the wheel. But we do not recommend that you use this method - it is quite dangerous, as the explosion can tear the rubber into pieces. Damage to the side of the tire is almost beyond repair. Patching the sidewall is highly discouraged, but it can be done as a temporary measure in an emergency.
At the beginning of the article, I said that my comrades and I had to repair a tire during a rescue operation. Of course, we could install a patch or a fungus, but first we would need to find the damage, and then also spend time on repairs.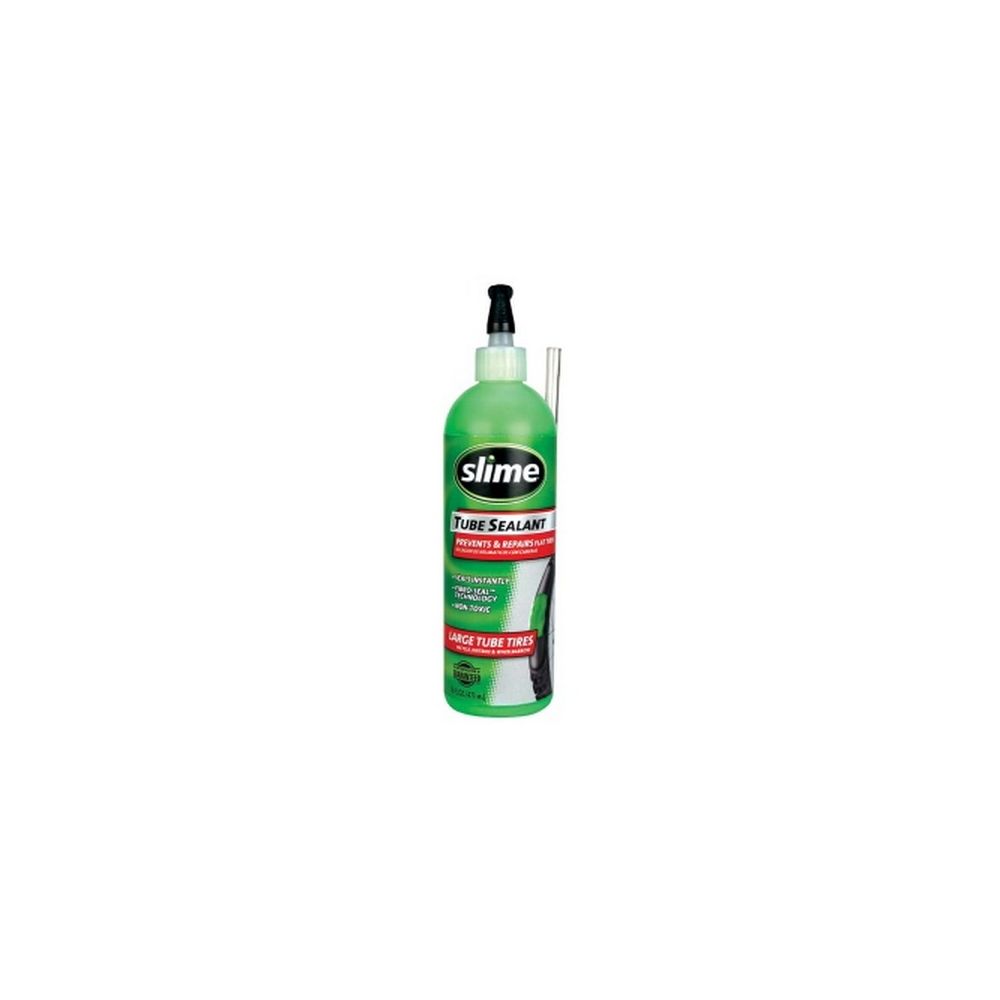 We could have just changed a wheel, but no one had a spare at all.
We could take the tire off and put a new tube in it. But for this it would be necessary to find a wrench, a jack, lift everything, disassemble the wheel and replace the chamber. But we didn't have a wrench or a jack. High jacks are especially useful off-road for vehicles with high ground clearance. such jacks have a wide range of travel, and in addition to lifting, they can push, pull, lift and clamp.
I had to do the following. Two cars went ahead - for a jack, a key, a spare wheel and tools. And we just started pumping up the punctured wheel with a compressor. 5 minutes download - 3 minutes drive. Repeat until done. In any case, this was enough to deliver the victim to the hands of the ambulance staff.
Yes, everything would be much easier, faster and more convenient if we took everything we needed with us right away. But alas, I had to use what was at hand. And it's good that we at least had a compressor.