When handlebar grips wear out or become loose, you might as well cut them off as they are not worth keeping. But from time to time, it can be necessary to remove the grips without destroying them.
This post will cover three methods that may help you take off the grips on one piece. Most of them require tools and supplies you would typically find in most homes.
By knowing how the grips stick to the handlebar, you’ll better understand how to remove them.
Removing handlebar grips without removing them is not always easy, and you may need to try several methods before you hopefully succeed.
The first method works great with dry-fitted grips, while you may need to use one of the latter methods if the old grips were installed using an adhesive of any kind.
To use this method, you will need an air compressor with a hose and air blower nozzle. This is how you do it:
You need a small gap to get the nozzle of the air blower in between the handlebar and the grip.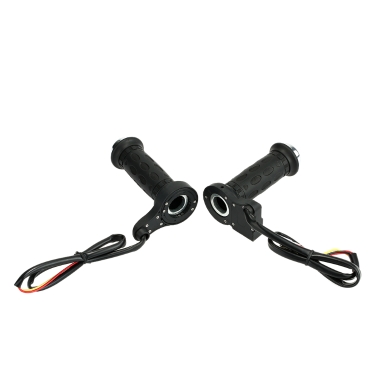
You can also try poking a small hole at the end of each grip. Some grips come stock with holes for easy installation and removal.
This method works with most grips, at least the ones that are not glued in place.
However, if you don’t have access to compressed air or are struggling with a stubborn adhesive keeping the grip in place, the next method may be just what you need.
When the grips are held in place with an adhesive like any glue, spray paint, or even hairspray, you need to break the bond before the grip moves.
Your best bet is using a solvent as this will not only dissolve the adhesive it also acts as a lubricant, making it easier to slide the grip off the handle.
Another benefit of using a solvent is that it will evaporate without leaving any residue, and when you are done, there is no need for cleaning.
If you don’t have access to a solvent, there are some less effective options you can try:
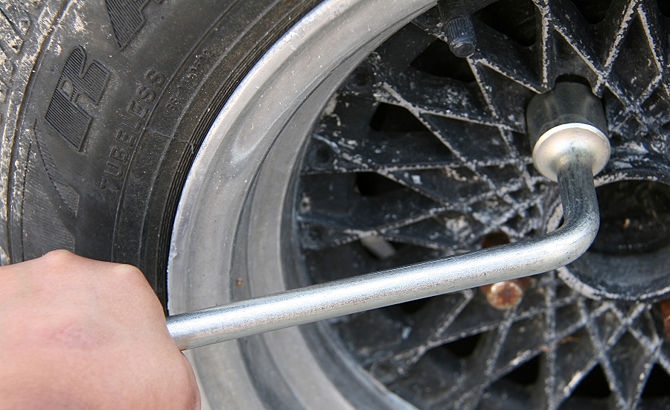
You will also need a flat object to pry between the handlebar and the grip. Here are a few options:
Lean the motorcycle against a wall, or park the ATV sideways on a slope. This will make it easier to pour solvent to flow along with the handlebar and inside the grip.
Wedge the screwdriver or whatever flat object you have at hand between the grip and handlebar to create a small gap. There is no need to push the screwdriver too far at this point. You need only a small gap to allow the solvent to start entering behind the grip.
Tip: Depending on what glue was used to glue the grips in place, try heating it using a hairdryer as this may make the glue less adhesive. Do this before you add a flammable solvent.
If you use an alcohol-based solvent or water, feel free to use as much fluid as you need as the leftovers will evaporate when you are done.
However, if you use WD-40 or vegetable oil, keep in mind that everything needs to be cleaned thoroughly before installing new grips.
 Eventually, the grip will come undone, and you’re able to slide it off.
Sometimes when the grips are glued solid to the handlebar, you may not be able to pour solvent in between the grip and the handlebar.
As a last resort, you can try using a basting syringe/marinade injector to inject the solvent.
These types of syringes are sold at any kitchen supply store. Similar syringes are used in golfing to remove rubber grips from golf clubs.
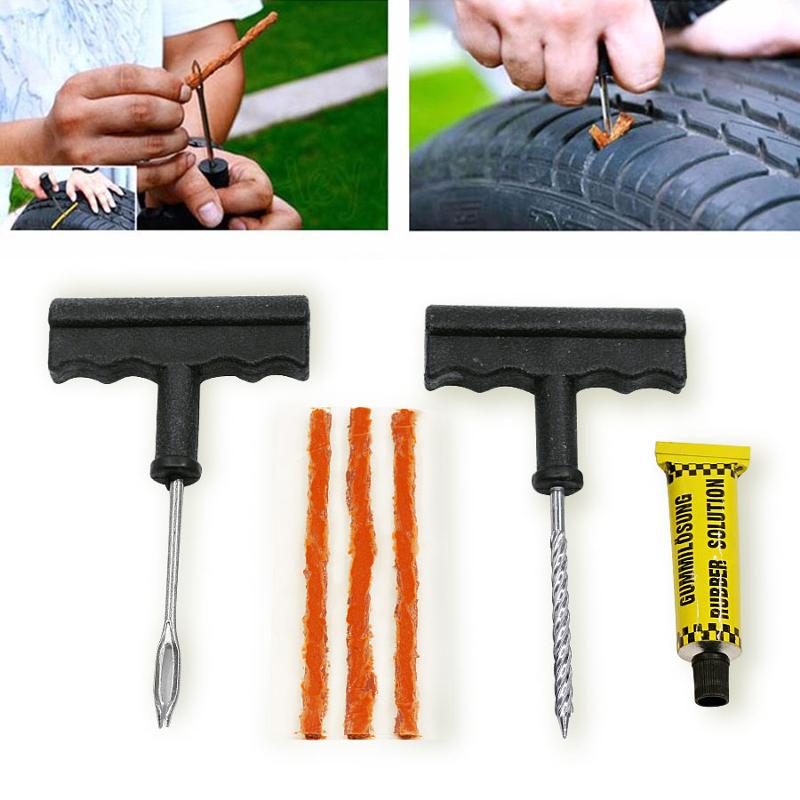
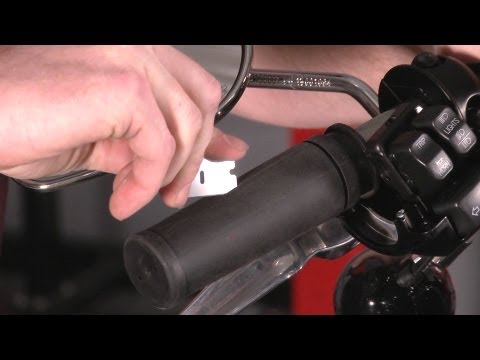
If neither blowing compressed air or using a solvent like a contact-cleaner won’t make the grip come loose, you may need to cut it. Use a razor blade or a box opener and gently along the grip’s entire length from top to bottom.
Make sure to not cut through the rubber as it may damage the plastic inner layer or heating elements if your bike has them.
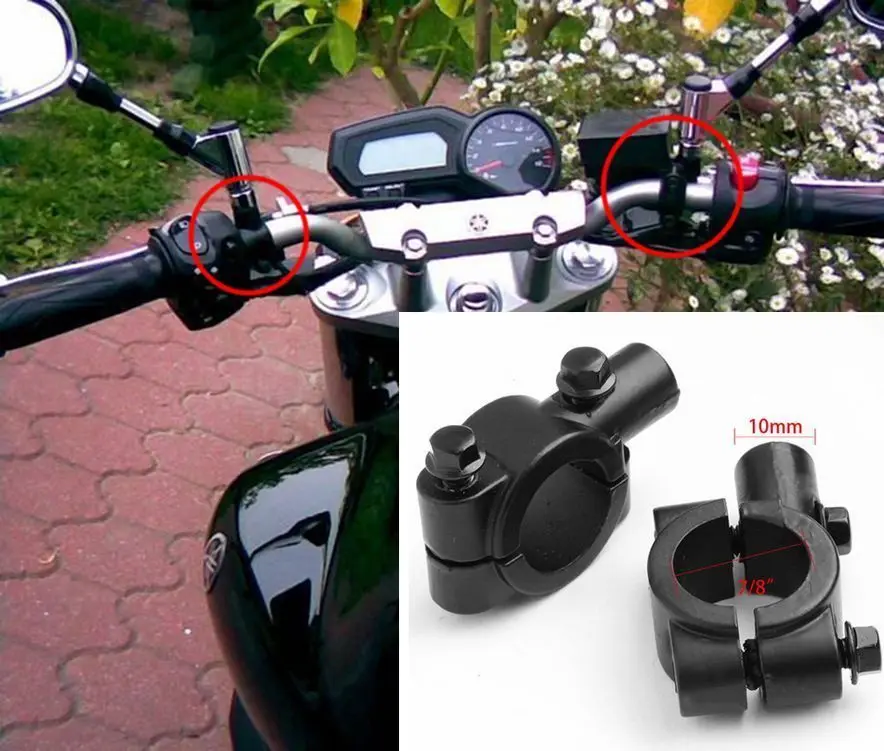
Most ATV grips are ⅞ inches in diameter on both sides. Unlike motorcycles, ATV grips are the same diameter on each since they use a thumb throttle instead of a wrist throttle.
Maintenance
by Laura Bess
Contents
Wondering about how to install bike grips? Let’s get started. Steering and balance are two fundamental aspects of driving an ATV and anything that improves these elements should always be given priority. Unexpectedly, many ATV riders ignore the role of grips plays in this.
Grips play an essential role in providing riders with better control and stability when steering and balancing on the vehicle. With that said, if you own an ATV of any kind, you must pay special attention to the grips of the vehicle.
If you think it is time that you replace your old ATV bike grips and put on the new ones, this post will guide you through the best ways to the process. In this post, we have described how to put on bike grips on your ATV and improve the steering and balance.
Changing your grips is a cheap, easy, and fast way to give your ATV a new look. New grips can make your ATV feel like brand new and give your hands some fresh padding. The grips on ATVs are not of the highest quality and are meant to degrade quickly, especially when used strenuously.
If taken proper care of, your ATV grips may last a maximum of one season. You will eventually have to replace them if you want to ensure proper operation.
The primary reason why people install new grips is that old grips become dirty. One way to save money on new grips is to clean them with water and detergent. But, where is the fun in that?
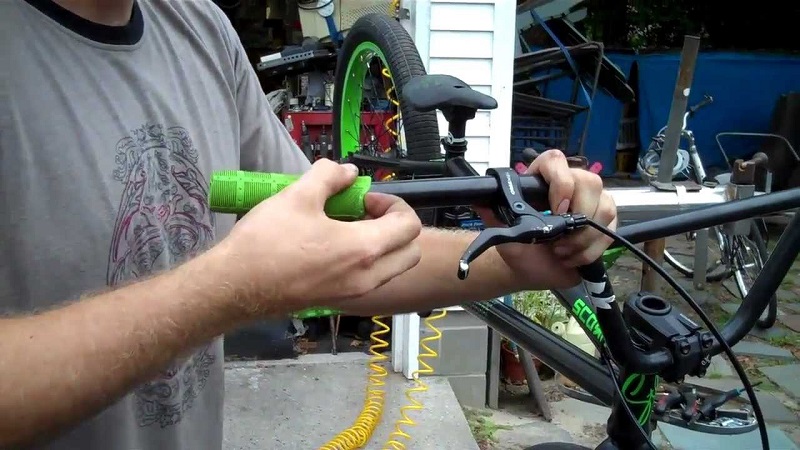
You have two options when removing the old grips.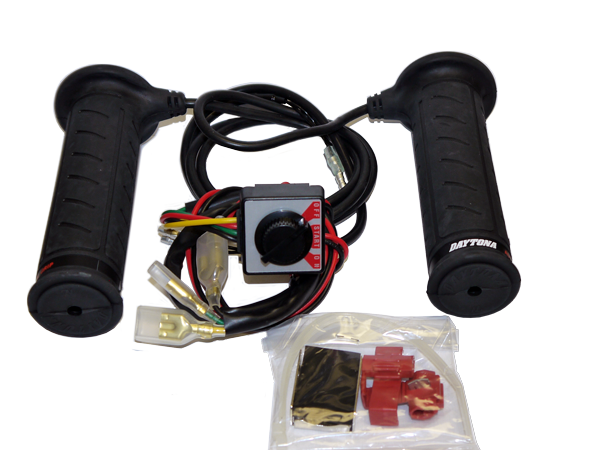 The first option is to completely cut them off with a pair of scissors or a sharp blade. If you don’t think that the old grip won’t be of any use in the future, you can follow this approach.
When cutting off the old grip, ensure that the scissors or blade you use do not damage the handlebars or put any scratch on them. Make a shallow cut and just peel the grips away.
However, if you want to preserve the old grips, then you will have to get a bit technical here. Take a small and thin rod with a pointy end – like a screwdriver. Insert the screwdriver in between the grip and the handlebar, ensuring that the grip stretched a little bit so that it doesn’t have any contact with the handlebar.
Now take a degreaser like a hand sanitizer, liquid detergent, or anything else that helps the grip to slide easily off the handlebar. Apply the degreaser around the grip to decrease the friction between the grip and the handlebar. Now slowly twist the grip in an anti-clockwise direction until it ultimately comes off the handlebar.
Once the grip is complete off, clean the handlebar thoroughly and wipe off with a clean cloth to ensure no grease or any particle is sticking to it.
Now that you have removed the old grips, it is time to put on the new ones. First things first, insert a nickel into each new grip. Why? You may have noticed that the cover ends of your old grips were completely torn or damaged.
Tossing a nickel into it will keep the grips from being damaged or torn where they cover the ends of the handlebars. Since most grips are synthetic or rubber, the iron handlebar can easily wear them down.
Moreover, we also tend to poke that part of the grip oftentimes. The nickel at each end of the grip will keep it firm.
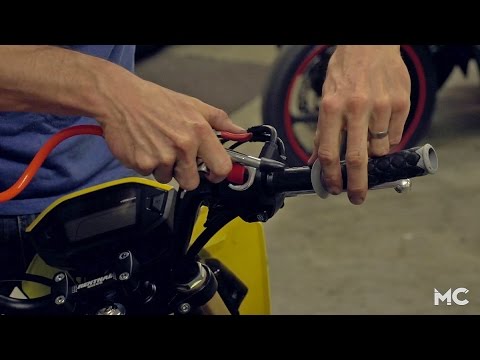
Before installing bike grips, spray some degreaser (use a product that will evaporate quickly like hair spray, hand sanitizer, etc.) into the grips. Shake out the excess (if any) and put the mouth end of the grip on the handlebar – from where it will be inserted.
Twist in a clockwise direction and slowly put some pressure to insert the grip. If you find difficulty in inserting the grip and are stuck halfway, use some lube like hand sanitizer and continue with the process until the grip is finally in its place.
Test the grip, hold it firmly and see if it gives a proper hold and padding. That’s it! This is how you install bike grips on your TV.
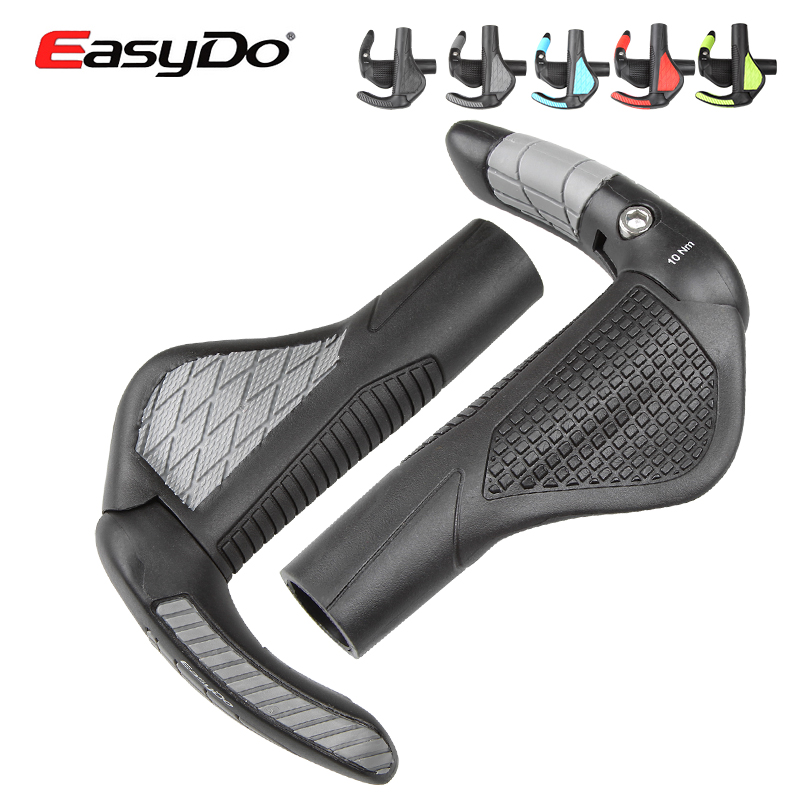
We recommend that you always use good-quality grips for your ATV. It will not only enhances the riding experience but also ensure that the operation is quite pleasant.
Source: Rocky Mountain ATV MC
Buying an ATV for an adult means giving him joy and a little extra trouble.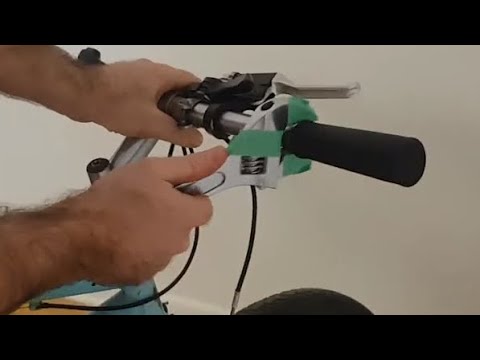 Such motorcycles can be safely used at any time of the year, however, it is necessary to take care of the rider's comfort in low temperatures.
An excellent solution would be to install heated handles, throttle trigger and seats on an ATV. You can perform this procedure both on your own and with the help of highly qualified motorcycle service employees.
Manufacturers of some bike models are already equipping them with heating elements. Of course, the presence of such modifications is reflected in the cost of the iron horse.
Before you start modifying an ATV, you need to take care of purchasing all the equipment and consumables required for this purpose. The cheapest way is to order heated handles and other elements of a motorbike on Aliexpress, in addition, this online store provides the widest selection of additional technical equipment for motorists.
Modern manufacturers are ready to offer heating with built-in sensors that allow it to be activated only while the vehicle is moving. Due to this, a high saving of the battery life of the motorbike is achieved. A smooth adjustment of the heating intensity allows you to adjust the operation of this component to environmental conditions.
Mounting the heated grips on the ATV is as follows:

Quite often a hand warmer for a quad bike comes with a trigger heater. Its installation is very simple, it is enough just to fix this heating component on the trigger with double-sided tape, and then install the heat shrink tube and process it with a special building hair dryer.
Next, you need to install a heater control on the ATV. As a rule, it is mounted on the steering wheel in any place most convenient for the rider. The final step is wiring. After that, test the heater on the ATV to make sure everything is working.
Installation of ATV seat heating can be handled by every motorcycle owner. This heating element boasts a high level of elasticity, and it is mounted immediately under the cover of the motorbike seat, and subsequently simply fixed with brackets. Modern heaters are equipped with wiring, a regulator and an indicator indicating the operation of this heating element.
A quality ATV seat heater from a trusted manufacturer boasts an impressive list of benefits:
When riding an ATV in cold weather, don't forget not only to install heating on its various components, but also to purchase the appropriate equipment.
Under extreme operating conditions, heated handlebars, trigger or seat can break and fail. This happens most often for two reasons:
If it's the wiring, all you have to do is replace it with a new one. If the heating itself is broken, then it must be dismantled and replaced. Although the heating components for an ATV with Aliexpress are quite cheap, their quality and service life are appropriate. It is good that the installation of such modifications of a motorbike is very quick and simple.
Along with ATV improvements, it is quite common for riders to use special heated insoles for additional insulation.
05/29/2021 1093
Article updated on: 09/28/2020
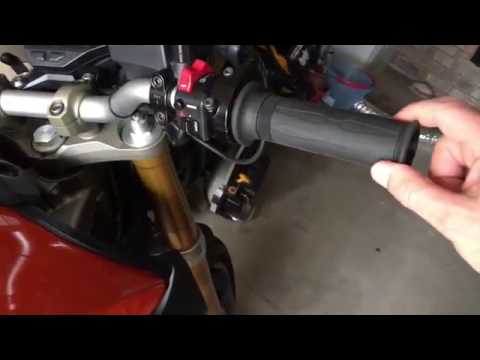
The throttle on personal electric vehicles is used to control the electric motor.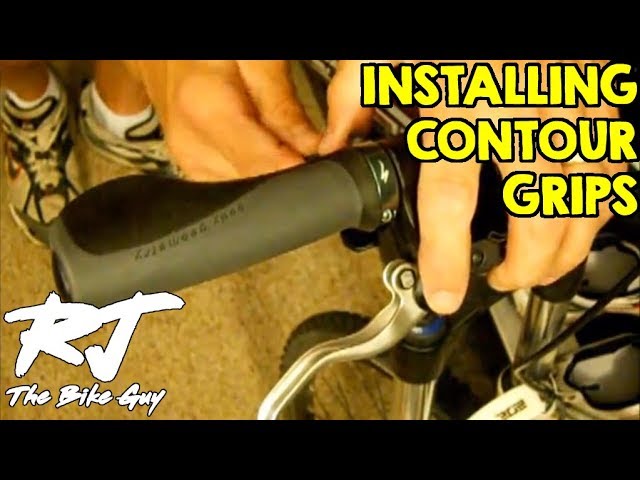 A 5 V power wire is connected to it, and inside there is a Hall sensor. Taking into account the angle of rotation of the throttle lever by the rider, the sensor outputs a voltage from 0 to 4.2 V. Based on this data, the controller doses the power supply of the motor-wheel. Accordingly, with the help of the gas handle, the electric motor is set in motion and turned off, the power supply to the engine is regulated, the torque and speed of movement change.
In addition to the handle, lever or throttle trigger, the PAS system can be used to control the electric motor. If desired, it can be used without the throttle, but the power control in this case will be less comfortable. The best option is to use a throttle stick or install a PAS system in addition to it.
When using the throttle without PAS, the speed is controlled by the throttle. The use of an electric drive with such a control system does not depend on pedaling, i.e. they may not be used at all.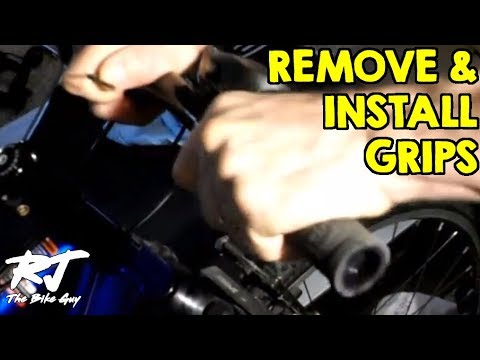 The throttle works like a car's gas pedal: no additional action is required to accelerate or continue moving.
The pedal-assist system works differently. It automatically turns on the electric motor only after the rider starts to pedal. The start is configurable - smooth or with slip. The electric motor works only when pedaling, and the degree of its participation in the movement can be adjusted from a minimum to the "turbo" mode. The setting is done by the steering computer.
The main advantages of using the throttle on an e-bike are:
The internal structure of all models is almost the same. There is a Hall sensor inside, and a permanent magnet is attached to the case. Depending on the current position of the speed control lever, the sensor determines the position of the magnet, changes its output voltage and sends a control signal to the controller. According to this signal, the controller regulates the engine speed and speed. In practice, this looks like the dependence of speed on the angle of rotation of the throttle.
The red wire supplies 4.5 V from the controller. There is also a black wire (ground) and a white signal wire, which, depending on the position of the lever, produces a voltage of 2–3.5 V. The controller is usually supplied with a control voltage of 0.8–4.2 V. If there is an on / off button in the handle design , charge indicator or ignition lock, the currents supplied to the handle correspond to the total voltage of the electrical components - 24, 36, 48 or 60 V.
A typical place for installing the throttle on an electric bicycle is the right side of the handlebar. To avoid breakage of the handle, at the start it is necessary to avoid its sharp rotation until it stops. In addition, a smooth start has a beneficial effect on the operation of electronic components and helps to avoid breakdowns.
they all supply 5 volts and generally keep the throttle lever on the hall effect sensor running. Compatibility is confirmed by the presence on the control controller of 3 wires for connecting to the throttle lever.
All models are sized for the traditional handlebar thickness of 22.2 mm. By type of design, they are:
 The angle of rotation of the movable ring, as a rule, reaches 70 °.
Classic connectors are used to connect the throttle to the ebike controller. Typically, a dark connector with 6 slots is provided on the control controller for this purpose. The accelerator handle, equipped with a power button and a battery charge level indicator, also has a connector identical to it.
If the connectors are different, you can determine the purpose of the wires by their color:
For exact wire colors, refer to the instructions for the specific product. If there are additional buttons and levers on the speed control lever, you can determine the corresponding wires using a tester. When ringing, it will show a signal when the button is on and zero when it is off.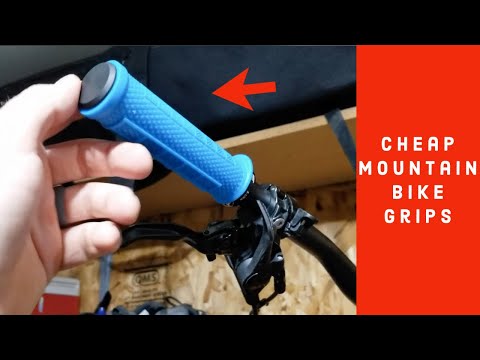
When connecting the handle, the wire must be fixed without tension on the frame using plastic clamps or electrical tape. This is important not only for the appearance of the e-bike, but also for preventing wire breaks while riding. The wording "no stretch" means that when you turn the steering wheel, there should be no overstretching. To protect the contacts from moisture and dust, the joints are treated with silicone sealant.
After replacement or initial installation, the throttle grip must be checked according to the following algorithm:
Despite the simplicity and reliability of the design, the accelerator handle sometimes refuses to work. As a rule, the internal cause of malfunctions lies in the soldering of the wire, the magnet peeling off, or the Hall sensor falling out of its socket.
From external factors, power surges, rough handling, mechanical damage, natural wear, leakage and water ingress into the control element can lead to handle failure. Other causes of failure cannot be ruled out.
Repair actions involve identifying and eliminating the cause of the problem. Most often, they consist in replacing a failed Hall sensor with a workable analogue of the SS49E series. A clear sign of a sensor malfunction looks like this: when you turn on the electric bike, the battery charge level is shown by the handle, but nothing happens when you add gas.
In this case, you need to find among the wires of the controller the connector to which the throttle stick is connected.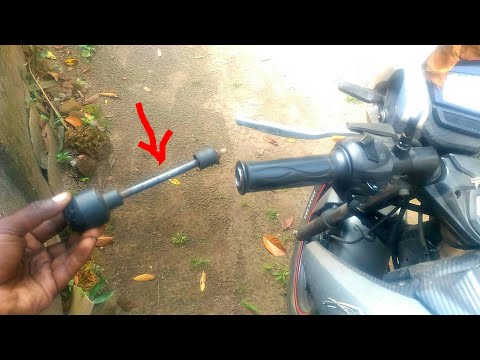 Usually 6 wires come from it: 2 for the power button, 1 for the charge indicator and 3 for the Hall sensor. You need to apply power to the controller of the electric bike and find the 5-volt line with a multimeter. Usually this is a red and black wire, and the 3rd wire connected on this line is a signal wire.
To check if a signal comes from it when adding gas, you need to put a multimeter positive contact on it. When the grip is rotated or the trigger is turned, the voltage value at the output of the Hall sensor should change. It does not change, which means that the Hall sensor is faulty and must be replaced. To do this:
 It must be removed from the seat and look at the number written on it. Instead of a faulty sensor, you need to put the same, but serviceable. Remove the heat shrink from the sensor legs and unsolder the wires. Next - put on a new heat shrink and solder the leads of the new sensor. After soldering, tighten the heat shrink to the sensor and warm it up with a hair dryer. Do the same for all 3 wires.
 Visually, the process of disassembling and assembling the accelerator handle of an electric bicycle in order to replace the Hall sensor is demonstrated in the video for this article.